To use a portable recorder for interviews, set it to an uncompressed WAV file at 48 kHz and 24-bit, switch the input to match your microphone, turn off automatic gain, place the mic 6 to 18 inches from the speaker on a solid surface, and set the level so peaks land around -12 to -18 dBFS. Record 30 seconds of test audio, listen back on headphones, then start. The whole setup takes five minutes and it decides whether the interview is usable.
Audio you cannot fix afterwards. Levels set too low leave hiss you cannot pull out, levels set too high distort the moment anyone leans forward, and a flat battery at minute forty loses the piece entirely. Those three failures cover most bad interview recordings, and all three are preventable in the ten minutes before you press record.
This guide works with any handheld recorder that records to SD card, whether it has built-in microphones, XLR inputs, or both. The same rules cover a radio reporter in a car park and a podcaster in a quiet kitchen.
Table of Contents
What You Need
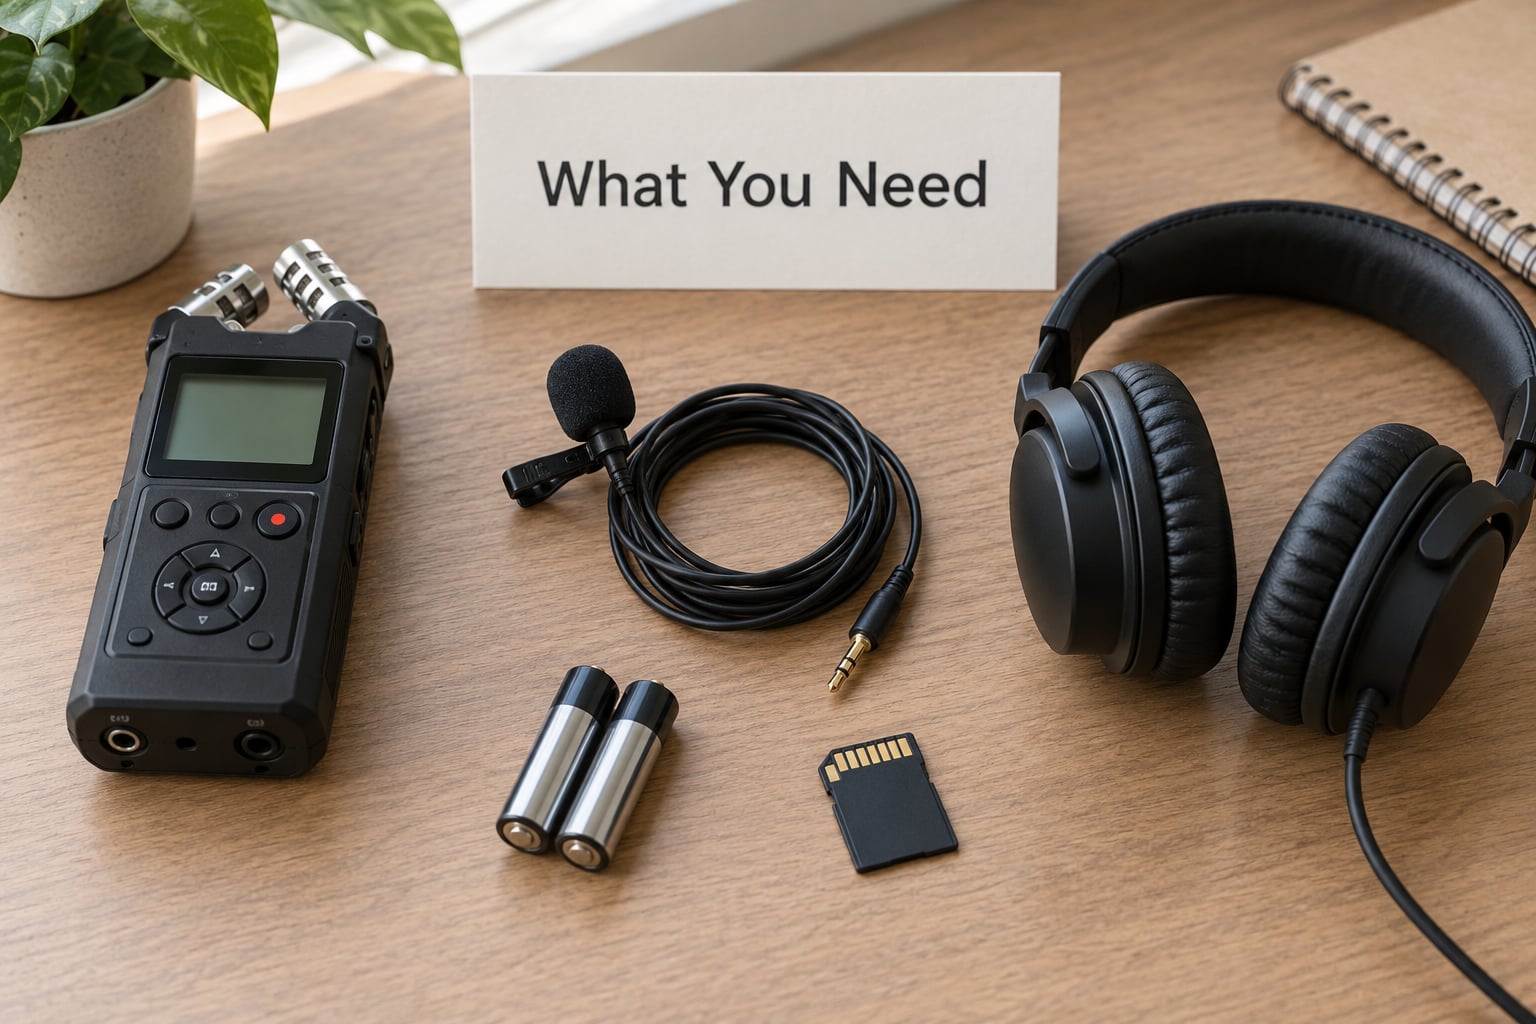
A recorder with a working microphone and somewhere to store the file. Everything past that is optional but improves the result.
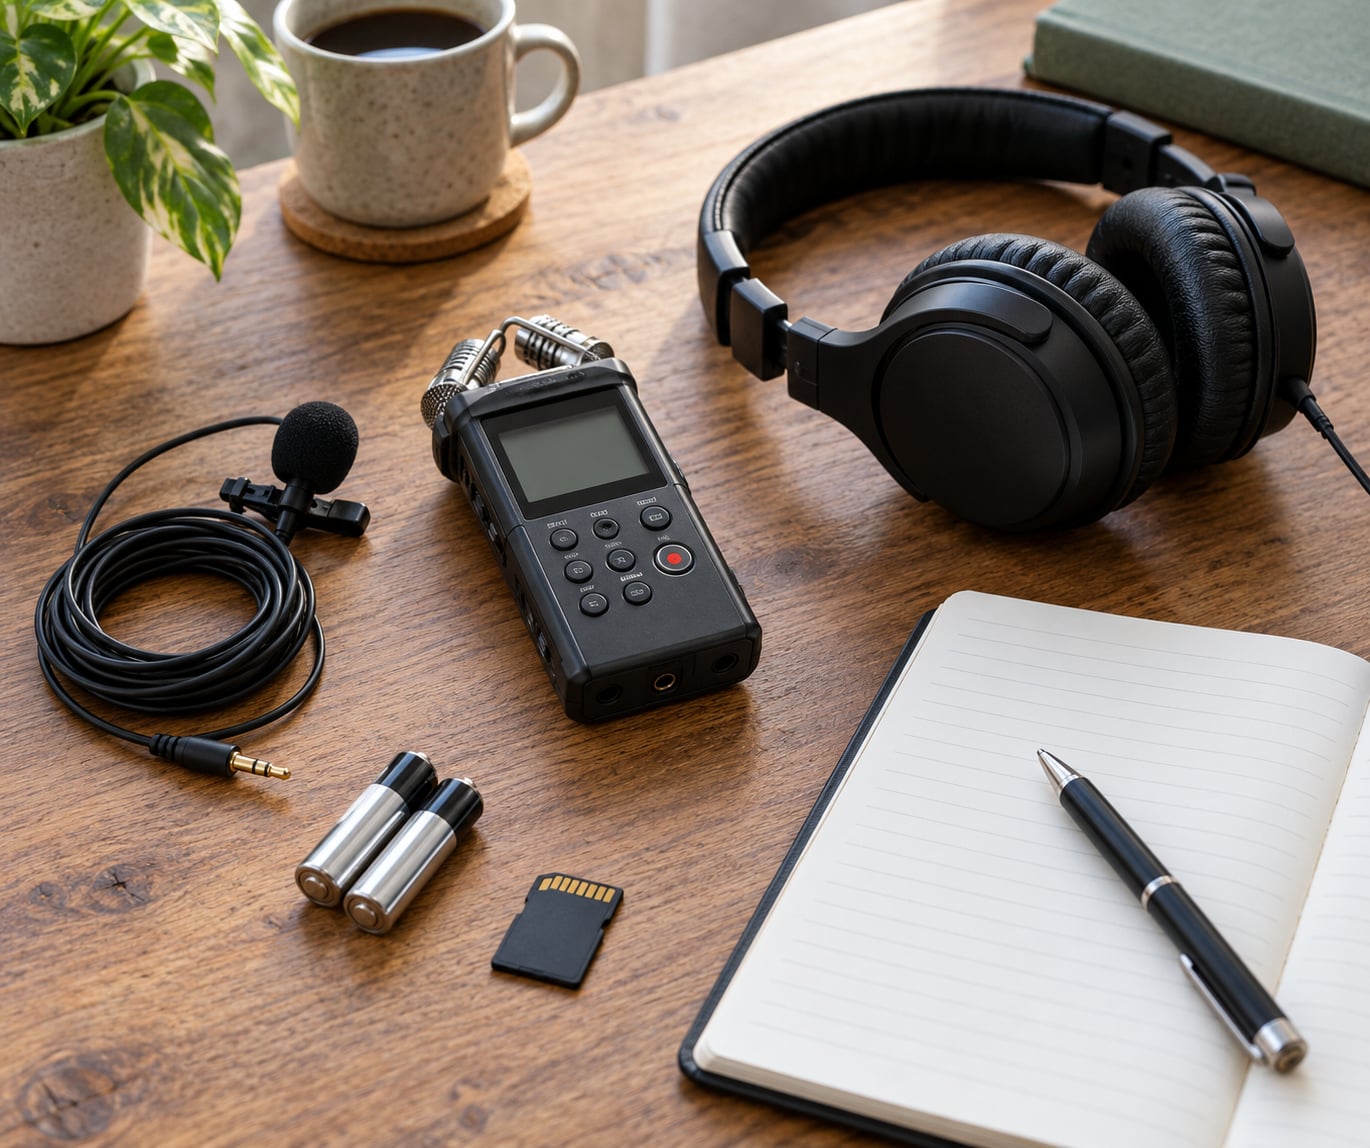
The recorder itself. Built-in microphones are the fastest option and fine for a quiet room with one speaker. Anything with XLR or 3.5 mm inputs gives you the option of a better microphone later without buying a new recorder. On devices with both, the built-in mics usually sit in an angled or crossed stereo arrangement, which is a good match for two people sitting close together.
An external microphone. External mics usually produce a cleaner interview than built-ins because they can sit nearer the speaker and away from the recorder’s own handling noise. A wired lavalier clipped to the speaker’s collar is the reliable choice. A shotgun microphone on a short stand works well when the mic can be placed out of sight a foot or two from the subject and pointed at them.
Storage. A formatted SD card sized for the whole session. Recorders vary wildly on internal storage, some only write to SD, some to internal memory only, many to both. Format the card in the recorder rather than on a computer so the file structure matches what the recorder expects.
Power. A spare battery or a charged power bank if the recorder runs USB. Check how long the batteries last in your actual setting, because backlit screens and continuous monitoring eat charge faster than the box claims.
Monitoring. Closed-back headphones. They let you hear the noise floor, the handling rustle, and the room tone, none of which you can judge from the recorder’s own speaker.
A backup recorder. Not optional in my view. A second recorder running the same session catches the failure your first one is about to have. It does not need to match; a phone on a voice memo app in your pocket is enough of a safety track.
Headphones and software for playback. Audacity is free and imports the WAV file directly for trimming and exporting.
A notebook and consent wording. Either a printed release or a sentence you are comfortable saying out loud. Consent belongs on this list because it is part of the gear check, not an afterthought.
Step-by-Step: How to Use a Portable Recorder for Interviews
Plan the Interview and Confirm Consent
Decide what the recording is for before you arrive. A podcast episode, an oral history deposit, and a news clip have different length limits and different sensitivity, and knowing which one you are making tells you how careful to be with placement and backup.
Then say plainly that you are recording, and get a yes. Consent is a spoken exchange, not a formality. Ask permission, explain what the audio will be used for, and note any conditions the person sets: first name only, off the record for a stretch, delete the raw file after transcription, or no public broadcast.
Note the conditions where you will see them later, not in your head. Write the exact wording next to the timestamp once the recorder is running, so when you reach the edit you can find the instruction in seconds rather than scrubbing back through forty minutes.
Choose the Right Recorder Settings
Set the file format to WAV and the sample rate to 48 kHz with 24-bit depth. Uncompressed audio gives you headroom to edit later, and 48 kHz matches video frame rates if you ever sync to picture. A compressed format on a small recorder saves space but throws away detail you cannot get back.
Next, match the input to what you plugged in. Most recorders have a mic or line switch, and getting it wrong is the quiet cause of thin, tinny audio. Microphone input expects a small signal from a mic and applies gain. Line input expects a strong signal from a mixer or another recorder and skips most of that gain. A lavalier goes into mic input. If your subject is very quiet and the level meter barely moves, the switch is probably on line when it should be on mic.
Turn off automatic gain control. Auto gain is designed for unpredictable sound, and it reacts to the quietest moment in the conversation by turning everything up, then slams the ceiling when the next answer arrives. Manual gain gives an even level, which is what an edit needs.
If your recorder offers a backup track or dual-SD recording, switch it on. It costs nothing but storage and it covers card failures and accidental gain changes at the same time.
Here is the setup in one place, and it is the part of how to use a portable recorder for interviews that people tend to rush:
| Setting | Recommended value | Why |
|---|---|---|
| Format | WAV | Nothing compressed before the edit |
| Sample rate | 48 kHz | Matches standard video |
| Bit depth | 24-bit | Editing headroom without huge files |
| Input switch | Mic for mics, line for mixers | Wrong switch means thin audio |
| Automatic gain | Off | Stops level pumping mid-answer |
| Distance | 6 to 18 inches from the mouth | Closer beats louder background |
| Peak level | Around -12 to -18 dBFS | Headroom for a sudden laugh or shout |
Position the Recorder and Microphone
Placement does more for an interview than any setting. The 6 to 18 inch rule from broadcast and oral history training is a good target for a handheld recorder or a phone sitting on the table: close enough that the voice dominates, far enough that the speaker is not breathing on the mic.
Put the recorder on a solid surface between the two of you rather than holding it. A table blocks the low rumble from chairs, shoes and a moving phone. Hand-held records shift, finger noises, and the rustle of a jacket every time the person moves.
Angle it toward the person speaking. A cardioid microphone, which most built-in and lavalier mics are, rejects sound from the sides and rear, so pointing it matters more than people expect. Aim it at the speaker’s chest or mouth, not at the ceiling or the middle of the table.
For a two-person interview, you have three workable options. Set the recorder’s own crossed mics down between them, which gives both voices roughly equal level. Run two separate inputs if the recorder has XLR or 3.5 mm sockets, which records each person on their own channel and lets you fix levels and remove crosstalk in the edit. Or give each person a lavalier into separate channels, which is the cleanest result and needs two mics and two cables.
The question comes up constantly in podcast forums: one mic or two? One mic works for two people sitting within about three feet of each other in a quiet room. Beyond that, or in any room with a fridge hum or traffic, two inputs win because you can balance them separately. Passing a single handheld mic back and forth is the option to avoid, since the handoff rustle lands in the middle of the answer you needed.
Do not worry about the gain knob and the distance fighting each other. Move the mic closer, not the gain up. Close is cleaner, and the noise floor drops with the distance.
Set Levels and Test the Audio
Have the interviewee speak at their normal talking volume, not louder for the recorder. Watch the peak meter or the number readout and turn the gain until the loudest peaks sit around -12 to -18 dBFS, roughly the middle-to-upper part of the meter.
Ask them to say something with a wide mouth and lean in slightly. Most clipping happens on emphasis, on a laugh, or on the word they shout, so your test needs a shout in it. If the meter pins at the top, back the gain off until it does not.
Record 30 seconds, then stop and listen back on headphones. You are checking three things: the voices are clear and close, there is no hum or hiss riding underneath, and nothing is rustling or tapping. This takes a minute and it is the last chance to fix the setup, because once the interview starts you will not want to stop.
How to Use a Portable Recorder During the Interview
Start recording before the conversation begins. Say the date, the location, both names and spellings, and anything the transcript needs, such as the job title or the project. Oral history practice treats this start-of-tape protocol as standard, and it saves a lot of guessing later.
Record a little room tone. Stay quiet for 20 or 30 seconds before the first question while the recorder runs. That stretch of ambient sound gives an editor the raw material to patch over edits cleanly, and without it every cut leaves a small gap in the ambience that listeners notice even when they cannot name it.
Watch the level through the meter rather than the playback, since playback tells you about the past and the meter tells you about the next sentence. If peaks start touching the top of the range, ease the gain down a notch rather than hoping it settles.
Keep your hands off the recorder. Fidgeting with a headphone cable produces a low knock that sits right in the frequencies of speech, and there is no clean way to remove it later.
Do not talk over your subject. Crosstalk from the interviewer landing under the guest’s answer is one of the hardest problems to fix in post, and it is entirely a behaviour problem in the room.
Give verbal cues the camera cannot give. Say the interviewee’s name when you want to identify themselves, and pause after an answer worth keeping so the edit has a natural handle. Mark the moments that matter with a quiet word or a time note, since searching a two-hour file for one quote is miserable.
Save, Back Up, and Organize the Files
Stop the recording properly with the stop control rather than by cutting power. The recorder writes its header and index on stop, and pulling the battery first can cost you the file even when the audio looked fine.
Play the file back on the recorder before you pack away. Thirty seconds at the start and thirty at the end confirms the whole thing wrote and that the last answer is not cut off.
Copy it to two places. Get the file off the SD card onto a laptop, and copy that file to a second drive or drive you do not edit from. Verify both copies by playing a section from each, because a copy that silently fails leaves you with nothing and no warning.
Rename files the moment you get home, while you still remember who they are. A pattern like YYYY-MM-DD_lastname_interview_take01.wav sorts chronologically and tells you the rest at a glance.
Only start trimming once the copies exist. Editing the card in place leaves you one mistake away from losing the original, and interviews cannot be re-recorded.
Common Mistakes
Clipping. The waveform flattens into a flat top, the meter pins, and the result sounds like a fizz. Reduce the gain, then re-test with emphasis before you start.
Level too low. Peaks sitting near the bottom of the meter mean hiss underneath every word. Move the mic closer and raise the gain until peaks reach the target range, rather than amplifying in software later.
Unstable placement. A recorder balanced on a notebook or a knee will pick up vibration and shift mid-answer. Set it on a table or a stand.
A blocked microphone. A lavalier clipped to a thick collar, or taped over with too much tape, sounds muffled and thin. Clip to the edge of the collar and check the position before you record.
Automatic gain changing. The quiet answer gets turned up, the next loud one clips. Switch auto gain off and set it once.
Handling noise. Touching the recorder, the cable, or the headphone jack mid-recording leaves a knock in the middle of the audio. Leave it alone.
No backup. One file on one card is one failure away from gone. Two verified copies is the habit that saves interviews.
Forgetting consent. The recording is technically usable and practically unusable. Say it out loud every time, including the follow-up call where the second person has not met the other one.
No room tone. Skipping the quiet moment at the start leaves the editor nothing to smooth gaps with.
Tips for Better Interview Recordings
Pick the quietest room you can access and check it before anyone speaks. Stand in the middle of it and listen for ten seconds. Fridge hum, air conditioning and fluorescent buzz all get worse when the microphone is close, which is exactly where an interview mic lives.
Keep the microphone distance steady. If a lavalier is on the collar, it moves a little every time the person turns their head, and the level moves with it.
Carry more power than you think you need. A spare battery or a power bank costs nothing and covers the interview that runs an hour long.
Bring a second SD card already formatted, and swap it in at a natural break rather than mid-answer.
Do the quick audio check on arrival, not at the door. Room noise levels change when other people are moving around, so a test taken ten minutes into the conversation is more honest than one taken in an empty room.
Turn the recorder off and on once before the real take. Some devices carry the previous session’s settings, and you do not want to discover at the edit that the format was still MP3.
Frequently Asked Questions
Can I use a smartphone instead of a portable recorder for interviews?
Yes, and for a lot of interviews that is exactly what you should do. Put the phone in airplane mode, open the stock voice memo app, and place it 6 to 18 inches from the speaker on a solid surface rather than holding it. Switch the phone to do not disturb so no notification tone lands in the file. A dedicated recorder wins when you want more than two channels, XLR inputs, or the ability to monitor levels quietly through headphones.
Should I use a built-in microphone or a lavalier microphone?
Use the built-in microphones when the room is quiet and one or two people sit within about three feet of the device. Use a lavalier when the speaker moves, when the room has any hum or traffic, or when you want the voice closer and the room quieter. A wired lavalier into the mic input is the most dependable upgrade you can make, and it works on almost any recorder with a 3.5 mm socket.
How loud should the interview recording levels be?
Aim for peaks around -12 to -18 dBFS on the meter, which leaves real headroom for a laugh, a raised voice, or someone leaning in. Loudness of the room is not the same as level, so do not push the gain up to make a quiet room sound fuller. If peaks pin at the top, drop the gain and retest with an emphatic sentence before the real interview starts.
What is the best file format for interview audio?
WAV is the best choice, recorded at 48 kHz and 24-bit. It is uncompressed, so nothing is thrown away before you start editing, and it matches standard video frame rates if you ever sync to picture. Compressed formats save storage on the card, but the detail they discard is gone for good. Export your finished edit as a compressed format only after you have locked the master WAV.
Do I need someone’s permission to record an interview?
Tell the person you are recording and get their agreement before you press record. Consent law varies by country and state, and some places require every participant to agree while others only require one, so agreeing is the safe habit everywhere. Say what the audio is for, whether it will be published, and whether you are willing to delete the raw file. Note any conditions on paper with a timestamp.
Conclusion
Ask first, set conservative levels, and record a 30-second test you actually listen to before the interview begins. Everything else in how to use a portable recorder for interviews is detail on those three habits: place the mic 6 to 18 inches away on a solid surface, record WAV at 48 kHz and 24-bit with auto gain off, capture a little room tone, then stop properly and make two verified copies of the file before you leave the room.
Master those and the recorder becomes boring equipment that quietly does its job, which is the highest praise field audio gear gets.