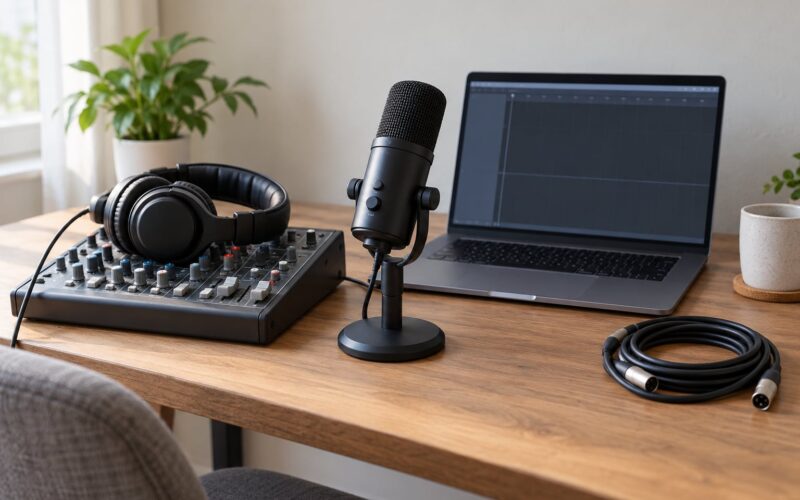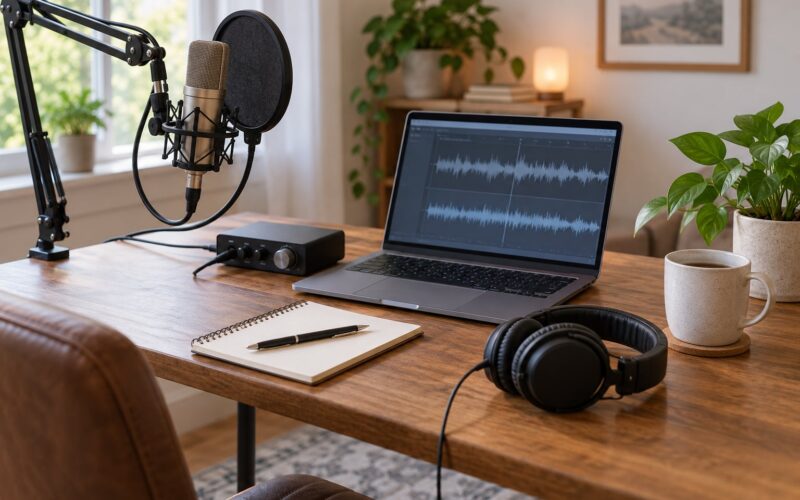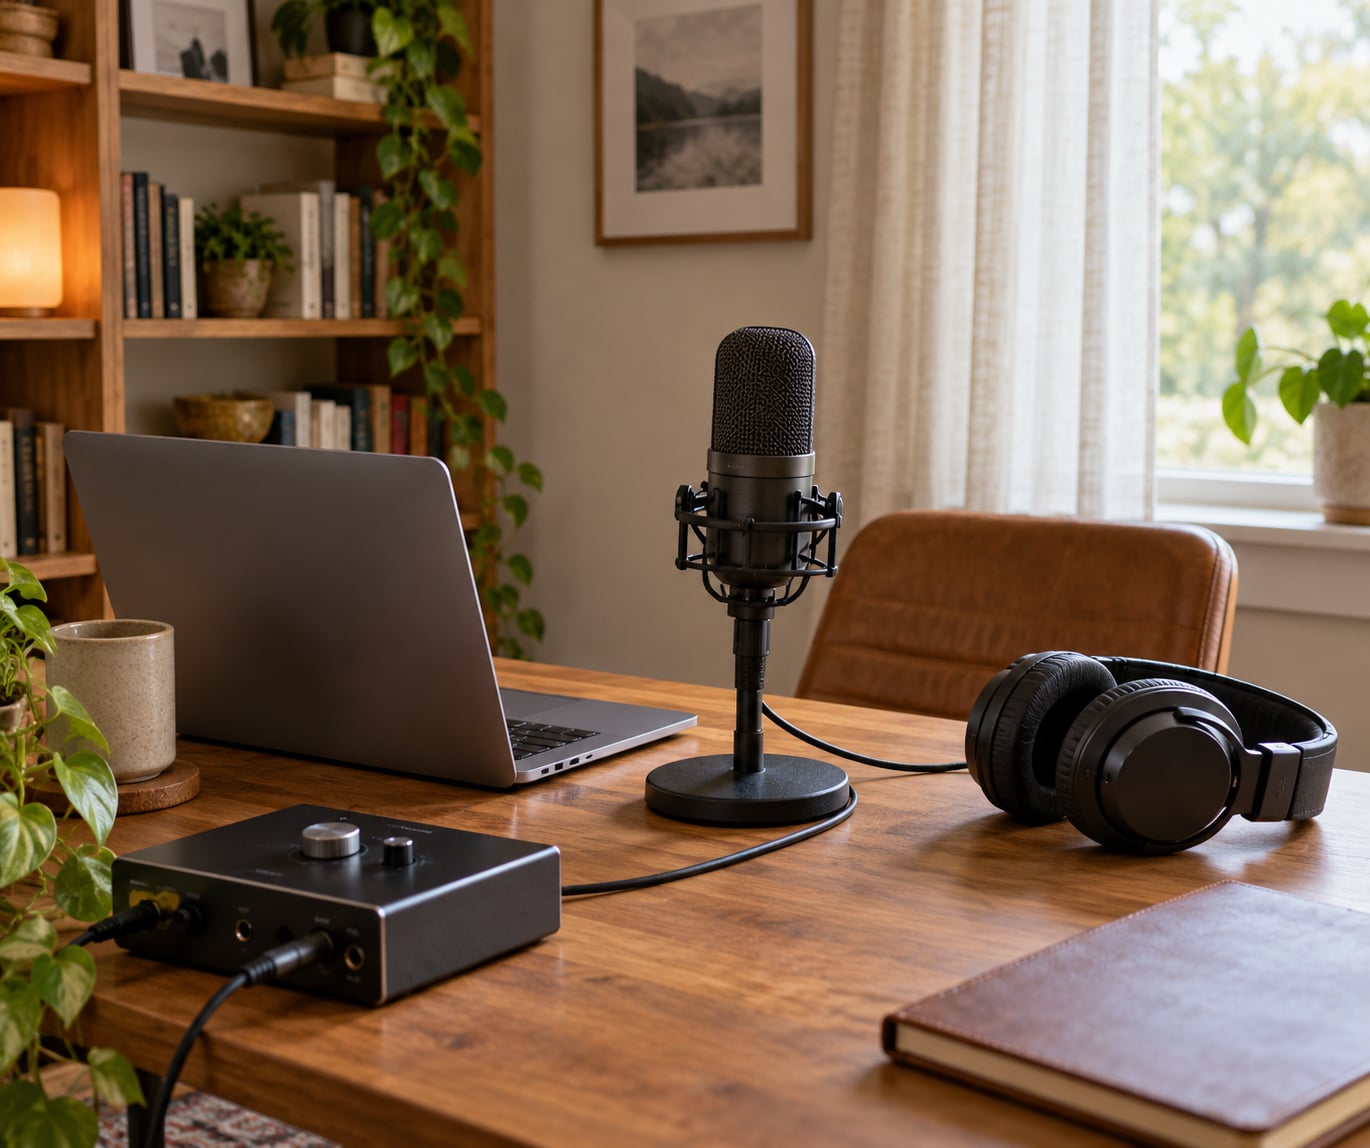
To set up a home radio studio you need five things: a quiet room, one microphone, closed-back headphones, a computer running broadcasting software, and an internet connection good enough to hold a live stream. A USB microphone plus your existing laptop is enough to go on air. Most of the work is in the room, not the shopping list.
A beginner can build a working studio in an afternoon for the hardware, then spend a weekend learning the software well enough to run a show. Pick the smallest room you can spare, because a treated cupboard beats an untreated living room every time.
Table of Contents
- What You Need
- Step-by-Step: How to Set Up a Home Radio Studio
- Common Mistakes
- Frequently Asked Questions
- What size room do I need for a home radio studio setup?
- Should I buy a USB microphone or an XLR microphone with an audio interface?
- Do I really need acoustic treatment for a radio studio?
- Which headphones work best for broadcasting?
- How fast does my internet need to be to stream live radio?
- Can a home radio studio be used for streaming music as well as talk shows?
- Conclusion
What You Need
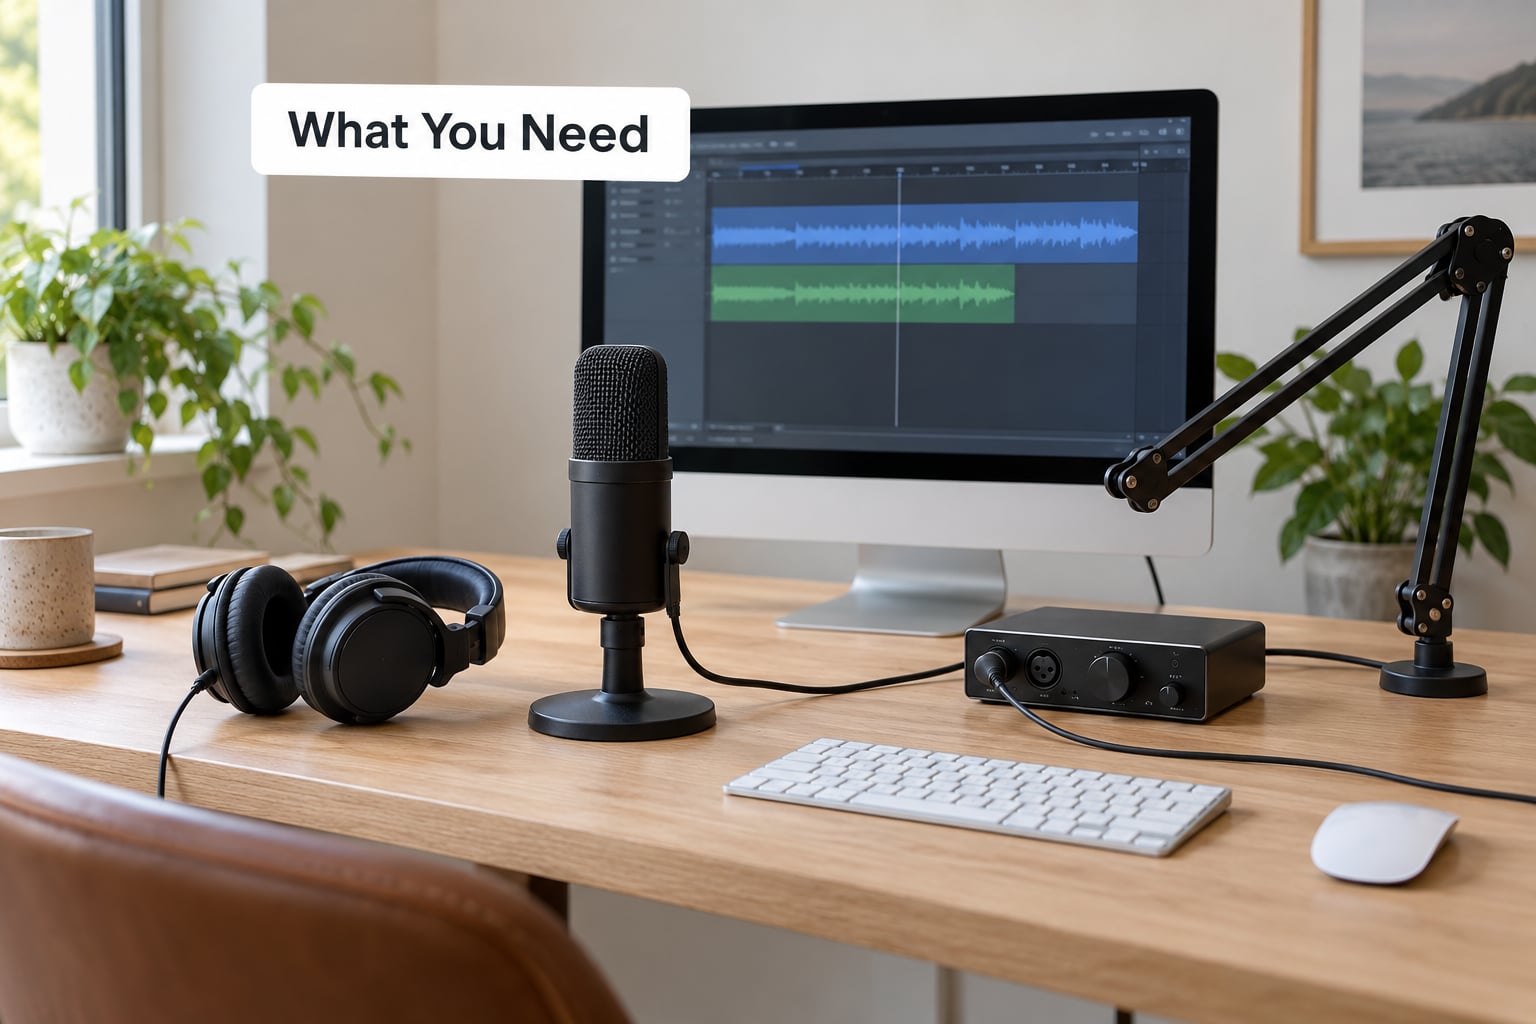
Here is the minimum viable studio, and why each piece earns its place.
- A computer. Any laptop or desktop from the last decade will encode a stream. A faster processor and more memory help when you are running music playback, recording and encoding on the same machine.
- A microphone. This is the one purchase worth doing properly. USB models plug straight into the computer. XLR models need an audio interface, and they give you more control over the signal.
- An audio interface if your microphone uses XLR. It is a small box with microphone inputs, volume knobs and headphone sockets.
- Closed-back headphones. Closed-back cups stop sound leaking into your microphone while still letting you hear the mix clearly.
- Broadcasting software. Free options handle live mixing and stream encoding perfectly well. A mic stand, pop filter and shock mount round out the basics.
Skip the studio monitor speakers at first. Headphones do the job for broadcast, they cost less, and they stop feedback loops that speakers in a small room will always create.
One more piece of advice that saves beginners real money: buy the microphone last, not first. Community broadcasters report the biggest jump in audio quality came from curtains, a rug and a full bookshelf, not from an expensive mic.
Step-by-Step: How to Set Up a Home Radio Studio
The order matters. Treat the room, connect the gear, set up the software, then test your levels before you ever go on air.
Choose a Room and Reduce Noise
The quietest room in your house is usually the smallest one. A spare bedroom, a box room or a converted cupboard gives you one wall to hang things on and a door you can close.
Stand in the middle of the room for a minute and listen. You are hunting for constant noise you cannot switch off: a fridge hum, a router fan, a street outside a window, a wall shared with a washing machine.
Then fix what you can. Run an extension lead to a different socket for anything electrical, close the door, and hang a thick duvet over the window. Reversing the microphone toward the softest, most furnished corner of the room often helps more than buying a second microphone.
Connect Your Microphone and Audio Equipment
A USB microphone goes straight into a free USB port on your computer. Open your sound settings, select the microphone as the input, and say something. If the level meter moves, the computer has found it.
An XLR microphone plugs into an audio interface with a balanced cable. Set the interface gain so your loudest speaking peaks sit roughly in the middle of the meter, then turn it down a touch. Condenser microphones need phantom power, which is usually a button on the interface itself. Never send phantom power to a ribbon or dynamic microphone that does not ask for it.
Mount the microphone on a stand so it sits at the corner of your mouth, a hand’s width away. A pop filter between you and the mic kills the plosive thump on words like “present”. Connect your headphones to the interface, not the computer, so you hear the mix without any latency.
Install and Configure Recording Software
Choose software based on what you will actually do. Mixxx is free and built for live DJ mixing. VirtualDJ has a polished interface for live sets. BUTT and Audio Hijack are lightweight encoders that send a mix straight to a streaming host.
Install one and set three things before you record anything: choose your microphone as the input, set the sample rate to 44100 or 48000 Hz to match your music files, and use 24-bit recording depth so you have room to edit later.
Next, set your monitoring level. Play a loud track, raise the headphone volume until it is comfortably loud for you, then back it off slightly. That is your reference level, and everything else gets matched to it.
Treat the Room for Clearer Audio
You are not trying to soundproof the room. Soundproofing stops sound leaving, which is expensive and rarely what a home studio needs. Treatment controls echo and reflections inside the room, and that is where the audible improvement comes from.
Work through this order, because each step costs nothing and most home studios never get past it. Heavy curtains or a duvet over the window absorb high frequencies first. A thick rug on a hard floor kills the biggest echo source in almost every room. Bookshelves full of books scatter reflections far better than bare walls. Foam panels and corner bass traps come last, once you know what is still bothering you.
Test Your Levels and Run a Rehearsal
Record two minutes of yourself reading a paragraph, then talk through a short mock show: an intro, a piece of music with a cue, a thank-you. Play both back in headphones.
Listen for clipping, which sounds harsh and crackly when your input is set too high. Listen for echo, which shows up as a hollow or smeared voice, and for background noise that stays audible when you stop talking. Check that your speaking level sits clearly below your music level, so the voice always wins.
If something is wrong, fix one thing and test again. Three quick short tests beat one long one, because you know exactly which change fixed the problem.
Create a Simple Broadcasting and Streaming Routine
Organise your files before you need them. Name show folders by date, name each audio file with the same pattern, and keep a single backup in cloud storage or on an external drive. Studios that record for months lose whole archives to one failed drive.
For streaming, your software encodes the mix and sends it to your host’s server, which delivers it to every listener. Connect with Ethernet rather than Wi-Fi where you can, set the bitrate your host recommends between 128 and 320 kbps, and start monitoring your incoming connection level before you begin speaking.
Cue music in headphones, never through speakers, and never talk over a track you have not heard the end of. Most directors pull the cue early because the presenter was busy checking the chat.
Common Mistakes
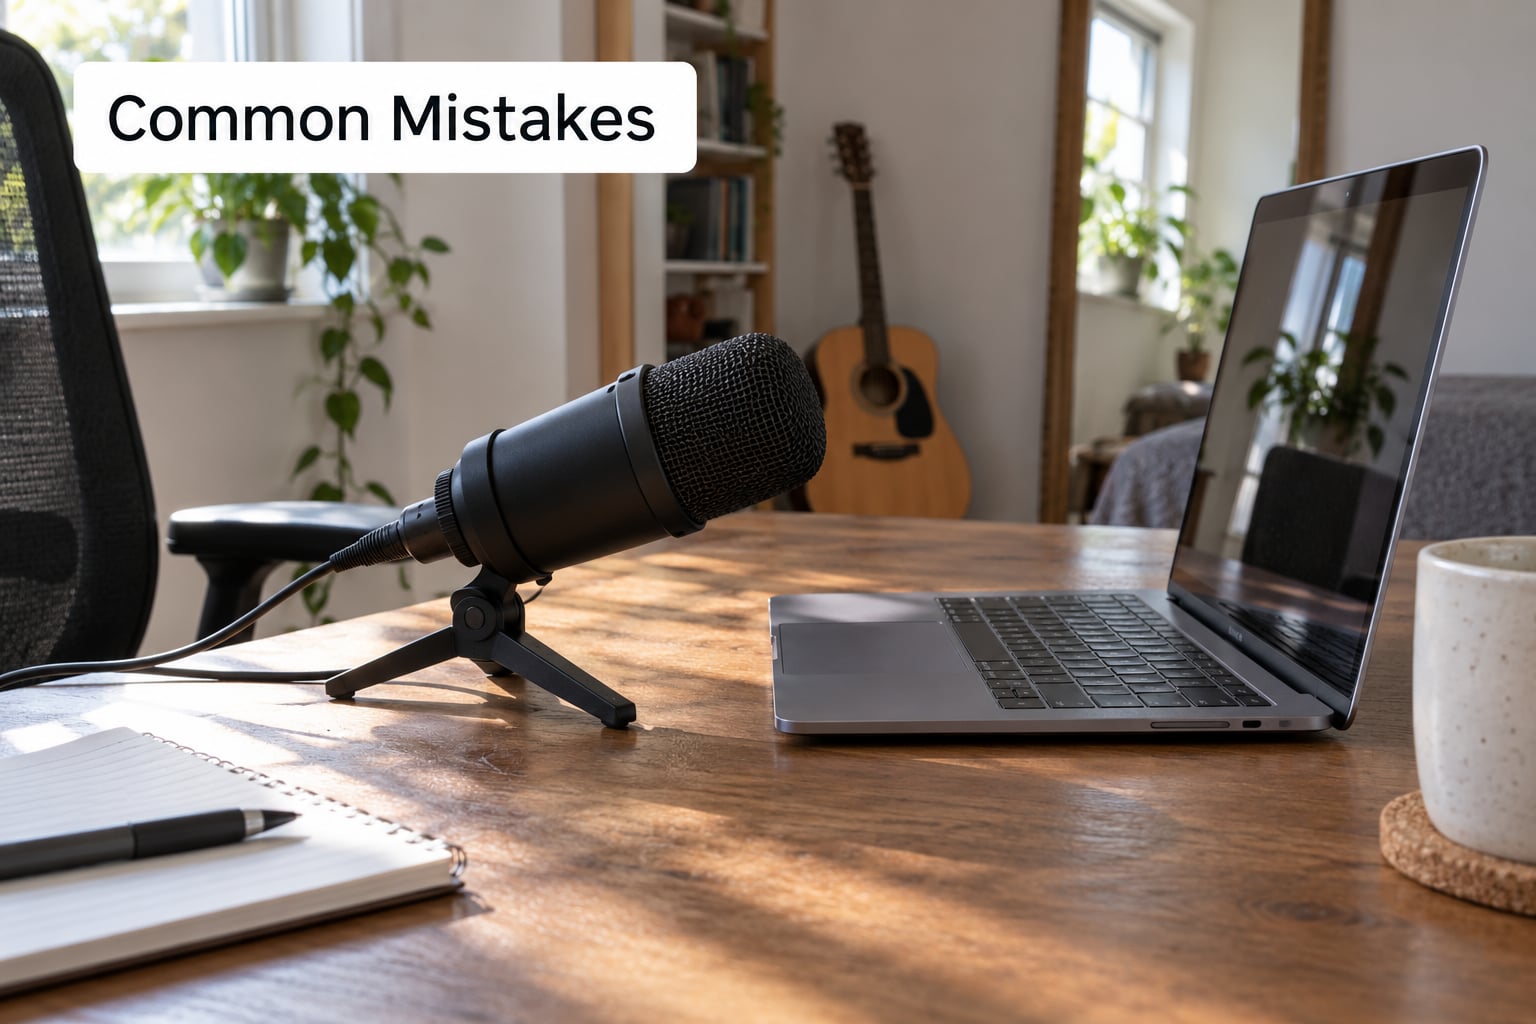
Sitting too close to the microphone. Almost everyone speaks from an inch away, which adds plosives and room noise straight into the file. A hand’s width is enough, and a pop filter costs very little.
Setting the input level too high. Peaks that reach the top of the meter clip and distort permanently. Aim to leave headroom and check by listening rather than by watching the number.
Ignoring room echo. A hard, empty room smears everything you record. A rug, a duvet over the window and a filled bookshelf cost less than any microphone upgrade and fix more of it.
Monitoring through laptop speakers. Built-in laptop speakers cannot produce accurate levels, and any mic placed near them will feed back. Use headphones every single time.
Going live without a test take. Everyone has a first show that goes out with a noisy channel or a music bed that ends early. Record a full rehearsal of the actual show, not a thirty-second sample.
Two smaller habits worth adopting now. Back up your recordings after every session, and write down your gain settings once they sound right. Recreating a good sound from memory on a tired evening is harder than it should be.
Frequently Asked Questions
What size room do I need for a home radio studio setup?
Any small room works, and smaller is often better because reflections meet your voice sooner. A box room, a converted cupboard or a quiet corner of a bedroom is enough for a one-person broadcast. Choose the room with the fewest hard surfaces and the fewest shared walls before you choose anything else.
Should I buy a USB microphone or an XLR microphone with an audio interface?
Start with USB if you want the simplest possible path: one cable, one device, no gain to set. Move to XLR with an audio interface when you need finer level control, better monitoring, or a condenser microphone. Beginners often outgrow the USB stage within a few months.
Do I really need acoustic treatment for a radio studio?
You need room treatment, and full soundproofing is a different, far more expensive job. Curtains, a rug and a filled bookshelf remove most of the echo you will hear. Treat the room before spending on better microphones, because a good microphone in a bad room still sounds bad.
Which headphones work best for broadcasting?
Closed-back headphones are the standard choice for broadcast, because the cups keep your monitoring mix from leaking back into your microphone. Anything comfortable enough for a two-hour shift matters more than a signature sound. Over-ear designs usually win on comfort and isolation.
How fast does my internet need to be to stream live radio?
A steady upload speed matters far more than headline numbers, and wired Ethernet is more consistent than Wi-Fi. Upload speeds fluctuate when other devices use the network, so run nothing else heavy during a live show. Test the connection from your streaming host before the audience arrives.
Can a home radio studio be used for streaming music as well as talk shows?
Yes, and most home stations do both. Mixing software handles music playback, microphone mixing, cueing and stream encoding in one window. Set your music level around 6 dB below your speaking level so the voice stays clear, then test the balance before going live.
Conclusion
Build in this order and you will be on air before you have spent on anything you cannot justify. Quiet room first, then one reliable microphone, closed-back headphones and broadcasting software on a computer you already own.
Finish with a five-minute level test in headphones, checking for clipping, echo and balance. Once that sounds right on your setup in 2026, it will sound right every time after. Add a mic stand, a pop filter and a rug next, and only move to an audio interface or a second microphone when a specific problem asks for it.