To listen to shortwave radio broadcasts you need a receiver that covers roughly 1700 kHz to 30 MHz, plus a broadcast schedule telling you which station sits on which frequency at which time. That receiver can be a dedicated world band set, a USB software-defined radio (SDR) on your computer, or a remote online SDR you control through a web browser. Start free, confirm reception against a published schedule, then buy hardware only if you want to listen regularly.
Shortwave signals bounce off the ionosphere, which is why a broadcaster can be heard far beyond its home country and why reception changes hour by hour. That behaviour makes the hobby less like tuning a local FM station and more like fishing. Knowing how to listen to shortwave radio broadcasts well comes down to three things: the right receiver for your situation, the correct frequency and time, and a little antenna know-how.
Table of Contents
What You Need
There are three practical routes to reception, and only one of them involves buying a radio. Which one you need depends on whether you want to try the hobby for an evening or build a habit around it.
- A shortwave-capable receiver. A portable world band set, or a communications receiver with an external antenna socket, works anywhere without a computer and is the simplest permanent setup.
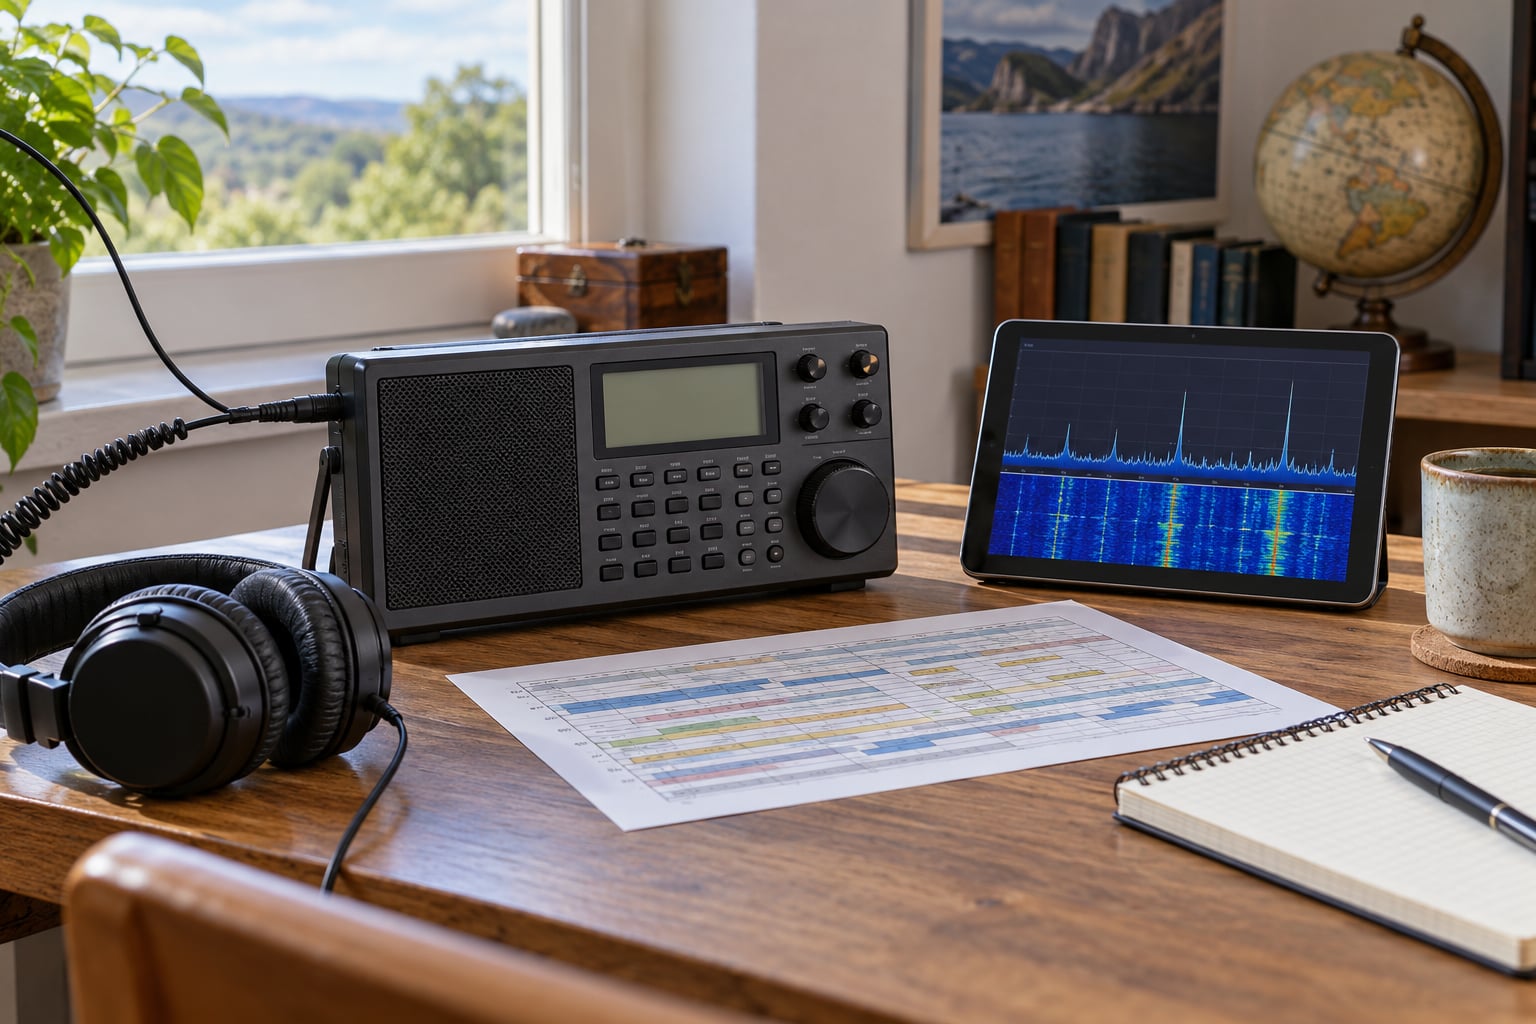
- A USB software-defined radio with SDR software. A small USB dongle plus a computer gives you a wide tuning range, recording and a waterfall display. Setup takes longer and the computer itself generates interference.
- A legal online SDR service. Remote receivers such as those found through websdr.org or the KiwiSDR network let you tune a receiver anywhere on Earth from a browser, costs nothing, and is the fastest way to hear real broadcast audio.
Helpful extras are worth adding once the basics work. A pair of headphones separates a faint station from room noise. A USB extension cable moves the dongle away from the noise a computer generates. An external antenna, such as a long wire strung outdoors or a proper shortwave antenna, beats the telescopic whip on any portable set. A current station and frequency reference saves a lot of blind tuning.
There is no licence requirement for receiving broadcasts, and you do not need any of the extras to hear your first station tonight. An online SDR covers the essentials on its own.
Step-by-Step: How to Listen to Shortwave Radio Broadcasts
Choose a Traditional Receiver or Software Radio
Each route trades cost against flexibility, and the honest differences show up quickly.
A dedicated shortwave receiver plugs into a socket or uses its own telescopic antenna. It works anywhere including a garden or a caravan, has no setup cost in time, and gives instant audio. The limitation is the tuning resolution: stepping through a crowded band is slow, and filters are usually fixed.
A communications receiver offers much finer selectivity, better signal meters and external antenna options. Setup difficulty is low if one already exists, high if you are buying from scratch.
A USB SDR dongle looks like a flash drive and needs a computer, drivers and software. In exchange you get software-controlled filters, recording, a spectrum and waterfall display, and the ability to scan wide areas quickly. Approximate setup difficulty is moderate to high, and reception can suffer if the dongle sits close to the computer.
An online SDR needs nothing but a browser. Some receivers have a queue and time limit when several people tune at once, and you cannot move the antenna, so it is a learning tool first and a permanent setup second.
The best use of each is straightforward: online SDR to find out what reception should sound like in your area, a receiver for regular listening, an SDR when you want wide scanning and recording.
Set Up the Receiver or SDR
With a hardware receiver, connect the antenna first. A telescopic whip works at the low end of the range but performs poorly higher up; a long outdoor wire is the single biggest improvement most listeners make.
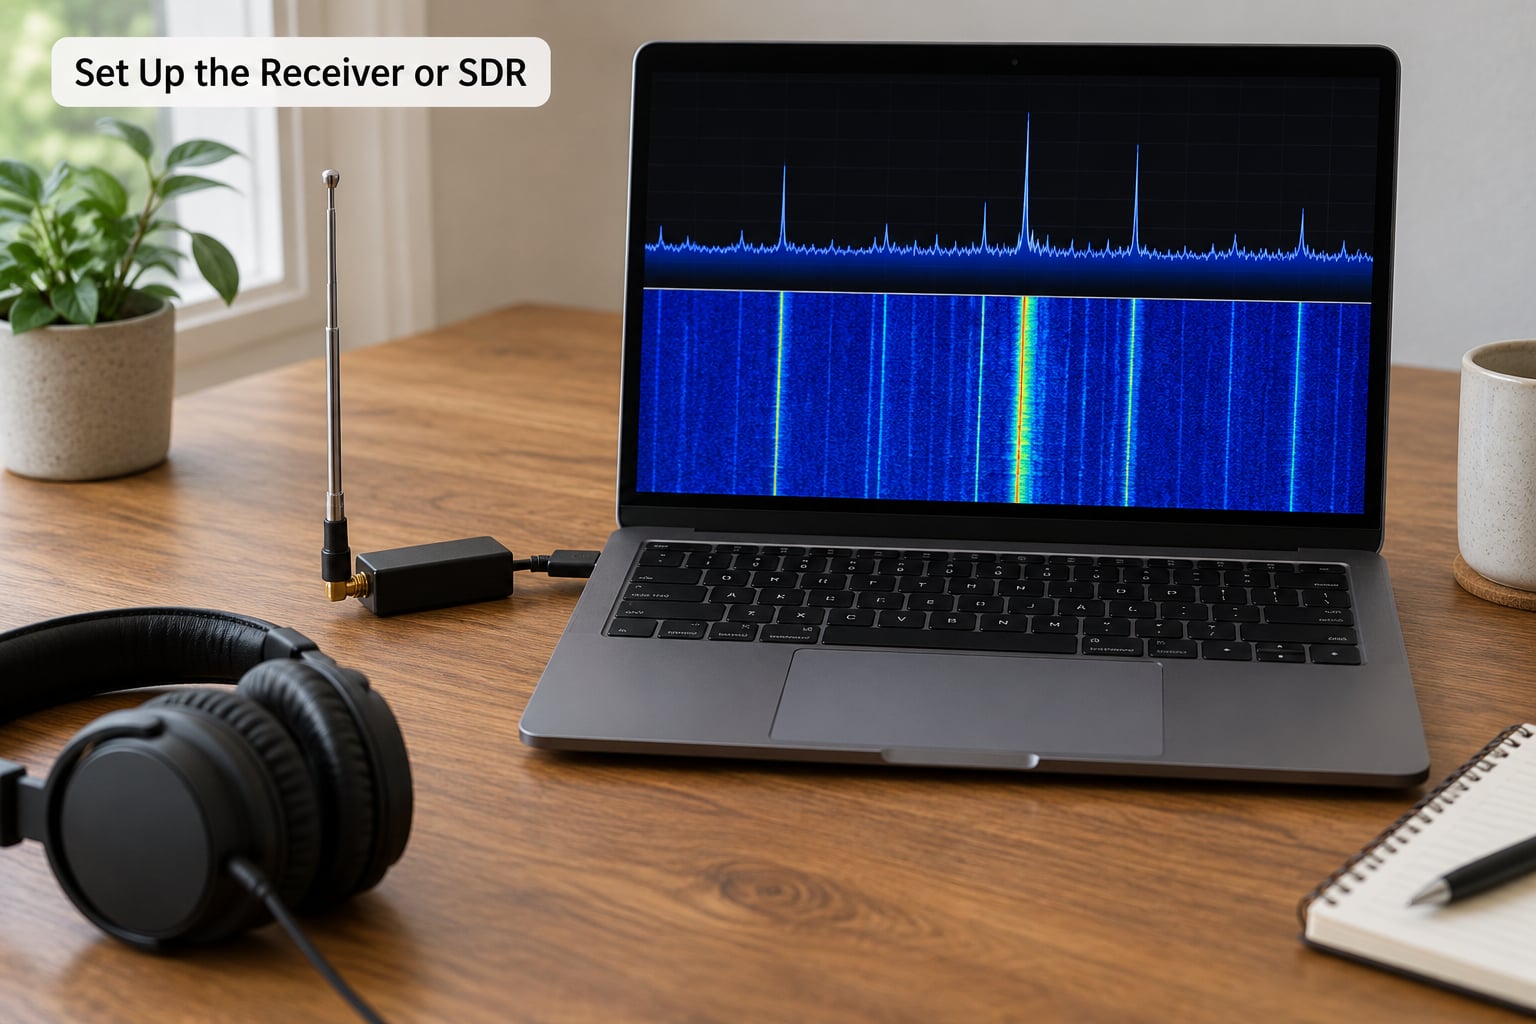
For a USB SDR, plug the dongle into the computer and install the driver that matches your operating system. Then install the SDR program and select the device from its device list. Route the audio to your computer’s speakers or to headphones.
Choose a sample rate that is legal on your system, not the highest value offered. Aggressive sample rates drop packets on ordinary computers, which shows up as dropouts and corrupted audio. A moderate setting with regular bandwidth filters is steadier.
Online SDRs skip most of that. Because the receiver already sits at the site, you tune it in the browser and the audio streams to you. The controls appear in a different order on different sites, so look for the frequency box, the mode selector and the audio start control rather than assuming a fixed layout.
Find the Shortwave Broadcast Bands
Broadcast stations occupy slices of the shortwave spectrum, and the ranges used in the Americas include 3.5-4.0 MHz, 5.9-6.2 MHz, 9.5-9.9 MHz, 11.65-12.05 MHz, 13.6-13.8 MHz, 15.1-15.6 MHz and 17.55-17.9 MHz.
These are not station lists. Allocations differ between countries and regions, and the usable portion of each band depends on time of day and ionospheric conditions. Amateur and non-amateur traffic share several of these ranges, so a band you know from ham radio is not automatically full of broadcasts.
Read them as search areas rather than promises. An authoritative broadcast schedule will tell you which frequencies carry programming; the ranges above only tell you where to point the receiver first.
Tune and Identify a Station
Move slowly. A broadcast carrier sitting between two stations produces warbling speech, and that distorted audio is often a neighbouring signal rather than a bad receiver.
Set the bandwidth to match the transmission. Broadcast AM needs a wide setting, typically around 6 kHz. A utility SSB signal needs a narrow one, and a squelch set too tightly will mute the audio entirely while still showing signal strength.
Signal meters tell you whether a carrier is present. What makes a station identifiable is the interval signal, a short repeating melody or spoken identifier played between programmes, and the language. Once you hear speech in an unfamiliar language, note the frequency and check it against a schedule database to confirm the broadcaster.
A waterfall display makes the same job visual. Broadcast AM appears as a broad solid block, SSB as a narrow irregular shape beside an empty channel, and CW as a thin clean line.
Check the Schedule and Convert the Time
Most missed transmissions come from a time zone mistake rather than a reception problem. Broadcast schedules are published in UTC, and a listing that says 1800 UTC may be 1800 in London only during British Summer Time.
Check the broadcaster’s own schedule, work out the offset from UTC to your local time, and add daylight saving where it applies. The same schedule also tells you the transmitter site and the beam direction, which explains why a station aimed at Asia can be weak in Yorkshire at eight in the evening.
Improve Weak or Noisy Reception
Urban homes are the hardest listening environment, because household electronics radiate interference that a receiver hears as noise.
Move away from computers, dimmer switches and LED lighting first, then try changing the antenna’s position or orientation. If the noise changes with a dimmer switch, that identifies the source. A longer external antenna helps far more than a more expensive receiver.
Narrow the bandwidth to fit the signal, and switch off aggressive noise reduction, which can eat quiet speech along with the noise. Check the power supply and USB connection if the audio crackles or drops out.
Finally, be patient with propagation. Higher bands carry distant stations better in daylight, and lower bands usually perform better after dark. Trying the same frequency at a different hour often works better than any hardware change.
Confirm, Save, and Record the Broadcast
Confirm the station before you rely on it. Check the programme against the broadcaster’s published timetable, so you can rule out a relay or an interval signal playing in a gap.
Write down the frequency, the mode and the time in UTC as you find stations. A simple list with a date and reception note is all a beginner needs, and it becomes a useful personal log later.
If the station streams online, bookmark the stream so you return to the same source. Recording audio for your own listening is generally fine in many places, but redistributing someone else’s broadcast without permission is not.
Common Mistakes
Almost every beginner difficulty comes down to one of these.
- Assuming every listed frequency carries live programming. Schedules include maintenance windows, test transmissions and idle periods. Check the start and end times, and remember they are UTC.
- Using the wrong mode. An SSB transmission tuned in AM sounds like a duck, and AM tuned in SSB sounds thin or one-sided. Switch the mode selector before blaming the antenna.
- Relying on the supplied indoor whip. A telescopic antenna inside a house often receives more noise than signal. Try a length of wire outdoors before buying anything else.
- Reading UTC as local time. Listeners on forums routinely report a silent frequency that was simply airing an hour later or earlier than they assumed.
- Installing the wrong SDR driver. Several driver sets look similar and installing the incorrect one produces a device that never locks on. Uninstall and install the set that matches your dongle and operating system.
- Selecting an excessive sample rate. Very high rates exceed what the computer can process reliably and cause gaps in the audio. Step down until playback is solid.
- Mistaking interference for a station. Electrical noise mimics speech convincingly. Switch the antenna off or move it, and the noise goes with it while a real station stays.
One more habit helps more than any other: keep a small list of frequencies that worked. Listeners on shortwave forums almost all keep one, and it turns scanning from guesswork into checking.
Frequently Asked Questions
Is it legal to listen to shortwave radio broadcasts?
Yes. Receiving shortwave broadcasts requires no licence in the UK or most countries, because you are only listening, not transmitting. You also do not need an operator’s certificate to own a shortwave-capable receiver. The rules that do apply concern transmission, decoding or re-broadcasting someone else’s programme. If you plan to stream or redistribute a station’s audio online, you need that broadcaster’s permission.
What is the easiest way to listen to shortwave radio?
Open a remote online SDR in a web browser, put on headphones, and tune slowly across a daytime band such as 15 MHz while watching the schedule on a second tab. It costs nothing, needs no drivers and no antenna work, and it shows you what good reception sounds like before you spend anything. The tradeoff is a shared receiver with a queue and no control over the antenna.
Can I listen to shortwave radio stations online?
Yes, through remote software-defined radio receivers reached from a browser. Networks of online receivers are listed on aggregator directories, and each site shows which frequency range its antenna covers, so check the coverage before choosing. Quality depends on the site: a receiver near the transmitter gives a strong signal, one across the world may give you fading. Audio arrives over your internet connection, so reception depends on your broadband.
Can a smartphone receive shortwave broadcasts?
Not directly, unless your phone has a built-in FM and shortwave tuner, which most do not. Apps that claim to do it usually stream an online receiver over the internet rather than receive shortwave through the handset. A tablet or dongle with a proper tuner is different. That said, your phone is excellent for reading schedules and frequency lists while you sit at the radio.
Why do shortwave radio schedules sometimes list the wrong time?
Most often the listing is right and the reader is converting it wrongly, because schedules are published in UTC rather than local time. Daylight saving shifts the offset twice a year in the UK. Older database entries also linger after a broadcaster changes its schedule, so check the broadcaster’s own current timetable as well. Beam direction and transmitter site can make a frequency quiet even when the schedule is accurate.
Conclusion
The quickest beginner path costs nothing: open a legal online SDR, use headphones, tune slowly across a band that suits the time of day, and confirm what you hear against a published schedule in UTC. Once you know which stations reach your area, a USB SDR gives you wide scanning and recording, and a dedicated receiver gives you freedom from the computer. Whichever route you take, keep a written log of frequencies that worked.