You use a radio for emergency communication by picking the type that fits your situation, charging it and loading a channel, then holding the push-to-talk button, waiting a second and speaking plainly before letting go. Anyone listening on that frequency hears you, so short messages beat long ones, and a written log beats a good memory.
The part that catches most people out is not the hardware. It is the practice: radios bought in a panic sit in a drawer with a dead battery and an antenna that was never fully tightened, and the operator never learned which button to press before speaking. Ten minutes of practice now saves a lot of confusion later. The steps below walk through choosing equipment, preparing it, finding the right stations, sending a message that gets through and writing down what you hear.
A note on limits before we start. A radio is a supplement to the emergency services, never a replacement for them. If you need urgent help, the professional routes come first: emergency services by voice, text or satellite SOS on a satellite device. You listen to public-safety and amateur frequencies freely, but you transmit on them only when a licence or the station’s own rules allow it.
Table of Contents
- What You Need
- Step-by-Step: How to Use a Radio for Emergency Communication
- Common Mistakes
- Frequently Asked Questions
- How long do batteries last on an emergency radio?
- Do I need a licence to use a radio for emergency communication?
- What is the difference between a NOAA weather radio and a walkie-talkie?
- Are walkie-talkies useful in an emergency?
- How far can a handheld radio reach?
- What should I do when I need help on a radio?
- Conclusion
What You Need
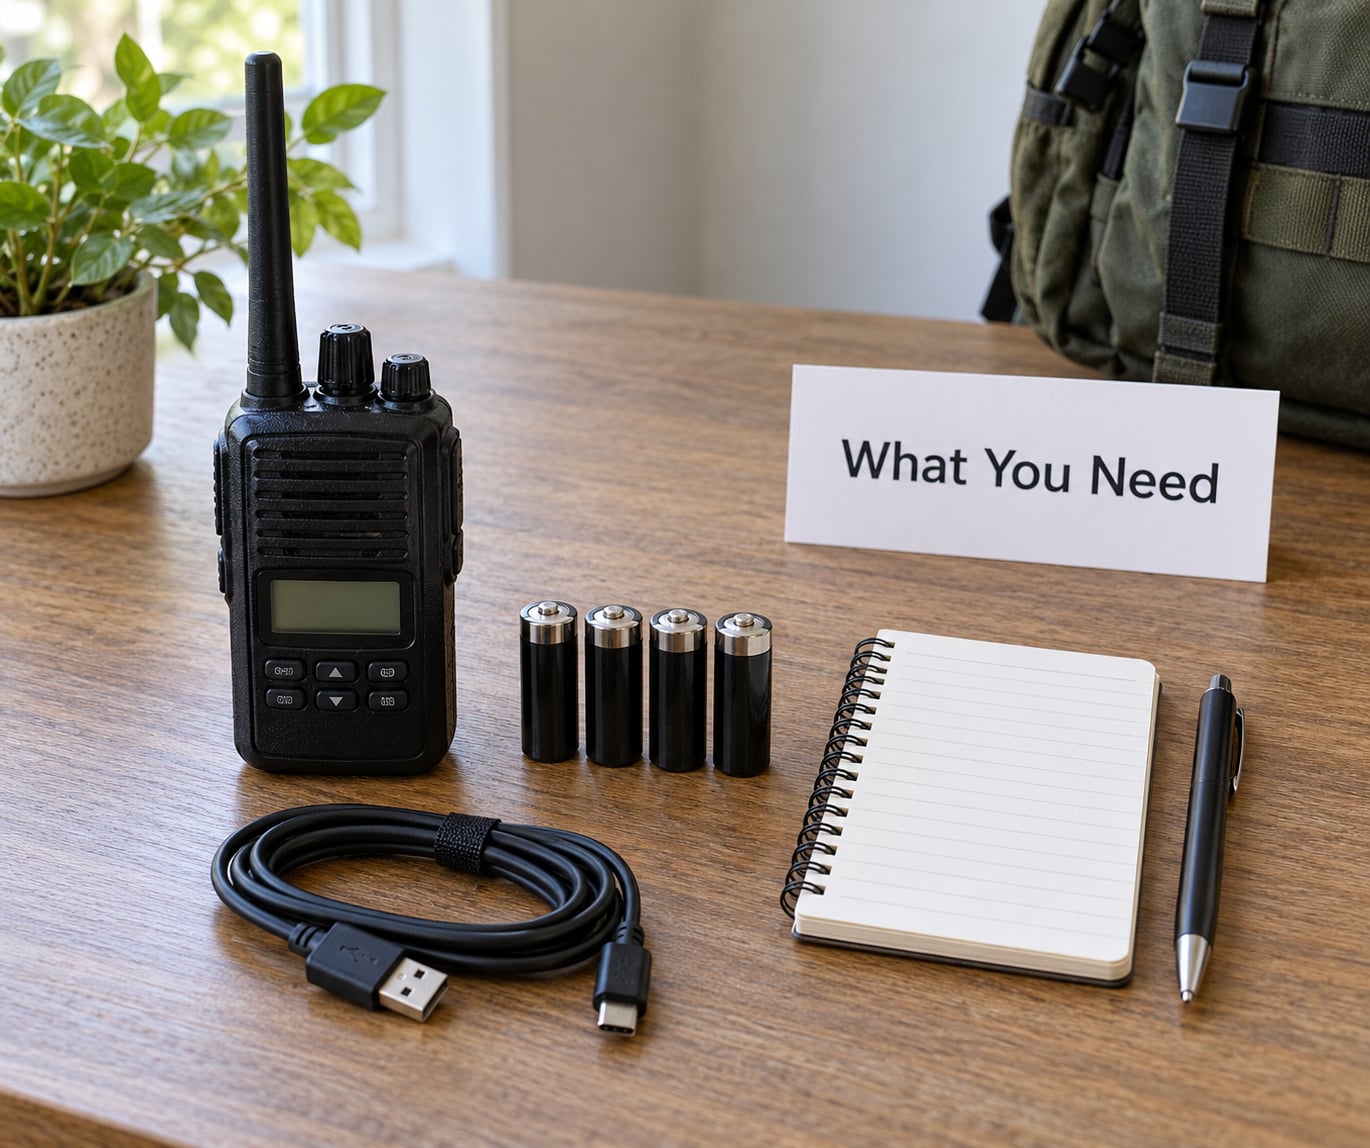
Radio communication in a power cut comes down to four things: something that receives, something that transmits, a way to keep it running and a way to remember what you heard.
- A receiver. A battery-powered AM/FM radio with a built-in NOAA weather radio function keeps you on official weather alerts and local broadcast stations when the internet is gone.
- A transceiver. A handheld two-way radio lets you talk to people nearby on a shared channel. Most households buy two of the same model so they already know how to work them.
- Power. Spare cells for whatever your equipment takes, a charging cable or power bank, and a power source that does not need the grid. Hand-crank and solar options exist, and they earn their place as a backup rather than a main supply.
- Antenna and a clear position. The little factory antenna is fine up close. Height beats everything else for range, so know where the highest reachable spot near you is.
- Paper and pen. A small notebook is the most underrated item in any kit. Frequencies, alert times, battery levels and names you heard all go in it.
- A plan. A primary channel, a backup channel, an agreed check-in time and a meeting point. Without these, a working radio still fails to reach the person you wanted.
Step-by-Step: How to Use a Radio for Emergency Communication
Choose the right radio type
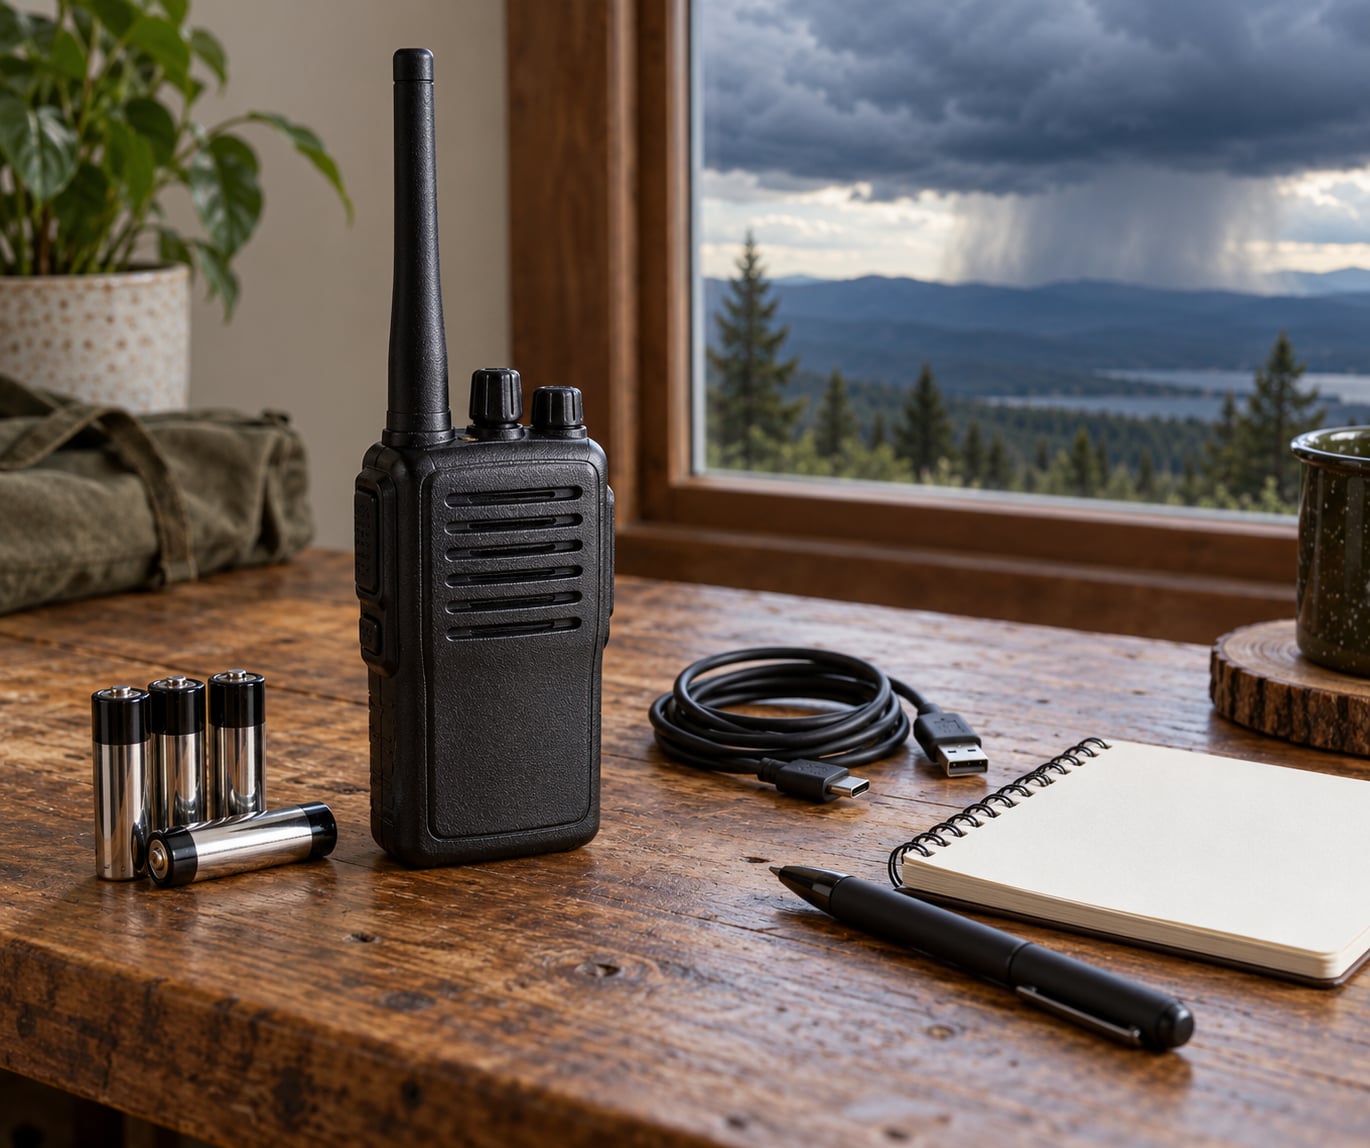
Handheld two-way radios suit people who need to talk to each other within a neighbourhood or across a large site. Licence-free FRS and GMRS handhelds cover most family and community use, while amateur (ham) radios open up repeaters, portable operation and long-range contacts.
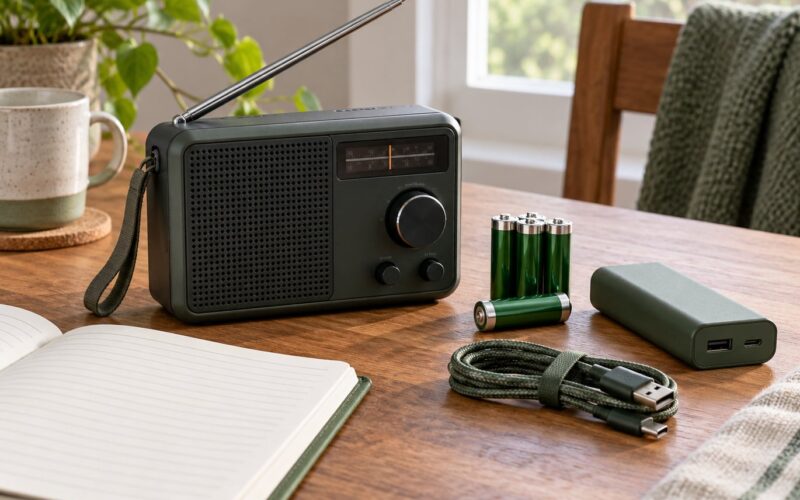
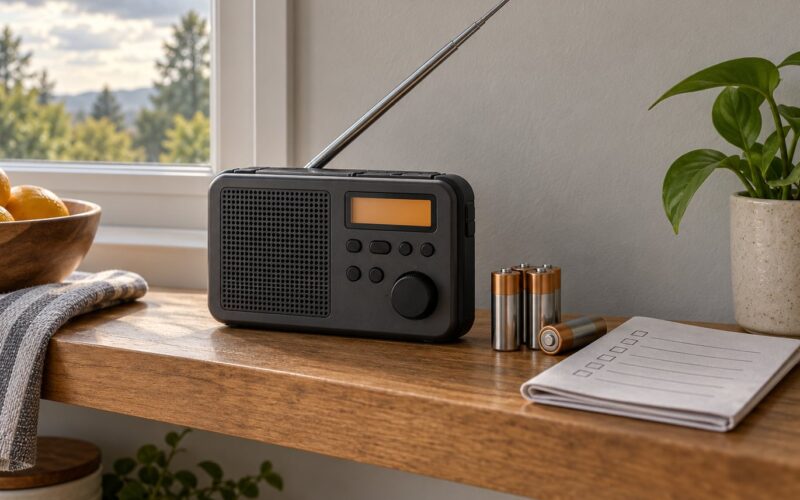
Broadcast receivers are for listening only, and that is genuinely useful. A hand-crank or solar NOAA weather radio cannot call for help, but it will keep giving you official alerts and emergency broadcasts for days without mains power, which is exactly when the phone charger is not working.
| Radio type | Transmit allowed? | Band | Realistic handheld range | Best for |
|---|---|---|---|---|
| FRS handheld (walkie-talkie) | Yes, no licence | UHF 462 MHz | About 1 mile in town | Family, campsite, small site |
| GMRS handheld | Yes, with an FCC licence | UHF 462-467 MHz | About 1 to 2 miles in town, more with height | Neighbourhood nets, group events |
| CB radio | Yes, no licence | 27 MHz HF | Several miles on open ground | Road help, convoy and off-road travel |
| Amateur handheld | Yes, with a licence | VHF 145 MHz, UHF 420 MHz | 1 to 3 miles handheld, far more via repeater | Local nets, public service volunteering |
| NOAA weather / AM-FM receiver | No, receive only | AM, FM, VHF 162-163 MHz | Beyond the immediate area, antenna dependent | Official alerts and local broadcasts |
| Satellite communicator | Yes, subscription service | Satellite orbits | Wherever there is sky | Reaching help when nothing else works |
Pick one and get to know it. Two radios of the same model, pre-loaded with the same channels, beat one clever radio nobody can operate under pressure.
Prepare and test the equipment
Charge everything the moment it comes out of the box, because the internal cells often arrive partly flat. Fit the antenna until it stops, seat the battery pack properly, then power on and run through a short test.
- Charge the radio and every spare cell. Keep the charging cable in the same bag as the radio, not in a drawer upstairs.
- Install the battery pack or cells. A loose pack that rattles will cut the transmit power.
- Fit and tighten the antenna. A cross-threaded or half-seated antenna costs you most of your range.
- Set the volume low at first and raise it only after you switch channels. Turning a hand-held up to maximum inside your jacket is unpleasant and rude.
- Open the channel menu and load a primary channel, a backup channel and a local public-service or weather channel.
- Test transmit on a channel you have agreed to use, ideally with another person a few streets away, and ask them to confirm what they heard.
The test only counts if somebody answers. A radio that transmits but was never checked for a squelch setting, a dead microphone or a mismatched channel is an untested radio.
Know the frequencies and local stations
Channels are just agreed names for frequencies. Every transceiver has a short list to memorise rather than a keypad of numbers, and learning those names is what makes a radio usable under stress.
Useful things to have loaded: your family’s primary channel, a second channel you switch to if the first is busy, the NOAA weather radio channels covering your area, and the local public-service channels for listening. NOAA weather radio transmissions sit on channels from 162.400 to 162.550 MHz, and the alert mode on many receivers sounds a tone for severe weather in your selected area.
Two words worth learning now. Line of sight means the two radios need an unobstructed path between them, which is why a hilltop beats a valley every time. A repeater is a fixed transmitter that listens on one frequency and rebroadcasts on another, and using one turns a handheld into something far more capable, provided you know the input and output frequencies, often called the offset.
Listening to fire, ambulance and police traffic is lawful. Keying a microphone and joining in is not. If you hear emergency traffic, write it down and pass it to the authorities by phone when you have service. Experienced operators are blunt about this: shouting at a dispatcher on an amateur frequency is non-protocol emergency traffic and can get in the way of a professional response.
How to use a radio to send a clear emergency message
Hold the push-to-talk button, wait a beat, then speak, and release only after you finish the last word. Holding it before you talk gives the radio time to open the channel. Releasing it while you are still talking cuts your own message off mid-sentence.
Push the button before you breathe, keep the microphone about two inches from your mouth, and speak at the pace you would use across a car park rather than at conversational speed. Everyone on the frequency hears you, so there is no point whispering either. Say your call sign or name first so listeners know who is talking.
Structuring the message follows a five-part shape that covers most situations: who is speaking, what has happened, exactly where it is, how many people are involved and what condition they are in, and what help you need.
- Clear. Plain words, one idea per transmission, no mumbling.
- Concise. Short. If it takes more than about fifteen seconds, split it and send the rest on request.
- Correct. Accurate on numbers, names, directions and medical facts. Repeat the street name and the number of people rather than hoping it carried.
- Complete. Include who, what, where, how many, injuries or hazards, and what you need.
- Confirmed. Ask the other station to repeat back anything critical. If the reply is wrong, correct it immediately.
Here is how that sounds. A bad version: “Somebody, uh, there’s a problem up by the school, someone’s hurt I think, it’s bad.” A better version: “This is Ridge Road calling. Fire at the Ridge Road community hall, two adults, one with a burn to the forearm, nobody trapped. Access is clear from the south gate. I need an ambulance and a fire crew.” The second one gets acted on, because anyone listening can act on it.
Write a plain-language message rather than leaning on number codes. Only a handful of codes such as 10-4, 10-8 and 10-33 are widely understood outside law enforcement, and a volunteer group using the rest of the ten-code list just sounds unclear. On an open channel there is no privacy, which is a fine trade when anyone can relay your message onward.
Record essential information
A radio you cannot remember is half a radio. Keep one notebook for the kit and write in it as things happen.
Note the date and time of each alert or broadcast, the station or channel it came from, and the parts that matter: evacuation routes, water and shelter locations, timings. Log how many spare cells you have left, who you tried to reach, whether they answered, and any instructions given by local authorities.
Pencil beats pen when the paper might get wet, and a notebook you keep by the radio beats one you remember to grab. If you log the message you sent, you can repeat it exactly ten minutes later to a different station instead of reconstructing it from memory.
Common Mistakes
The failures below are the ones that show up again and again, and most of them cost nothing to fix once you know they exist.
- Weak or half-used cells. A radio that receives but will not transmit is usually a battery at the end of its life. Test with a fresh set and keep spares dated in the pack.
- Antenna not seated or not the antenna you think it is. Tighten it fully and check what is fitted. A stock short antenna on a long body loses real distance.
- Talking before you press the button. Press, wait a second, speak, then release. Most clipped transmissions start here.
- Holding the button after you finish. That blocks the channel for everyone else. Release immediately.
- Assuming a broadcast is a two-way call. A NOAA weather or AM/FM receiver has no microphone. If you need to talk, you need a transceiver.
- Transmitting on emergency or commercial channels. Nothing is worth a fine and, worse, the confusion you cause. Listen freely, transmit only where a licence or the station’s rules permit.
- Everyone on a different channel. Agree the primary and backup channels in writing and put them on the radio itself with a label.
- Not testing regularly. Set a recurring monthly check-in, talk for five minutes, confirm range, then note the date and battery level.
- Expecting handhelds to cross a city. Height and clear path decide most of it. Move up, get outside, and use a repeater or a licensed operator when the distance matters.
That last habit is often framed as the 3-3-3 rule for radios: three ways to communicate when normal service fails, three types of radio to know about, and three habits to keep. The habits are the ones that matter, and they are the same as the five C’s above in shorter form.
Frequently Asked Questions
How long do batteries last on an emergency radio?
It depends on the device and what you are doing. A handheld two-way radio idling on receive usually runs for roughly a day or two on a rechargeable pack, and transmit time drains it much faster, so keep spare AA or AAA cells for the cells your model takes. A broadcast receiver with a low-volume headphone setting lasts considerably longer, and hand-crank or solar models stretch out further again because you add power by hand rather than from a wall.
Do I need a licence to use a radio for emergency communication?
You never need a licence to listen, on any band. To transmit, FRS and CB are licence-free, GMRS needs an FCC licence that lasts ten years, and amateur radio needs a licence from your national regulator. Transmitting on police, fire or commercial channels is never permitted, whatever the circumstances.
What is the difference between a NOAA weather radio and a walkie-talkie?
A NOAA weather radio is a one-way receiver. It picks up official weather alerts and continuous broadcasts on channels between 162.400 and 162.550 MHz, which makes it the thing you rely on for warnings. A walkie-talkie is a two-way radio: it receives the same kind of audio but also lets you speak to anyone else on the channel, and the two only overlap where a transceiver also has a weather receiver built in.
Are walkie-talkies useful in an emergency?
Yes, for short distances and for keeping a group organised, which is where they earn their keep. A pair of handheld radios will reliably cover a street, a campsite, a warehouse or a family spread across a few houses. What they will not do is replace the public safety system or carry a message across a city, so treat them as one layer of a plan rather than the whole plan.
How far can a handheld radio reach?
With a standard 5 watt handheld, expect roughly one to two miles in built-up areas, two to five miles with a few buildings between you, and five to eight miles or more across open ground with a clear path. Hills, water and tall buildings change the figure sharply in both directions. A repeater placed on high ground is usually the single biggest improvement you can make.
What should I do when I need help on a radio?
Use the professional route first: emergency services by voice, text or a satellite SOS device. Radio traffic is a support channel, not the first call. If a ham station hears you, they may relay your details or patch you through, and volunteer groups will help, so give your location, the number of people, the nature of the injuries and what you need. Stay on the air if asked to, and log who you spoke to.
Conclusion
Start with the radio you already own. Charge it, tighten the antenna, load two channels you have agreed on with your household, and have somebody a couple of streets away confirm they hear you. Then write the agreed check-in time on a card and tape it to the radio.
That single weekend exercise covers more than most people do in a year of reading about preparedness. Everything else in this guide, from knowing which channels carry official alerts to logging what you hear, is detail you add on top of a radio that already works in your hands. This guide reflects current guidance as of 2026; local channel lists and alert areas change, so check them with your local emergency management authority.