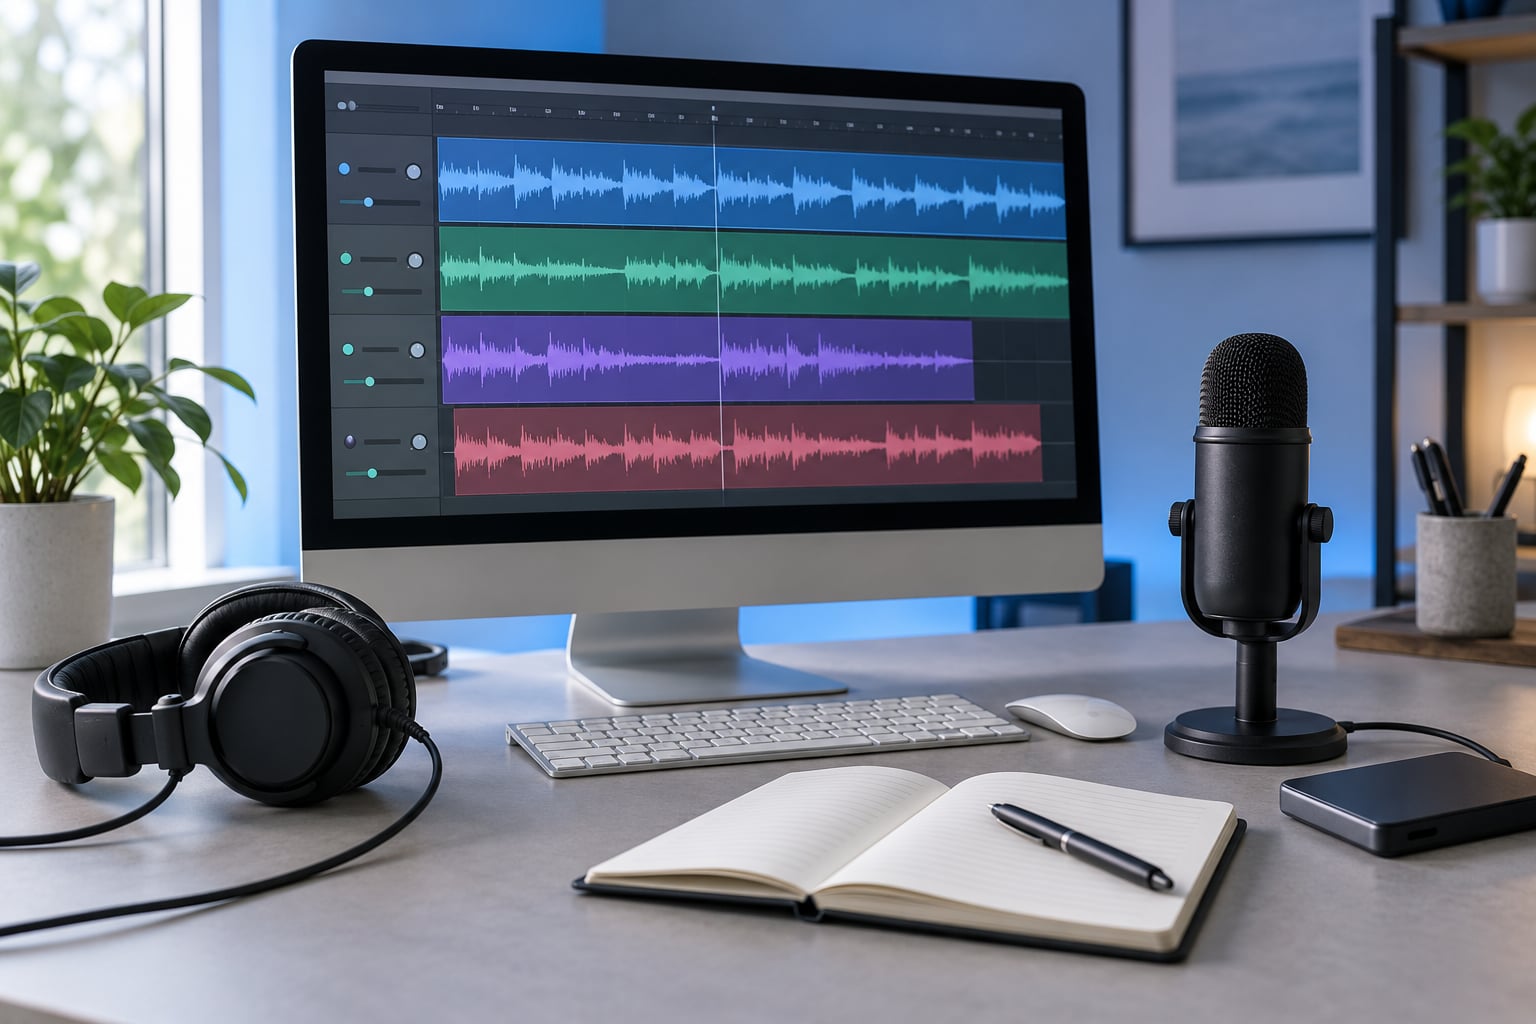
Learning how to edit audio for a radio segment means cutting one packaged broadcast item — an interview clip, a voiceover package, a news or feature piece — into a tight, level-consistent file that matches your station’s delivery spec. You do it in a digital audio workstation: rough cut, tidy the pacing, level every voice the same, clean up the noise, drop a music bed underneath, then export.
A 30-minute spoken segment with music takes an hour or two to edit the first time. Once you know the sequence, it gets much faster.
First, a naming trap. A radio segment is a spoken broadcast item: a news report, a feature, a packaged interview. A radio edit of a song is a completely different thing — a shorter, re-mixed version of a track prepared for airtime by the music industry. This guide is about the first one. Searches for the phrase mix the two up constantly, and if you follow the music tutorials you will end up building a jingle instead of a segment.
Table of Contents
- What You Need to Edit Audio for a Radio Segment
- Step-by-Step: From Raw Recording to Station-Ready File
- Common Mistakes in Radio Segment Edits
- Frequently Asked Questions
- What is the best free software for editing a radio segment?
- What loudness should I use for a radio segment?
- Should I deliver the final audio as WAV or MP3?
- How do I reduce background noise in Audacity?
- How loud should background music be under speech?
- How do I check that a radio edit sounds good on every device?
- Conclusion
What You Need to Edit Audio for a Radio Segment
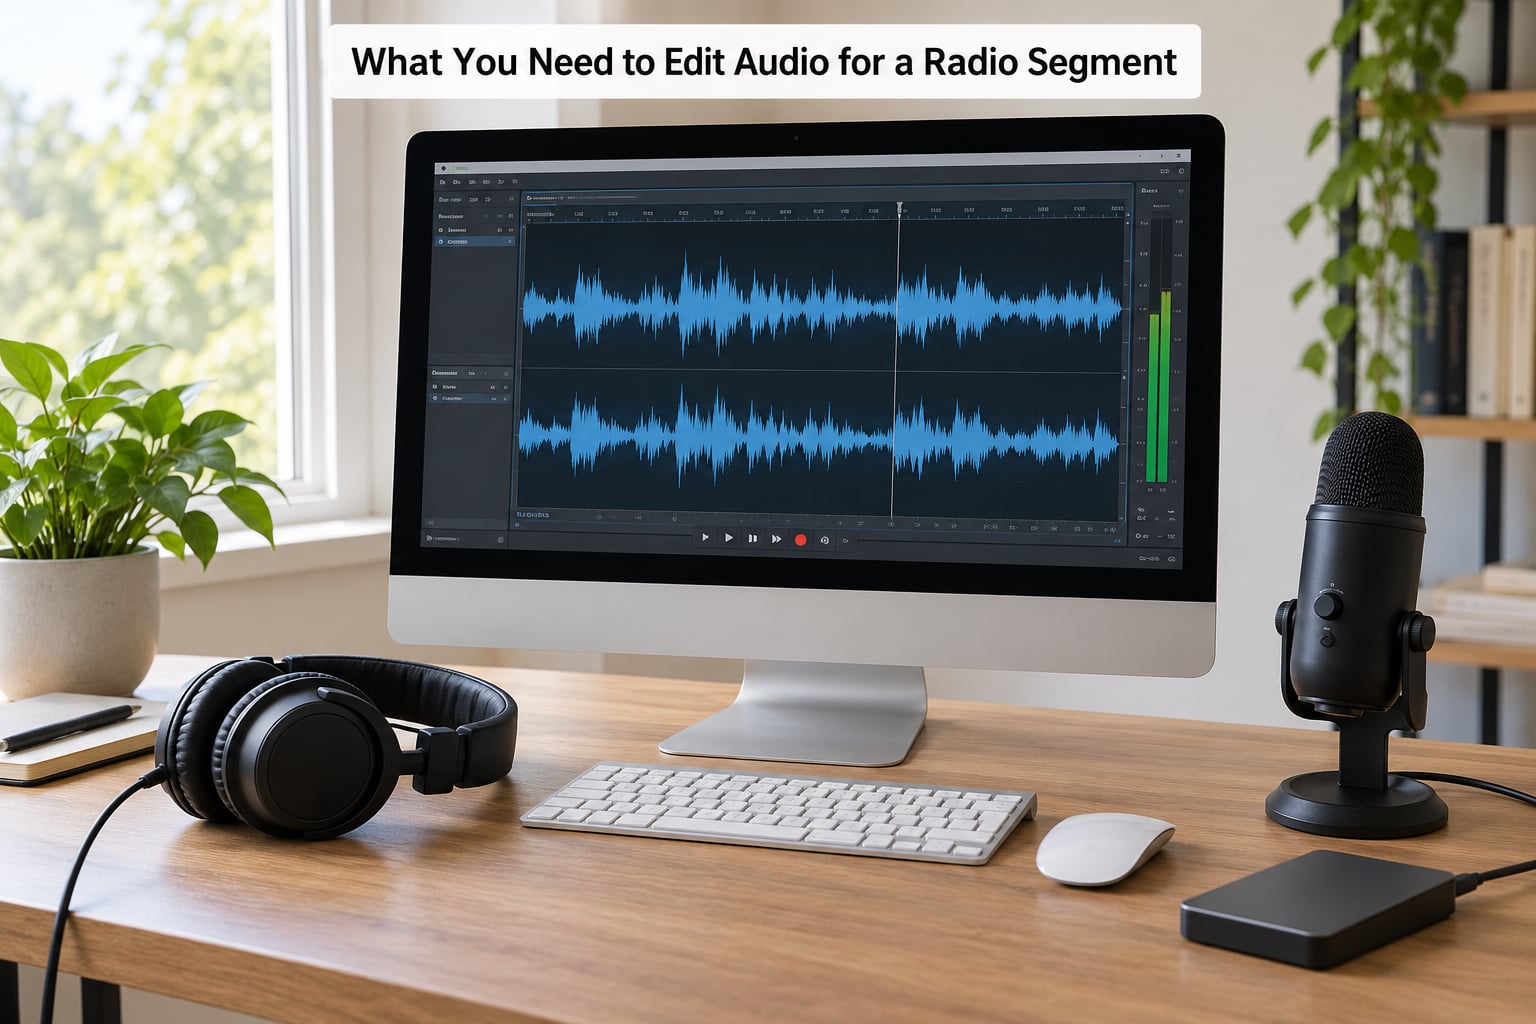
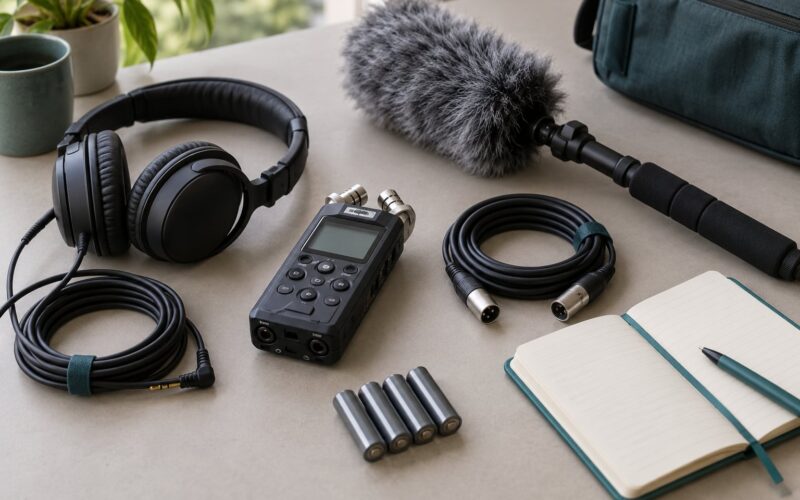
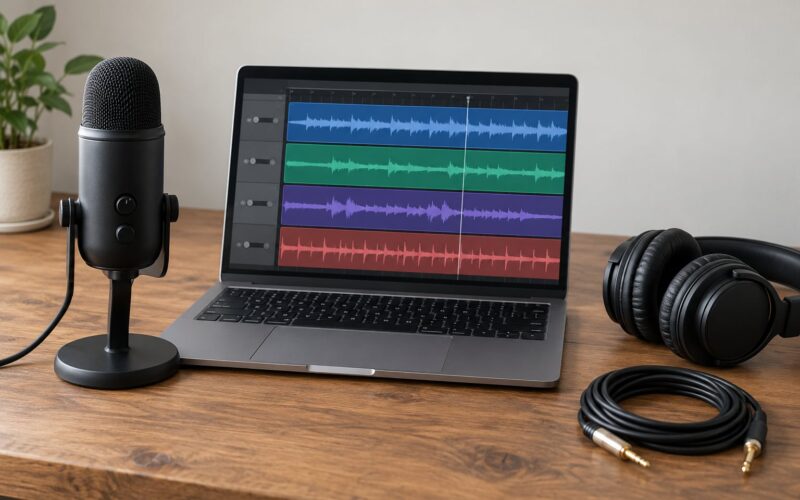
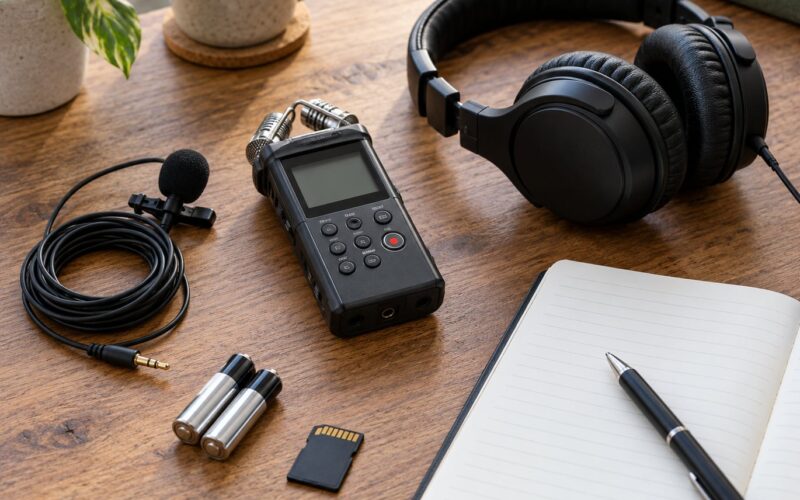
You need far less kit than people assume. Most beginners finish a first segment on a laptop with a decent USB microphone and free software.
The short checklist
- The raw recording in WAV format, still on the machine you recorded it on.
- An audio editor. Audacity is free, cross-platform and handles everything described here.
- Headphones for editing, plus a way to check on speakers and a phone later.
- Music beds and effects you have the right to broadcast, or station-owned library music.
- Storage space and a backup of the raw file before you touch it.
Why WAV, and why not MP3
WAV stores the audio uncompressed. Every sample you recorded is still there, so a cut or a level change introduces no new artefacts. MP3 throws detail away permanently to save space, and repeated saving makes that worse.
Record and edit in WAV. Use MP3 only for sending a rough review copy to a producer who does not have your project file.
Worth knowing about loudness and headroom
Loudness is how loud the segment feels. Peak level is the highest single point in the waveform, shown in decibels. Beginners confuse the two constantly and end up pushing peaks until the file is clipped, which sounds harsh and broken.
Headroom is the space you deliberately leave above your peaks. Stations run their own processing chain — high-ratio compression and limiting — before anything goes to air. Anything you send already slammed flat gets squashed further and loses dynamics. Leave space above your peaks and let the station finish the job.
Which audio editor to use
Free tools are no longer the compromise they used to be. The differences below are about workflow, not quality.
| Editor | Cost | Learning curve | Non-destructive editing | Best for |
|---|---|---|---|---|
| Audacity | Free, open source | Low | Yes, with undo history | First segments, learning, simple packages |
| Reaper | Discounted licence, generous evaluation | Medium | Yes, strongly | Regular production on a budget |
| Adobe Audition | Paid subscription | Medium | Yes, with spectral repair | Cleaning up noisy location recordings |
| Logic Pro | Paid, Mac only | Medium to high | Yes | Music-led packages and jingles |
| Pro Tools | Paid subscription | High | Yes | Station work with a house spec sheet |
If you can only pick one to start, pick Audacity. It opens WAV files, handles multi-track editing, and exports broadcast-ready files without asking you to learn a whole production system first. There is a standing thread in the voice acting community asking whether free tools are still acceptable for paid work — the honest answer is yes for a straightforward voice segment, as long as you hit the delivery spec and the edit sounds clean.
Step-by-Step: From Raw Recording to Station-Ready File
Work in this order. Every step assumes the previous one is finished, and skipping ahead is what produces the chopped, over-processed sound most beginners end up with.
1. Set Up an Audacity Project and Import the Audio
Open Audacity and create a new project. Before importing, confirm the sample rate matches your recording so nothing gets resampled on the way in. For broadcast delivery, 48 kHz is the common standard; check what your station or client expects rather than assuming.
Import with File > Import > Audio. Name the track after the speaker rather than the file number, because you will be looking for that label for the next hour.
Keep your music on its own track, never mixed into the voice file. Once the two live separately you can change the bed level without re-recording anything.
Save immediately as a separate working copy. Keep the original recording untouched on another drive.
How to check it worked: you should see a waveform that looks like speech — irregular clumps of peaks with quiet gaps between them — not a flat line or a solid block. A solid block means clipping happened at the recording stage and editing will not fix it.
2. Clean Up Noise and Obvious Problems
Zoom in and listen properly before changing anything. Hiss shows up as a fuzzy grey haze on the waveform, mains hum as regular vertical bars, clicks as single spikes, and mouth noises as small dense blips between words.
For a steady hiss, use Effect > Noise Reduction. Select about two seconds of pure background noise, click Get Noise Profile, then select a section of speech and apply the effect with a modest reduction of around 12 dB. Preview before committing.
One careful pass beats five aggressive ones. Each application is destructive and stacked passes turn voices thin and watery.
Click the noise, hum and blips out by hand. Mouse clicks and mouth pops are quick manual deletions and they sound better than any automated tool.
How to check it worked: the gaps between sentences should sound like a quiet room, not like a cupboard with the door shut. If you can hear the noise reduction working as a warbling texture, undo and use less reduction.
3. Make the Edits and Tighten the Delivery
This is the rough cut becoming the fine cut. Audacity’s editing is non-destructive, so a cut removes a section from playback without permanently erasing the audio, and undo restores anything.
Listen through at normal speed and mark the obvious problems: stumbles, false starts, a sentence repeated, a long pause while you think. Then cut them.
Learn three shortcuts and you will move faster than any mouse technique: Space to play and pause, F2 and Shift+F2 to zoom in and out, and X to split a clip at the cursor. Cut a clip, select it and delete, and the surrounding audio slides together.
Tighten pauses to roughly half a second. Long gaps make a segment feel amateurish, but squeezing every breath makes it sound breathless and robotic. Where two cuts meet, add a short crossfade so there is no click — select the join and use Effect > Fade In/Out.
Play the edited section straight through after every few cuts. Missing syllables and swallowed word endings hide easily in the waveform but jump out in playback.
How to check it worked: read the script against the audio. Every word you wrote is audible, in order, at natural speed.
4. Level the Voice for a Radio Segment
Every speaker needs to sit at a consistent loudness, because listeners switch attention the moment a voice drops away or jumps.
Start with peaks. Select the whole voice track and use Effect > Normalize, choosing peak normalisation and a target a few decibels below zero, around minus 3 dB. Peak normalisation only pulls the highest point down; it does not even out the quiet parts.
For consistent loudness across a whole segment, use loudness normalisation at around minus 16 LUFS integrated. That is the standard most stations work to for spoken content delivered as a file.
Then apply gentle compression. Effect > Compressor with a threshold just above the quietest speech, a ratio around 3:1 and a small amount of makeup gain evens the delivery without squeezing every word to the same volume.
Watch the meters while you play. Anything touching 0 dB is clipping, and clipping cannot be undone later.
How to check it worked: the voice should sound present and consistent, not flattened, not distorted, and not so quiet that you lean in. Compress lightly — this is where most first edits go wrong.
5. Mix the Voice with Music and Effects
A music bed sits under speech as atmosphere. It should be felt more than noticed, and it must never fight the words.
The pattern most community producers use is simple and it works: bring the music in at the head, fade it down or out while the segment runs, then bring it back up for the wrap and fade out at the end.
Place your bed track under the voice track. Audacity has a built-in Envelope Tool; if you cannot find it, use View > Envelope Tool to draw volume changes directly on the waveform. Set the bed to sit roughly 15 to 20 dB below the voice and drop it further, around 25 dB, in the passages with the densest speech.
Apply fades rather than abrupt volume jumps. A fade of a second or two at every start and stop reads as professional; a hard cut always sounds like a mistake.
Be careful with effects. Room tone, ambience and effects are seasoning — one or two well-placed sounds beat a busy sound design layer competing with every sentence.
On music rights: station library music is normally covered for broadcast use by the station. Creative commons and royalty-free tracks vary, and some licences exclude broadcast entirely. Check the terms, and if in doubt ask the station’s music coordinator before you air it.
How to check it worked: listen with the music alone, then the voice alone. The bed should sit behind the words and drop away where the words get busy.
6. Export and Check the Final Radio Segment
Use File > Export Audio, choose WAV for the master, and set the format to match the spec you were given.
| Setting | Typical value for spoken radio delivery |
|---|---|
| File format | WAV for the master, MP3 only for review copies |
| Sample rate | 48 kHz unless the station specifies otherwise |
| Bit depth | 24-bit |
| Loudness target | About minus 16 LUFS integrated |
| True peak ceiling | About minus 1 dBTP |
| Headroom | Leave room for the station’s own compression chain |
Name the file properly before you send it. Station producers juggle dozens at once, and a sensible name saves a phone call. A workable pattern is station, programme, segment title and date.
Then check the file on three things: headphones for detail, speakers for balance, and a phone for survival. Phone speakers have no bass and no stereo, so anything buried in the mix simply disappears. If a sound effect matters, it has to be audible there too.
How to check it worked: the exported file opens cleanly elsewhere, runs the exact length you expect, and the words are intelligible at low volume on a phone.
Common Mistakes in Radio Segment Edits
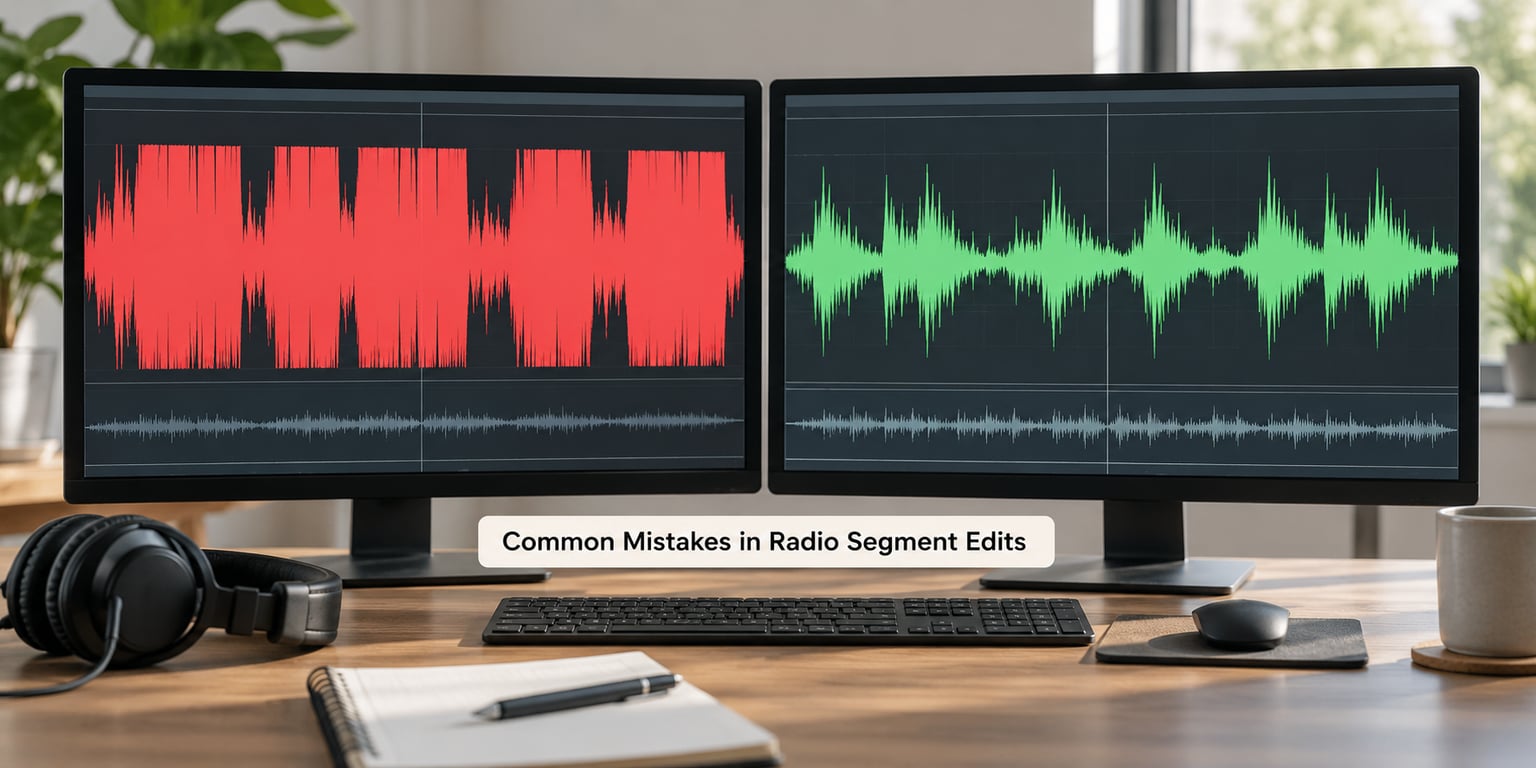
Almost every bad radio edit I have heard traces back to one of a handful of problems. Each has a straightforward correction.
| Mistake | What it sounds like | Fix |
|---|---|---|
| Over-processing | Thin, watery or metallic voice | One noise reduction pass at a modest amount, gentle compression, stop there |
| Clipping | Harsh, brittle peaks that cut through | Normalise peaks to about minus 3 dB and watch the meters |
| Editing too tightly | Breathless, robotic delivery | Leave around half a second between sentences and keep natural breaths |
| Music with no fades | Obvious jumps in and out | Fade every bed entrance and exit over a second or two |
| Music bed too loud | Words disappear under the music | 15 to 20 dB below the voice, dropping further in dense passages |
| Wrong export format | Distorted file, or a rejected delivery | WAV master at the station’s sample rate and bit depth |
| Checking only on headphones | Fine in the studio, unclear in the car | Also check on speakers and a phone at low volume |
| Sending audio too hot | Flat, lifeless on air | Target roughly minus 16 LUFS and leave headroom |
Two habits catch most of these before delivery. First, leave a couple of hours between finishing the edit and the final QC listen, because your ears adapt to what you have just been hearing. Second, run a checklist rather than an impression.
A pre-delivery quality-control checklist
- Intro names, figures and the spelling of any names, places and brands are correct.
- Every word from the script is audible, in the right order, with no swallowed endings.
- All voices sit at a consistent loudness.
- No peaks reach 0 dB anywhere in the file.
- Silence between sentences sounds like a room, not a hiss.
- Music and effects fade in and out smoothly and stay behind the speech.
- Measured loudness sits near the target, with headroom above the peaks.
- Music use is cleared for broadcast.
- The file plays on headphones, on speakers and on a phone.
- The filename follows the station’s convention.
One last piece of advice from the production floor: post-production cannot rescue a poor capture. A noisy, clipped or echoey recording makes the edit work harder and still sounds worse than a clean recording edited simply.
Frequently Asked Questions
What is the best free software for editing a radio segment?
Audacity is the strongest free option for radio segment work. It is free and open source, runs on Windows, Mac and Linux, handles multi-track editing non-destructively, and includes noise reduction, normalisation, compression and envelope-tool volume control. For a spoken segment with a music bed, it covers everything you need.
What loudness should I use for a radio segment?
Around minus 16 LUFS integrated is the usual target for spoken content delivered to a station as a file, with true peaks kept at or below about minus 1 dBTP. In Audacity, use Effect and then Loudness Normalization for the overall target, and Effect and then Normalize with peak normalisation for setting the highest point. Leave headroom because the station compresses again before transmission.
Should I deliver the final audio as WAV or MP3?
Deliver WAV unless your station asks otherwise. WAV is uncompressed, so every processing step you applied survives intact and the station can work with it. MP3 discards detail permanently, so it is better suited to a rough review copy than a final master. Confirm the sample rate and bit depth your station wants, since 48 kHz and 24-bit are common for broadcast.
How do I reduce background noise in Audacity?
Select about two seconds of pure background noise with nothing spoken in it, then open Effect and then Noise Reduction and click Get Noise Profile. Next, select a section of speech and preview the effect with a reduction of roughly 12 dB. Apply once, listen, and undo if the voice turns thin. Repeated applications are destructive and stack the damage.
How loud should background music be under speech?
Set the music bed roughly 15 to 20 dB below the voice, and drop it to around 25 dB below in the densest passages. Use the Envelope Tool under View to draw the changes straight onto the waveform, then fade in and out over a second or two at every entrance and exit. The test is simple: every word must stay clear on a phone speaker.
How do I check that a radio edit sounds good on every device?
Check the finished file in three places. Use headphones for detail such as clicks, mouth noises and edit points. Use speakers for balance between voice and music. Then play it on a phone at low volume, because phone speakers have no bass and no stereo and hide anything buried in the mix. Also listen a second time after a break, when your ears are fresh.
Conclusion
Start with the boring part. Import the recording, keep the raw file safe on a separate drive, and listen through once without touching a single control — you will hear the mistakes instantly and faster than you will find them visually.
Mark the problem areas as you listen, then work in order: clean up the noise, cut the mistakes and tighten the pacing, level the voices, add the music bed with proper fades, and export to your station’s spec.
That order is what separates a segment that sounds professional from one that sounds processed. Change a step only when you have heard a reason to.