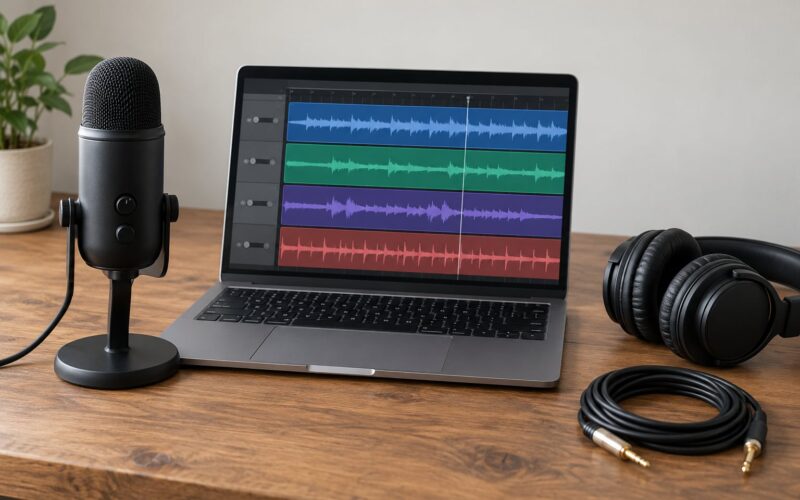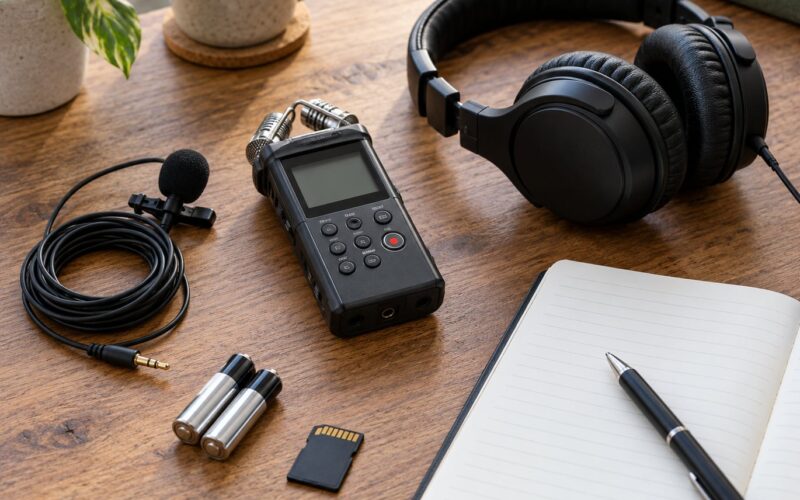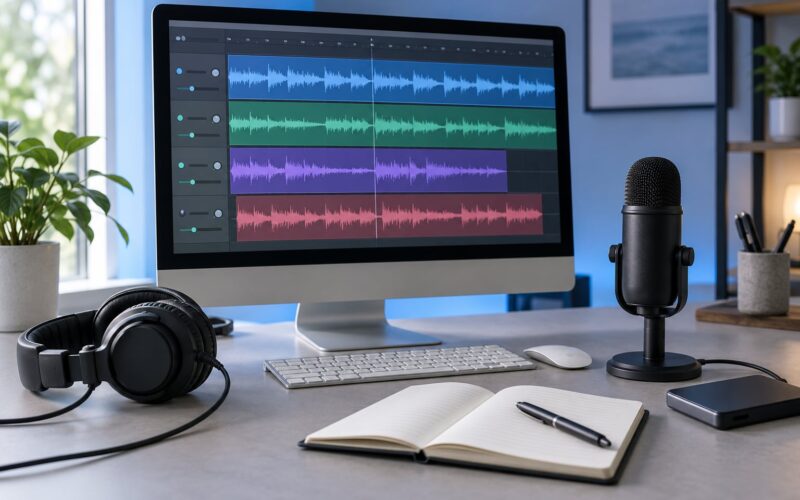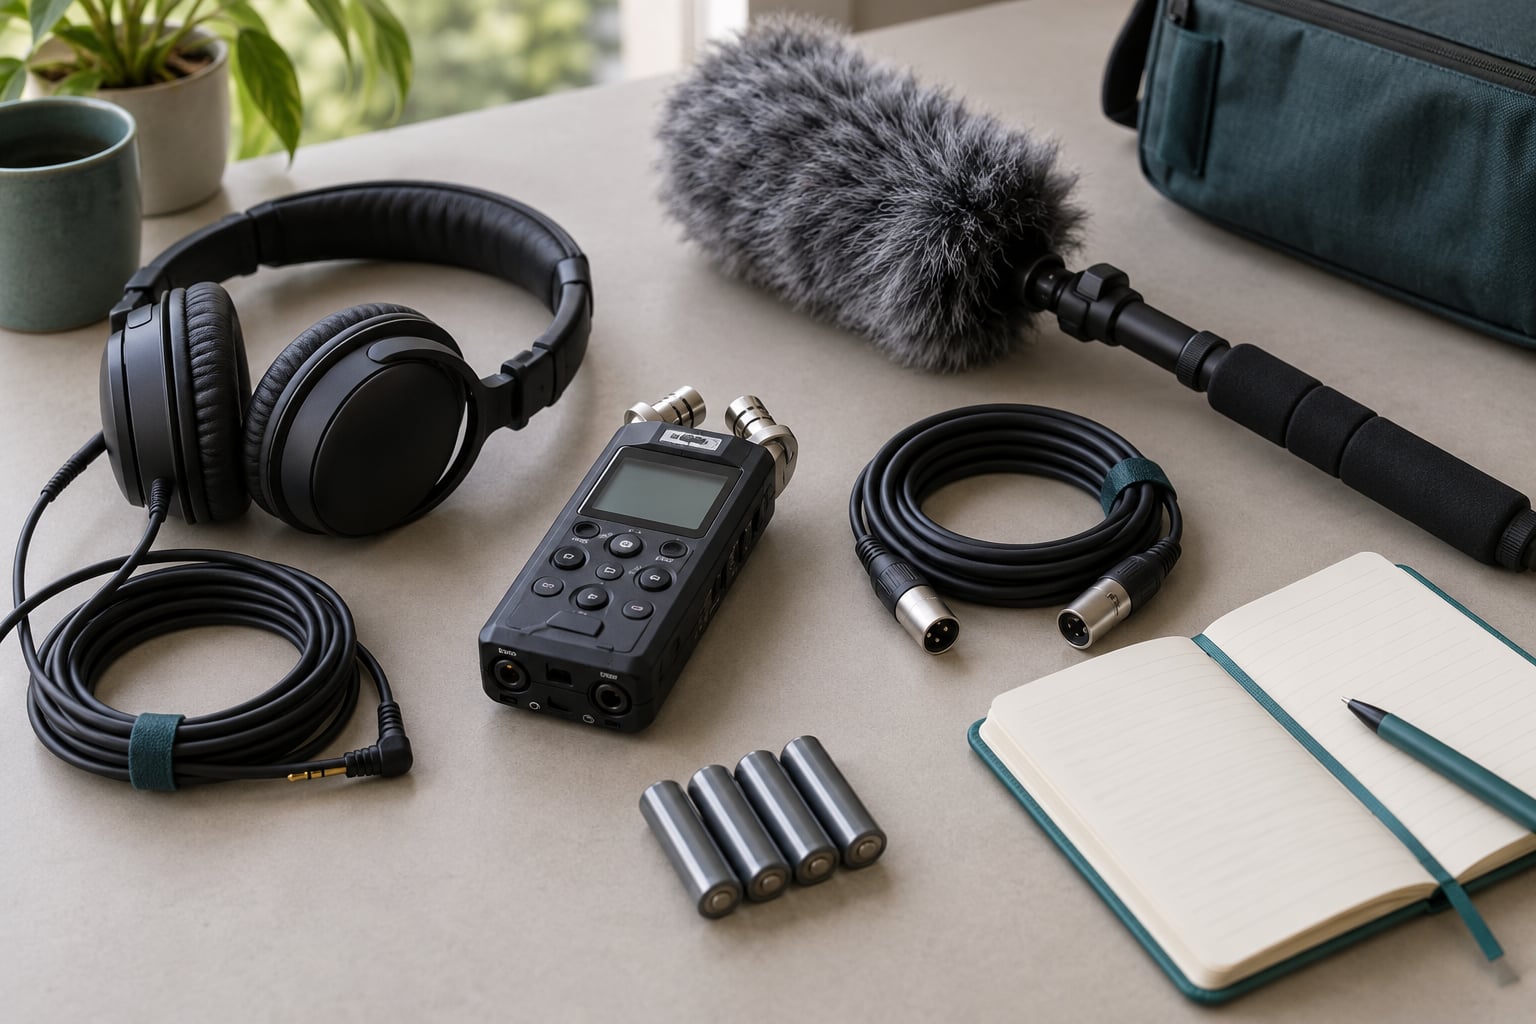
How field recording for radio is done comes down to four things you cannot skip: knowing what sounds you need before you arrive, getting the microphone close enough to the speaker, watching the level meter the whole time, and delivering a file that a playout system can ingest without anyone at the station rebuilding it.
Everything else — the specific recorder, the microphone brand, the expensive upgrade — matters far less than those four. I’ve watched reporters lose an interview to a gust of wind while debating a microphone choice that made almost no difference.
Table of Contents
- What Is Field Recording for Radio?
- Why Radio Producers Record on Location
- How Field Recording for Radio Is Done: The Production Workflow
- What Equipment Does a Radio Field Recorder Need?
- How Do Radio Recordists Handle Difficult Locations?
- How Do You Know If a Field Recording Is Broadcast-Quality?
- Frequently Asked Questions
- Can I record radio-quality audio with my phone?
- What is the 3:1 rule in audio recording?
- What file format should I send to a radio station?
- How do I stop wind from ruining an outdoor recording?
- Should I use a shotgun mic or a lavalier for a radio interview?
- How do I record ambience so it still sounds like the real place?
- Conclusion
What Is Field Recording for Radio?
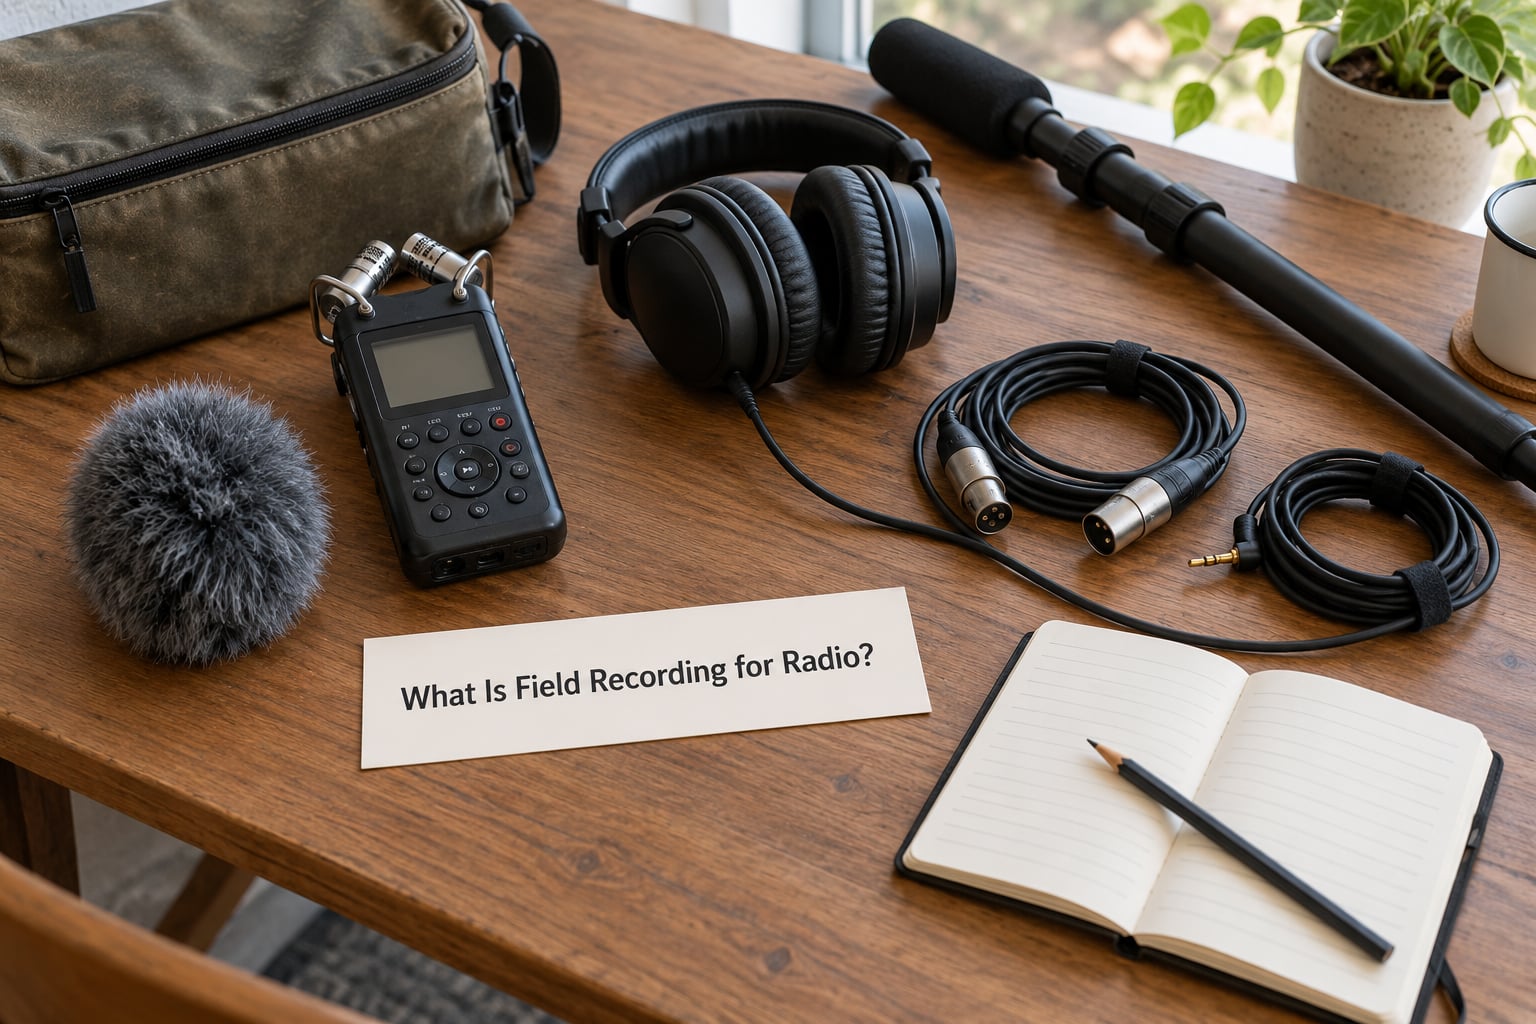
Field recording for radio is capturing audio outside a controlled studio and delivering it for broadcast. That covers interviews in a kitchen, a street vox pop outside a station, the sound of a market at 7am, and a two-minute live report recorded outside a courthouse.
Studio work happens in a room built for sound: treated walls, a fixed mic position, no weather, no generators, nobody’s dog. Location work happens everywhere else. The difference is that you cannot change the room, so you change your technique instead.
The word “field” also covers sounds that are not speech at all. Ambience beds, wild sound, and room tone are what make a listener believe a place exists rather than reading about it.
Why Radio Producers Record on Location
Four reasons keep producers out of the studio, and none of them are about audio quality.
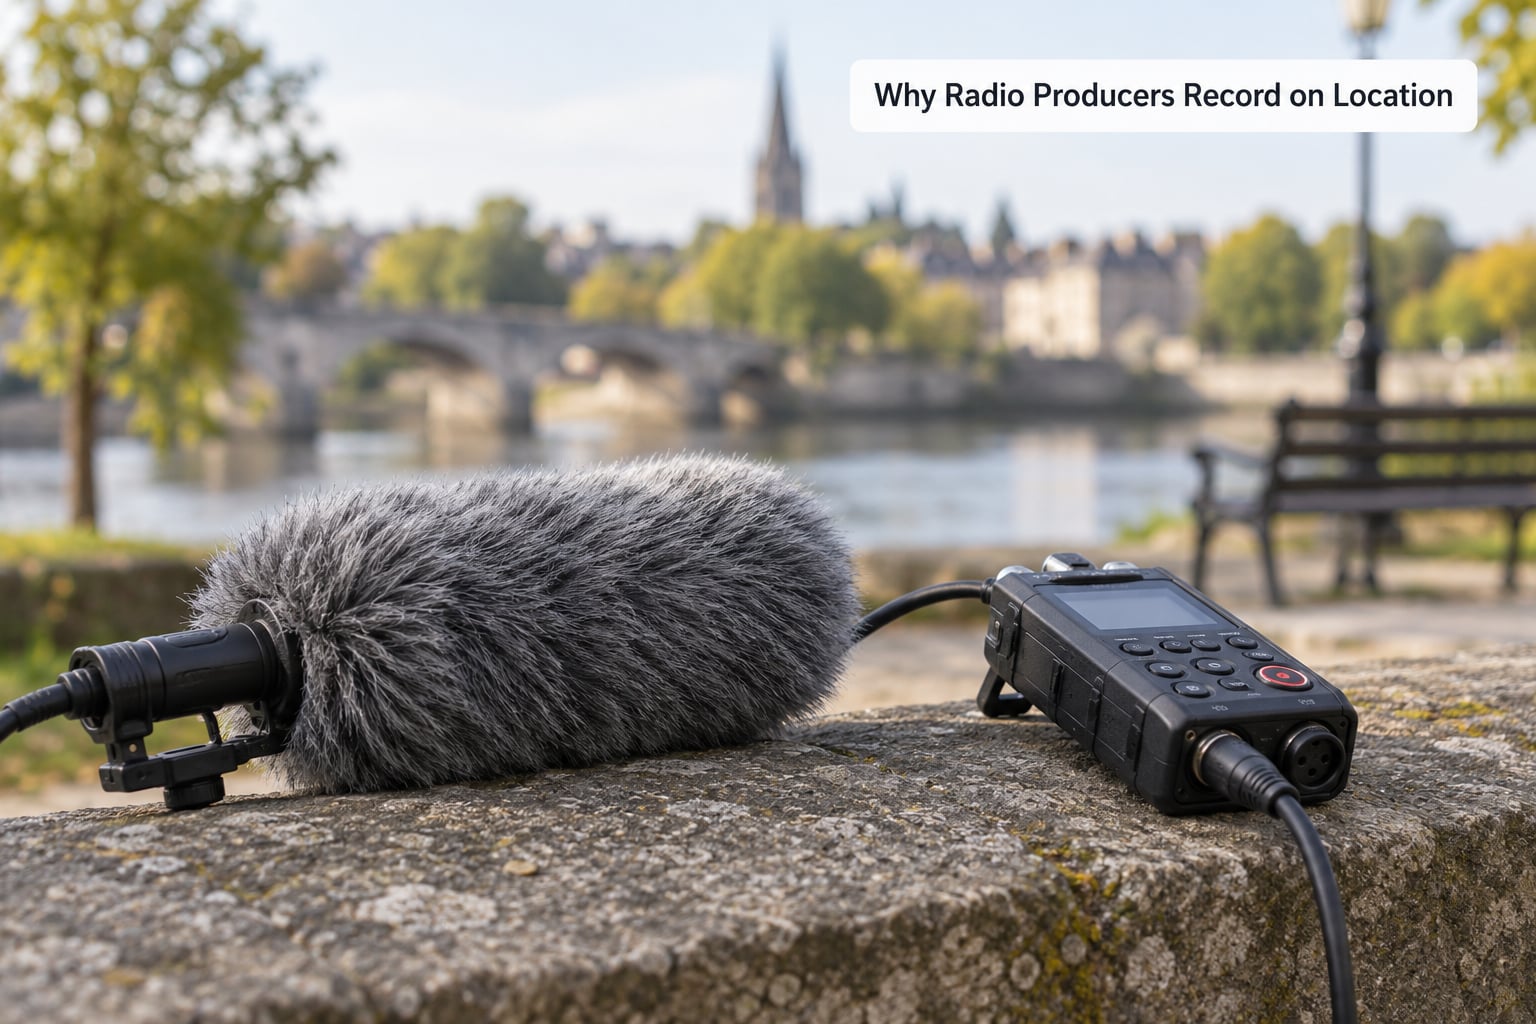
Immediacy. A voice recorded an hour after an event, in a quiet room, sounds like a memory. A voice recorded outside the building it happened in sounds like a report.
Atmosphere. Traffic, wind, a tannoy, birds, a generator humming — that noise floor is context. Strip it out entirely and the piece goes flat.
Access. Some people will not set foot in a station. A laptop, a recorder and a microphone in their doorway gets you the interview; the studio gets you a booking form and a polite no.
Story. Sometimes the sound itself is the story. A market trader describing rising prices needs her stall audible behind her for the line to land.
How Field Recording for Radio Is Done: The Production Workflow
The workflow runs in seven stages: plan the assignment, scout the location, set up and level, record with monitoring, back up, edit, then deliver to spec. Producers who rush the first stage usually pay for it in the last one.
Planning the Assignment and Choosing the Location
Before packing anything, write down the sounds the piece needs. A list is more useful than a mood. “Interview with the shopkeeper, plus the market starting up, plus a short interview with two customers” tells you what to bring and where to stand. A vague intention tells you nothing until you’re standing in the rain with one mic.
Then check the location for the three things that kill audio: a steady noise source, a moving noise source, and a power problem. Traffic is the classic steady source. Sirens, aircraft and a road resurfacer crew are the moving ones. And a socket that only works if you hold the plug in is a power problem you cannot fix.
Walk the spot if you can. Five minutes listening tells you more than an hour of research, because the source of the worst noise is rarely where you’d guess. In my experience the culprit is a rooftop plant room or an extractor fan, not the road everyone assumes.
Ask three questions on site. Do I have permission to be here and to record? What is the power situation? Where can I stand so my back is to the noise and the mic points at the mouth? Back to the noise, mic toward the source — that single decision removes most room problems.
Plan a backup location and a backup of the backup. Then write the file naming scheme into your notebook now, because a reporter at 9pm with forty takes has no attention left for it later.
Capturing Dialogue, Ambience, and Sound Effects
Start with dialogue, because it’s the part with a deadline and the part that can’t be repeated.
Pick the microphone by the situation. A shotgun microphone works at a distance and rejects some background, which makes it the right choice for a stand-up or a noisy exterior. A lavalier clipped under a collar gives intimacy and stays hidden, but it collects every footstep, sleeve rub and jacket rustle, so it needs a quiet room and a still subject. A handheld dynamic is the honest reporter’s tool: tough, omnidirectional, forgiving of handling noise and wind, and never needs a boom operator.
Whichever you choose, distance does more than any other variable. Doubling the distance roughly cuts the level by six decibels and doubles the room noise underneath it. A lavalier that sounds thin on a quiet voice and a shotgun reaching for a speaker across a square are the same microphone-placement mistake solved in opposite directions.
Set gain with headroom. Turn up until a normal speaking voice peaks comfortably below full scale — around 12 to 18 decibels below it — then stop. Sirens, laughter and sudden shouting live in that headroom. Recorders that capture in 32-bit float are forgiving of a mistake that would ruin a fixed-bit file, but they do not rescue a distorted microphone input, so correct placement still comes first.
Monitor continuously. Closed-back headphones are not optional in the field, because small problems are inaudible until they are recorded. Every thirty seconds, listen for mouth clicks, cable rub, handling noise and a hum from an unbalanced connection. Note the timecode when something is wrong; finding it later is otherwise hopeless.
Record the beds. Speech alone tells a listener nothing about place, so capture ambience deliberately: a wide stereo pair or two channels of the same mic pointing different ways gives you a usable bed. Stand still and record thirty to sixty seconds of the location with no one talking. That is your room tone, and it is what lets you cut between interview clips without the background jumping.
Work in the 3:1 rule when several sources share a microphone: each successive source should sit at least three times further from the mic than the one before it. It keeps one voice from swamping another.
Editing and Preparing Audio for Broadcast
Back up the files first, then edit. Copy to two separate drives, verify the copy, and only then format the card. Losing an interview to a full card on the way home is a common enough story that it belongs in this article rather than a footnote.
Name files as you go. A workable scheme is date, location, subject and take — a running sequence that sorts itself and tells the editor what they are holding. Record the notes that matter in the recorder’s own metadata where possible, because they travel with the file.
In the edit, work in this order:
- Log and mark selects before cutting anything. Judging audio while still building the shape of the piece is faster and kinder than scrubbing blind.
- Remove mistakes — the false start, the interrupted sentence, the phone vibrating in a pocket. Tightening pauses more than trimming words is what stops a report sounding breathless.
- Level dialogue to a consistent level, then use light noise reduction to steady the background rather than to erase it.
- Drop the ambience beds under the speech at a level you feel more than hear, around 15 to 25 decibels down.
- Add music last, and check that it sits under speech without fighting it.
Most radio stations want broadcast wave files at 48 kHz and 24-bit, mono or stereo depending on the show, and a loudness target that matches the station’s playout rather than a streaming service’s. Send a small test file before the deadline, and ask what the station’s actual specification is rather than assuming. A piece edited at the wrong sample rate or with a limiter slammed on ends up processed twice and sounds worse than the raw file ever would have.
Clear rights before delivery. A piece recorded in a public place is not automatically free to broadcast, and a background tune playing on a shop radio is a real problem — stations will ask where the audio came from and whether it can be cleared.
What Equipment Does a Radio Field Recorder Need?
The essentials are short, and most expensive “field recording kits” are mostly padding.
- A recorder with two or more mic inputs and manual gain control. Automatic gain defeats careful level work, so treat any recorder without manual gain as a secondary unit.
- One microphone suited to the job — a shotgun, a lavalier or a handheld dynamic. A second mic gives you a spare and a chance at a better track.
- Closed-back headphones with a closed-back isolation you can trust, since you are monitoring near the noise.
- Wind protection. A dead cat on a shotgun, a foam windscreen on a handheld, and a proper muff for a bare lav in a breeze.
- Spare batteries, a charging cable and a power bank, plus more cards than you think you need.
- XLR cables, gaffer tape, a small notebook, and a high-visibility vest or gloves depending on where you are going.
Upgrades worth having later are a recorder with timecode for multi-machine work, a wireless lav system for a subject who moves, and a proper boom for interviews that need to look unobtrusive but sound close. None of them rescues bad placement, and all of them can be borrowed before you buy them.
Smartphones are a reasonable starting point. In a pinch, for breaking news with no alternative, a phone is enough to get words on air. Treat it as a backup rather than a primary recorder: no manual gain on most models, compression before you get the file, and no way to record a safety track.
How Do Radio Recordists Handle Difficult Locations?
Wind is the first problem because wind protection is cheaper than any microphone upgrade. Get the microphone inside the wind, not next to it — that means close to the mouth, angled slightly off-axis, which also reduces plosives.
Traffic and crowds are handled with a shotgun, with a lav and a quiet subject, or by moving to the quiet side of the building. Refuse the location if the noise floor sits under the voice — there is no edit that fixes a badly chosen spot.
Weather changes fast. A foam windscreen keeps working when a dead cat has gone from your hands in a squall, so bring the cheap one and treat the expensive one as a treat. In rain, put the recorder inside a jacket and keep the card away from damp hands.
Radio spectrum and cellular signal vary, so test the connection before you need it and keep a recorded version of any remote interview you could lose. For live voice links, agree the hand-off time and a fallback before going on air.
Permission and safety come first every time. Ask the building manager, the landowner or the event organiser, tell people why you are recording, and if a scene is risky or a subject is uncomfortable, the audio is not worth it.
When the unexpected happens — a helicopter, a passing lorry, an interruption — keep recording. The unusable thirty seconds are cheap insurance around a usable take.
How Do You Know If a Field Recording Is Broadcast-Quality?
Check the file, not your memory of the take. Run these before you send anything to a producer.
- Play it on good speakers at normal listening level. Voice should sit clearly above the background, and the background should still be recognisably there.
- Watch the waveform. Any section flattened against the top of the scale is clipped and unrecoverable.
- Listen on cheap earphones. Fizz, rumble and sibilance that hide on headphones show up immediately.
- Listen in the car or on a phone speaker, which is roughly how some of your audience will hear it.
- Check that the file plays from the start, contains no gaps where the card paused, and is named clearly.
- Confirm the spec matches what the station asked for, in writing, before you upload.
If a piece needs rescue rather than trimming — heavy noise reduction, or speech sitting far too low — it points to a placement or gain decision made in the field. Fix those in the field next time; they cannot be fixed later.
Frequently Asked Questions
Can I record radio-quality audio with my phone?
A phone can capture usable words for a quick report, and in a genuine emergency a phone recording beats no recording. For regular work it falls short: most models apply automatic gain and compression before you get the file, there is no manual level control, and there is no safety track if something goes wrong. Treat it as a backup recorder rather than a primary one.
What is the 3:1 rule in audio recording?
The 3:1 rule says each additional sound source should sit at least three times further from the microphone than the one in front of it. A speaker 30 centimetres away is balanced by a second person standing roughly 90 centimetres back. Doubling distance cuts level by about six decibels, so the rule is a quick approximation of matching volumes rather than a fixed law.
What file format should I send to a radio station?
Most stations ask for broadcast wave files at 48 kHz and 24-bit, and some still require mono for spoken content. Loudness should match the station playout rather than a streaming target. Send a short test file early and ask the producer for the exact specification, because delivery formats and channel counts differ from station to station.
How do I stop wind from ruining an outdoor recording?
Get the microphone inside the wind rather than next to it, which means positioning it close to the mouth and angled slightly off-axis. Use a furry windscreen on a shotgun, foam on a handheld and a proper muff on a bare lavalier. Also hide behind something solid when you can, and accept that some windy days are for ambience beds rather than dialogue.
Should I use a shotgun mic or a lavalier for a radio interview?
Use a shotgun when the subject is more than arm’s length away, outdoors, or in a noisy place, since it stays focused on the voice at distance. Use a lavalier when you are close, indoors and want an intimate sound, but expect to handle jacket rustle and handling noise. A handheld dynamic is a solid third choice for walk-and-talk and vox pops.
How do I record ambience so it still sounds like the real place?
Stand still, choose a spot away from obvious noise sources, and record thirty to sixty seconds with nobody talking. Capture it in stereo if it is meant to sit under a sequence of clips, and repeat the take from a second position. Keep the levels consistent with your dialogue so the bed can be dropped underneath without jumping.
Conclusion
Start with the plan, not the kit. Write down the sounds the piece needs, walk the location and find the noise, then choose the microphone that suits the distance and the room.
Record a clean reference track at a sensible level with headroom, keep the recorder’s safety track running, and copy the files to two drives before you format anything. When you know how field recording for radio is done, the edit becomes a cut rather than a rescue — and that is the whole difference between a usable piece and one the producer sends back.