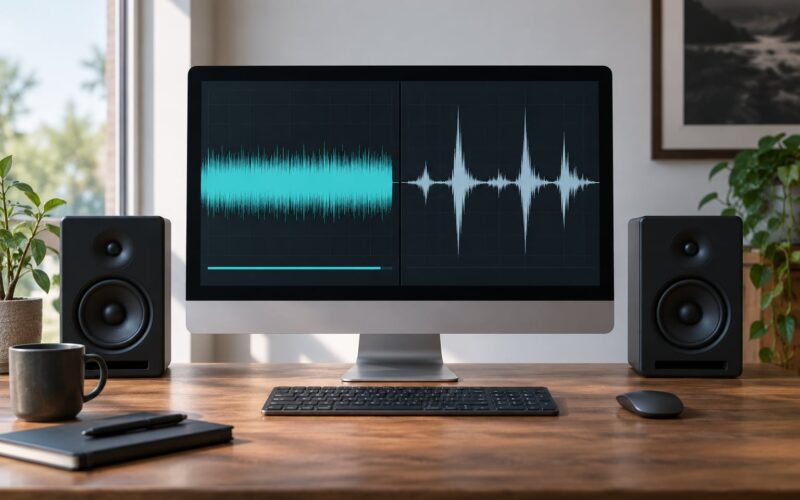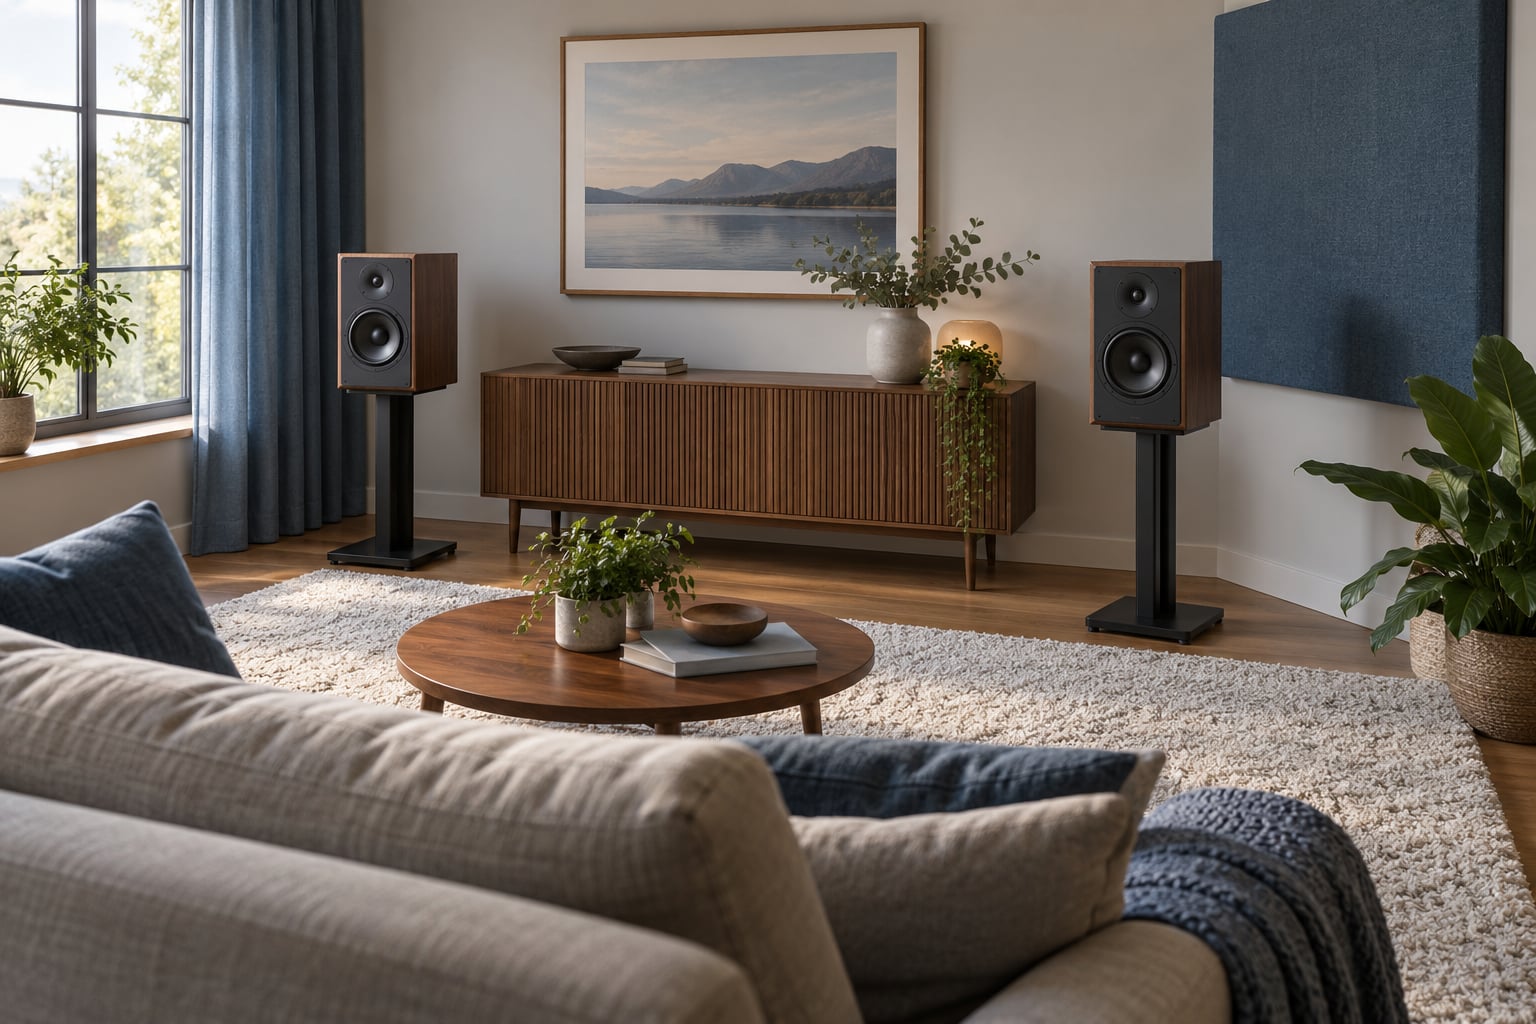
The fastest way to reduce echo in a listening room is to absorb the first reflection points on your two side walls, put a thick rug and pad down on any hard floor, and hang heavy curtains over glass. Move the speakers off the walls before you spend anything, treat the wall behind your chair after that, and save bass traps for last.
Echo comes from hard, flat, parallel surfaces. Bare plaster, glass windows, tiled or wood floors and an untreated ceiling all bounce sound back at your ears a fraction of a second after the direct sound arrives, and that reflection smears transients and blurs the stereo image. Good speakers in an untreated room sound thin and slightly confused, and no amount of volume fixes it.
None of that is soundproofing, and the two get mixed up constantly. Reducing echo changes what happens inside the room. Soundproofing stops sound leaving it, and thick curtains or panels do very little to keep a neighbour from hearing your music.
Most of this takes an afternoon and no specialist tools. Rooms change character quickly once a rug and two correctly placed panels go in, and foam bought at random does almost nothing when it is stuck on the wrong wall. Order of work matters far more than how much you spend, so start at the top of this page and work down.
Table of Contents
- What You Need
- How to Reduce Echo in a Listening Room: Step-by-Step
- Common Mistakes
- Frequently Asked Questions
- What causes echo in a listening room?
- Is moving speakers away from the wall enough to reduce echo?
- What materials work best for absorbing echo?
- Do acoustic panels need to cover the entire wall?
- How do I reduce echo without making the room sound dead?
- How can I tell whether a problem is echo or bass resonance?
- Conclusion
What You Need
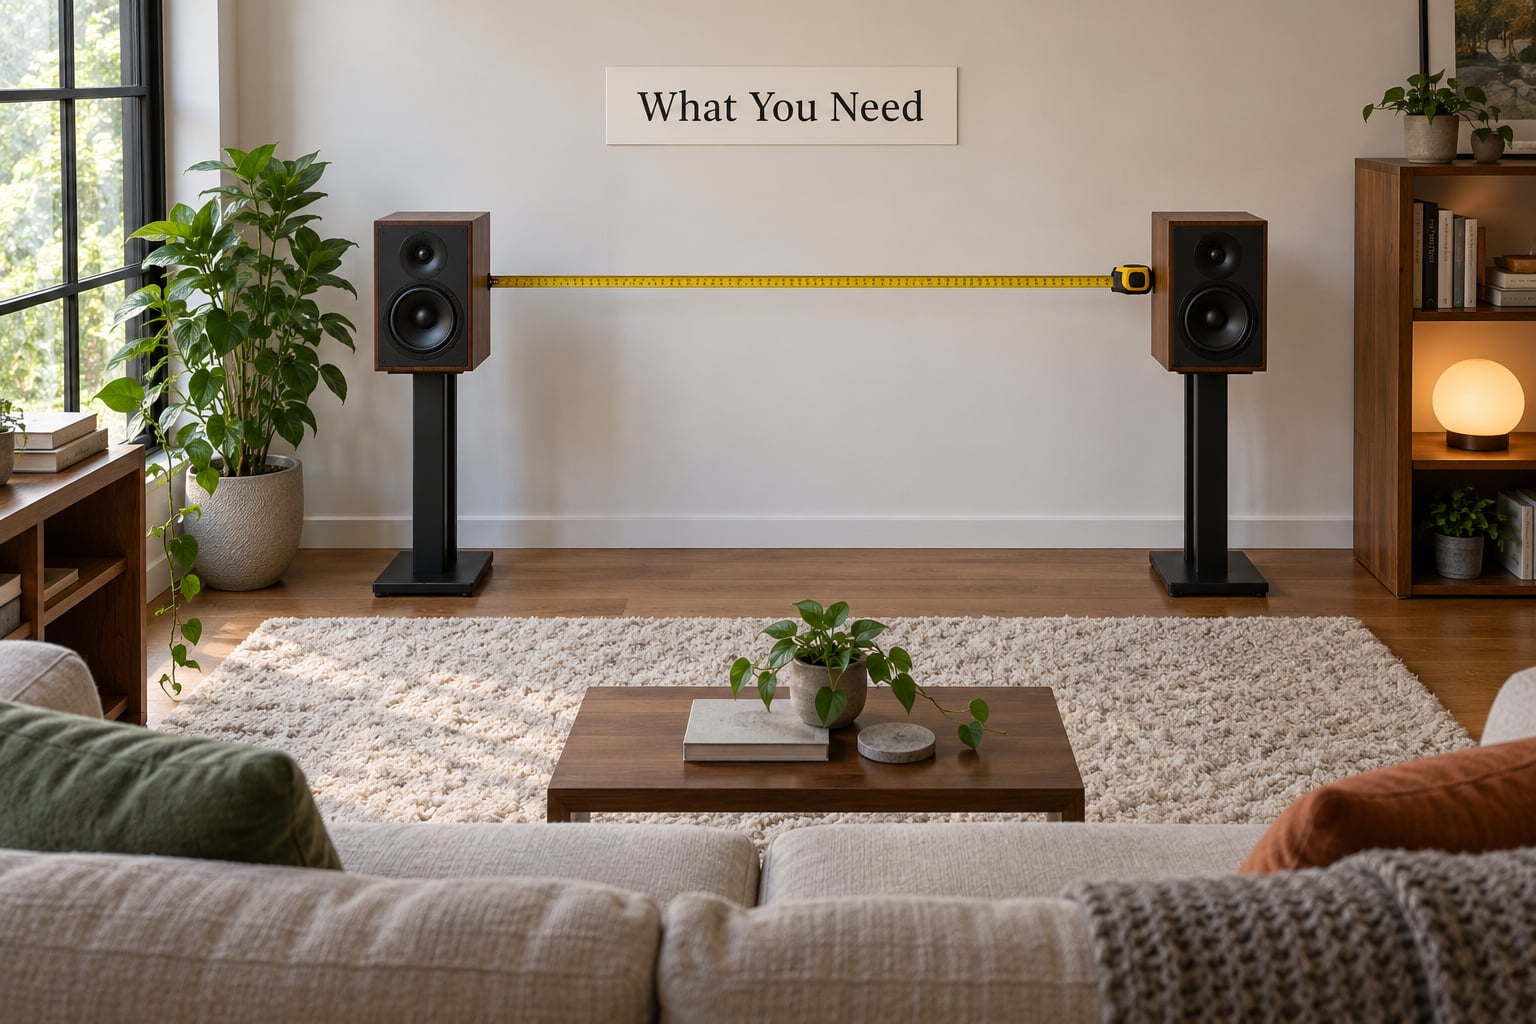
None of this is specialist kit, and every item on the list pays for itself in time.
- A tape measure. You need room length, width and ceiling height, plus the distance from each speaker to the front wall and to your chair.
- A small hand mirror and masking tape. The mirror finds your first reflection points, the tape marks them on the wall so you can measure for panels.
- A phone with a clap-test or reverb-time app. Free ones are good enough to tell a live room from a controlled one. Nothing more precise is needed at home.
- A notebook. Write down what you change and what you heard afterwards. This is the difference between tuning a room and guessing at it.
- Soft material on hand. Whatever is already in the house: a rug, a duvet, a heavy blanket, cushions. These do the first half of the work for nothing.
Measure the room and write it down before touching anything. A rectangular 4.2 by 3.4 metre room with a 2.4 metre ceiling behaves very differently from a square 3.5 by 3.5 metre one, and the numbers tell you in ten seconds which problem you are dealing with.
How to Reduce Echo in a Listening Room: Step-by-Step
Work through these six steps in order. Each one either removes a reflection or confirms that the problem is not reflections at all, and the later steps are much cheaper to do correctly once the earlier ones are done.
1. Identify Where Reflections Are Happening
Sit in your normal listening chair and clap once, sharply, then listen to how long the sound carries. A bright, ringing answer means live surfaces; a dull thud means the room is already absorbing plenty.
Now walk to each wall in turn and clap again. The wall that answers loudest is your worst offender, and that is the wall to treat first. Check windows and wardrobe doors separately, because glass and flat painted doors behave like mirrors compared with a wall hung with pictures.
Do the ceiling last, clapping while looking up. In a room with high ceilings the floor-to-ceiling volume is the single biggest reason it stays live, and the ceiling bounce arrives from a direction your brain struggles to place. In r/Acoustics, the recurring advice is the same: find the parallel surfaces and deal with those before anything else.
Record the results. Two minutes of notes now saves an evening of moving furniture later.
2. Improve Speaker Placement
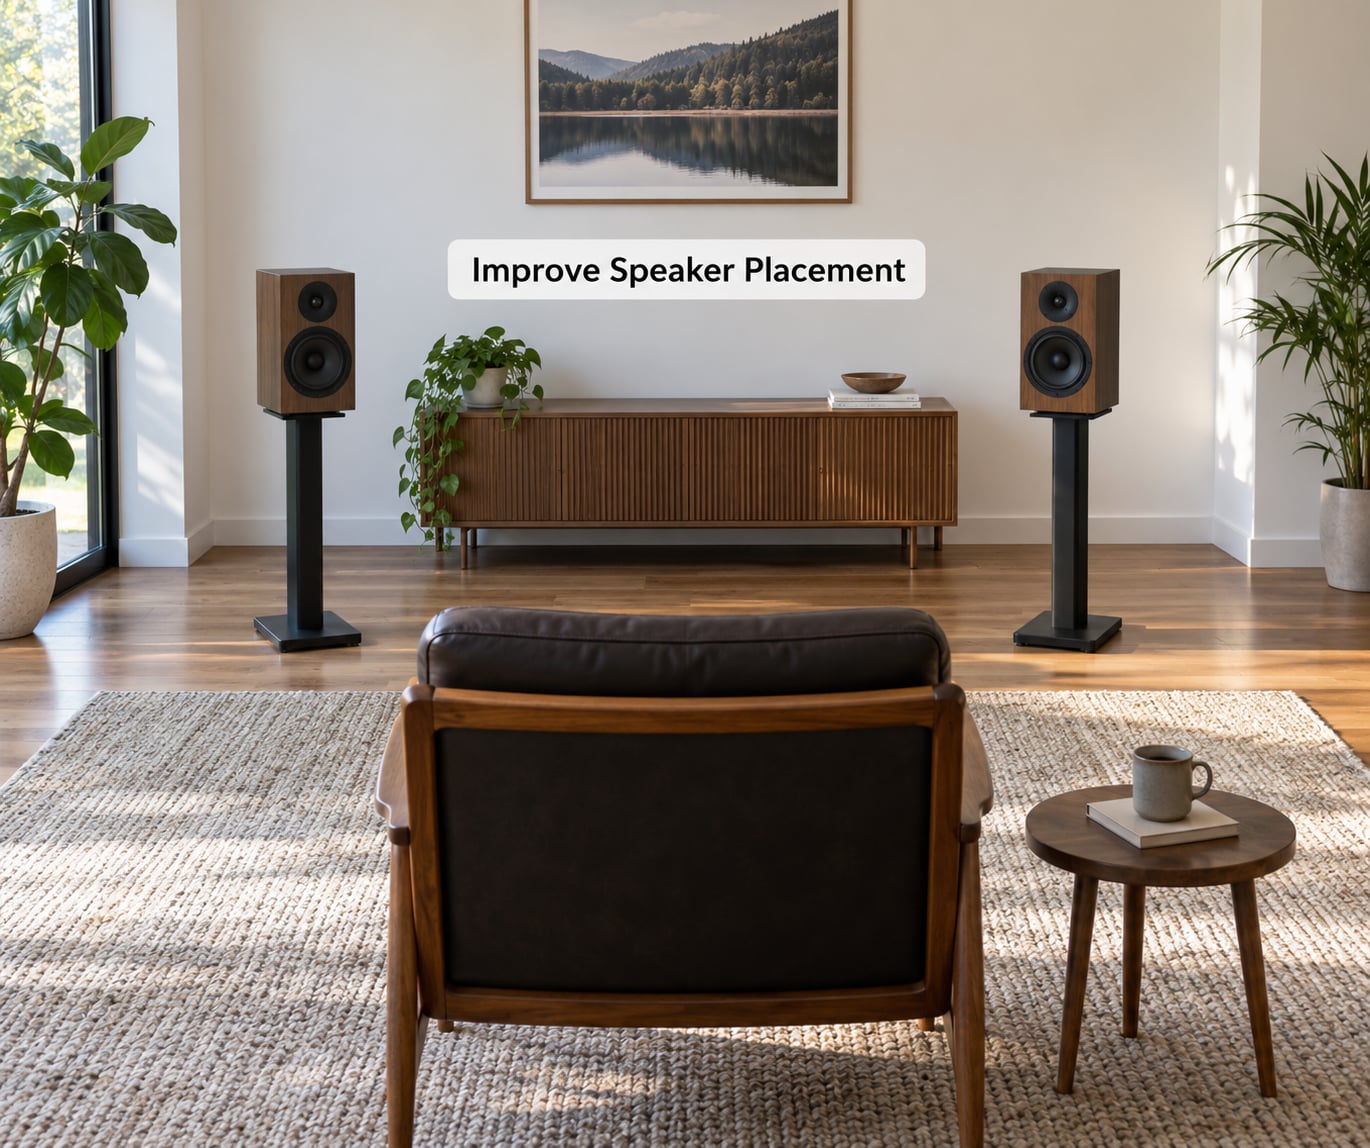
Placement is the only free acoustic treatment there is, and it changes more than most people expect. Do it before you buy anything.
- Pull the speakers off the front wall. A common guideline is to place them at roughly 38% of the room length back from the front wall, which usually lands somewhere between 60 cm and 1.2 metres in a normal living room. Speakers jammed into a corner add a strong low-frequency boundary boost and muddy the stereo image.
- Angle them in. Toeing each speaker inwards until the tweeters cross a little behind your chair pulls the stereo image into focus. This is a free change to stereo imaging that costs nothing and works immediately.
- Match tweeter height to your ears. Sit down and measure. If the tweeters fire well above your head, you are hearing a floor reflection instead of the direct sound.
- Keep the listener still. Put the chair on the open side of the stereo triangle, roughly a metre back from the speaker line, and never listen from off-axis. The seat is part of the geometry.
- Decouple them from the floor. Isolation pads under stands or feet stop structure-borne vibration feeding back into the room as low-frequency noise.
Rectangular rooms are easier to treat than square ones. A square room reinforces its own modes at several frequencies at once, so if you have the choice between layouts, take the longer rectangle and put the long wall behind the speakers.
3. Add Soft Furnishings and Absorption
Soft materials are the cheapest and most immediately audible improvement in most living rooms, and listeners rarely regret buying them.
A thick rug on bare boards changes more than people expect. Aim to cover most of the open floor between the speakers and the chair, roughly 60% of it, and put a decent pad or an old carpet under it. A rug with nothing beneath it absorbs very little, because the sound has already hit the floor and the timber underneath before the pile does anything.
Curtains work the same way, for the same reason. Hang them wide enough to overlap when closed, from a track or pole fixed as near the ceiling as you can manage, and leave a gap behind the fabric. A short curtain hung between two windows does almost nothing; a full-height one over the whole wall does a great deal.
Then use what you own. A fabric sofa, an armchair with cushions, a bed in a spare listening space and a stack of pillows all absorb broadband sound across the middle of the range, where voices and most instruments sit. Removing or slimming a large glass coffee table in front of your speakers is a free win too.
Fill the bookshelves irregularly. Books of mixed depths and heights scatter reflections in different directions instead of letting a bare shelf act as one hard plane. That is diffusion rather than absorption, and it is worth having even though it does less to cut overall reverberation.
4. Treat the Earliest Reflection Points
This is where to reduce echo in a listening room properly, and it is the step that fixes smeared stereo imaging rather than just overall loudness. The first reflection points are the spots on your side walls where sound from one speaker bounces straight into the opposite ear, arriving a few milliseconds late and smearing the image between the speakers.
Find them like this:
- Sit in your listening chair at your normal height. This position matters, because the reflection point moves if you stand up.
- Hold the mirror flat against the side wall, at tweeter height, a little behind the speaker.
- Move the mirror slowly towards the back of the room while you look at it until you can see the speaker’s tweeter reflected.
- Mark that point on the wall with tape, then repeat on the other side.
Each mark should end up somewhere between 30 cm and 90 cm behind the speaker, depending on how far back you sit and how far apart the speakers are. Cover the marked area with absorption, and you will hear the centre of the soundstage pull into focus rather than sitting somewhere behind the speakers.
Panels work best at 5 to 10 cm thick and mounted with a 2 to 5 cm air gap behind them. The gap gives the low end something to work against and is the detail most DIY builds leave out. Cheap rigid mineral wool wrapped in breathable fabric does the job perfectly well; thin decorative foam tiles do not.
Renting or unwilling to drill? Freestanding panels, a heavy duvet hung on a rail, or a bookshelf pushed into the corner of the problem all absorb energy at the reflection point. The consensus on r/StereoAdvice is to treat the side walls first, the wall behind your seating second, and only then add coverage anywhere else. If you treated the wall behind the speakers first, which is what most guides suggest first, this is the moment to add the panels that were actually missing.
5. Control Bass and Resonance
Bass is a separate problem from echo and needs separate treatment. Echo is reflections arriving tens of milliseconds late; bass problems are room modes and standing waves that reinforce one narrow band of frequencies.
Measure your room. Where two dimensions are close to being a multiple of each other, a particular low frequency gets reinforced every cycle and builds up in exactly one spot. This is why some seats sound boomy while the sofa two feet to the left sounds correct, and why moving one metre can fix what six panels could not.
- Move the speakers away from corners, and away from the wall intersection if you can. This is the single biggest bass improvement available for free.
- Place a bass trap in the two rear corners if bass is still heavy. A tall, narrow, 10 cm-thick absorber with an air gap behind it works; short decorative foam squares do not.
- Cut the subwoofer level rather than adding more panels. If it only adds to the problem, turn it down until the room stops reinforcing it.
- Decouple the speakers and subwoofer from the floor with pads, so the low end stops driving the structure and coming back as noise.
Never mix up the two. A rug and curtains will not fix a 45 Hz standing wave, and bass traps will not sharpen a smeared vocal.
6. Test and Fine-Tune the Room
Testing has to be repeatable or it is just opinion. Before you change anything, sit in your chair, set a comfortable level and play three tracks: one with a solo vocal, one acoustic recording, and one with heavy low end. Note what you hear, then change one thing at a time and play the same three.
Check the midrange first. If the vocal sounds clearer and sits between the speakers rather than behind them, the side-wall treatment is working. If the image is stable but the whole room still sounds splashy on cymbals, you need more mid and high-frequency absorption, not more panels in the same places.
Move to a different seat and listen again. A room that works from the sweet spot but collapses from the sofa will irritate you for years, so worth checking before you call the job finished. Keep a rough reverberation estimate too: a phone app measuring 0.3 to 0.5 seconds of decay is a sensible target for music, and lower than that starts to sound lifeless.
Give your ears ten minutes to adjust after each change. The difference between two adjacent settings is obvious after a minute and obvious the next day, and tuning too fast is how people end up over-damped.
Common Mistakes
Most disappointing acoustic fixes come down to one of these, and each has a straightforward correction.
- Treating the wrong wall first. Panels behind the speakers sit where reflections are weakest, so the change is barely audible and people conclude panels do not work. Put them at the marked first reflection points instead.
- Buying thin decorative foam. Foam a couple of centimetres thick absorbs high frequencies and almost nothing below a few hundred hertz. In a listening room it can leave you with dull cymbals and still-too-much bass.
- Hanging egg cartons. Irregular shells of thin card change almost nothing measurable. Nothing you can hang on a wall is going to compete with a properly built absorber.
- Mounting panels flush. The air gap behind a panel is worth real low-frequency performance, and skipping it wastes much of what you paid for.
- Filling the room with furniture and stopping. A sofa behind you and a rug help, but scattering soft items is not the same as putting absorption at the reflection point.
- Expecting soundproofing. Heavier curtains and thicker panels improve what you hear inside the room. If you need to stop sound leaving, that is a completely separate job.
- Overtreating. Once the room gets too dead, music loses its sense of space and depth. Add coverage gradually and keep listening between steps.
- Measuring from standing height. Reflection points and modal peaks move with your ears. Always check from the seat you actually listen in.
Frequently Asked Questions
What causes echo in a listening room?
Echo comes from hard, flat, parallel surfaces such as bare plaster walls, glass, tiled or wood floors and an untreated ceiling. Sound hits those surfaces and returns to your ears milliseconds late, adding to the direct sound. In a listening room that smears transients and blurs the stereo image, so music sounds less focused and slightly washed out even with very good speakers.
Is moving speakers away from the wall enough to reduce echo?
No. Pulling speakers off the front wall and out of corners clears up bass reinforcement and often sharpens imaging straight away, but it does not remove reflections from the side walls, ceiling or floor. Treat it as step one because it is free, then go on to rug, curtains and panels at the first reflection points.
What materials work best for absorbing echo?
Thick, porous, air-permeable materials: rigid mineral wool or acoustic foam at least 5 cm thick behind breathable fabric, a heavy rug with a pad beneath it, and full-length curtains hung with a gap behind them. Dense reflective or thin materials do very little, and thin decorative foam only touches the highest frequencies.
Do acoustic panels need to cover the entire wall?
No. Most of the audible improvement comes from the panels covering the first reflection points on each side wall and the wall behind your listening position, and from enough total coverage to bring reverberation down to roughly 0.3 to 0.5 seconds. Treating the entire wall is a common rule of thumb for even coverage, not a requirement.
How do I reduce echo without making the room sound dead?
Work gradually and stop at the point where voices become clear and the image sits between the speakers. Add one piece of treatment at a time, play the same track after each step, and keep some diffusion or partially filled bookshelves in the room. A completely dead room loses depth and space, and most listeners find that less enjoyable.
How can I tell whether a problem is echo or bass resonance?
Echo is reflections arriving tens of milliseconds late and sounds like splashiness, a smeared vocal or an unstable image; it changes as you move your head. Bass resonance is a narrow low-frequency boom that stays exactly where it is. Clap for the reflections, and move a metre around the room: if the boom follows a specific chair, it is a room mode.
Conclusion
Start with the free work. Clap the walls from your chair, move the speakers off the front wall and out of the corners, then toe them in until the image pulls between them. Next put down a thick rug with a pad under it and hang full-length curtains over any glass, which is most of a normal room fixed in an afternoon.
When you are ready to buy anything, mark your first reflection points with a mirror from the listening chair and put a properly built absorber on each side wall, with an air gap behind it. Change one thing at a time, play the same three tracks after each step, and stop while it still sounds alive.