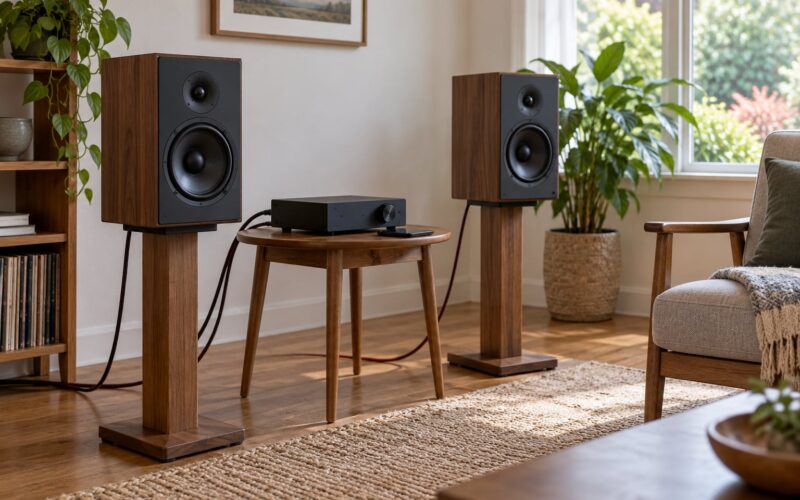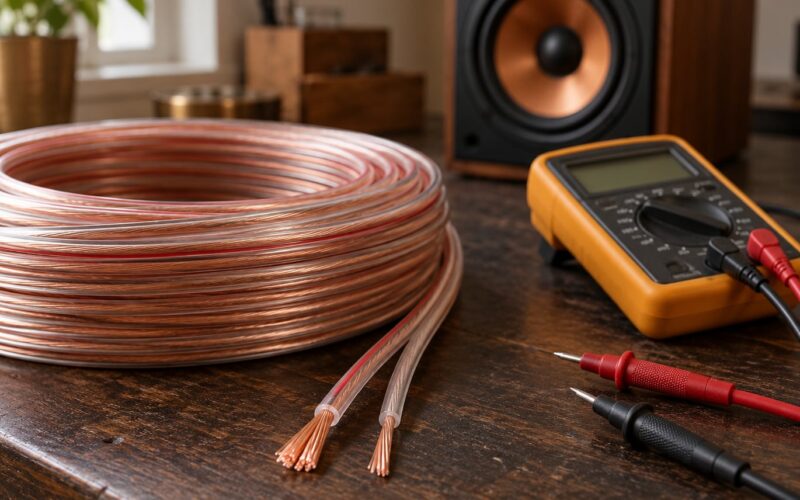
To test speakers for proper wiring you need to confirm three things: each driver has a continuous path from the amplifier terminal to the voice coil, every positive lead lands on a positive terminal, and your two channels move in phase so bass adds instead of cancelling. A digital multimeter and a fresh 9V battery will settle all three in under ten minutes, and most of the faults people blame on a blown speaker turn out to be a loose strand or one reversed pair of terminals.
It helps to keep the three checks separate, because they answer different questions. Continuity tells you the wire is intact. Polarity tells you which terminal is which. Phase tells you whether two speakers agree with each other. Conflating them is how people end up staring at a speaker reading 16 ohms and assuming it is faulty.
Table of Contents
What You Need
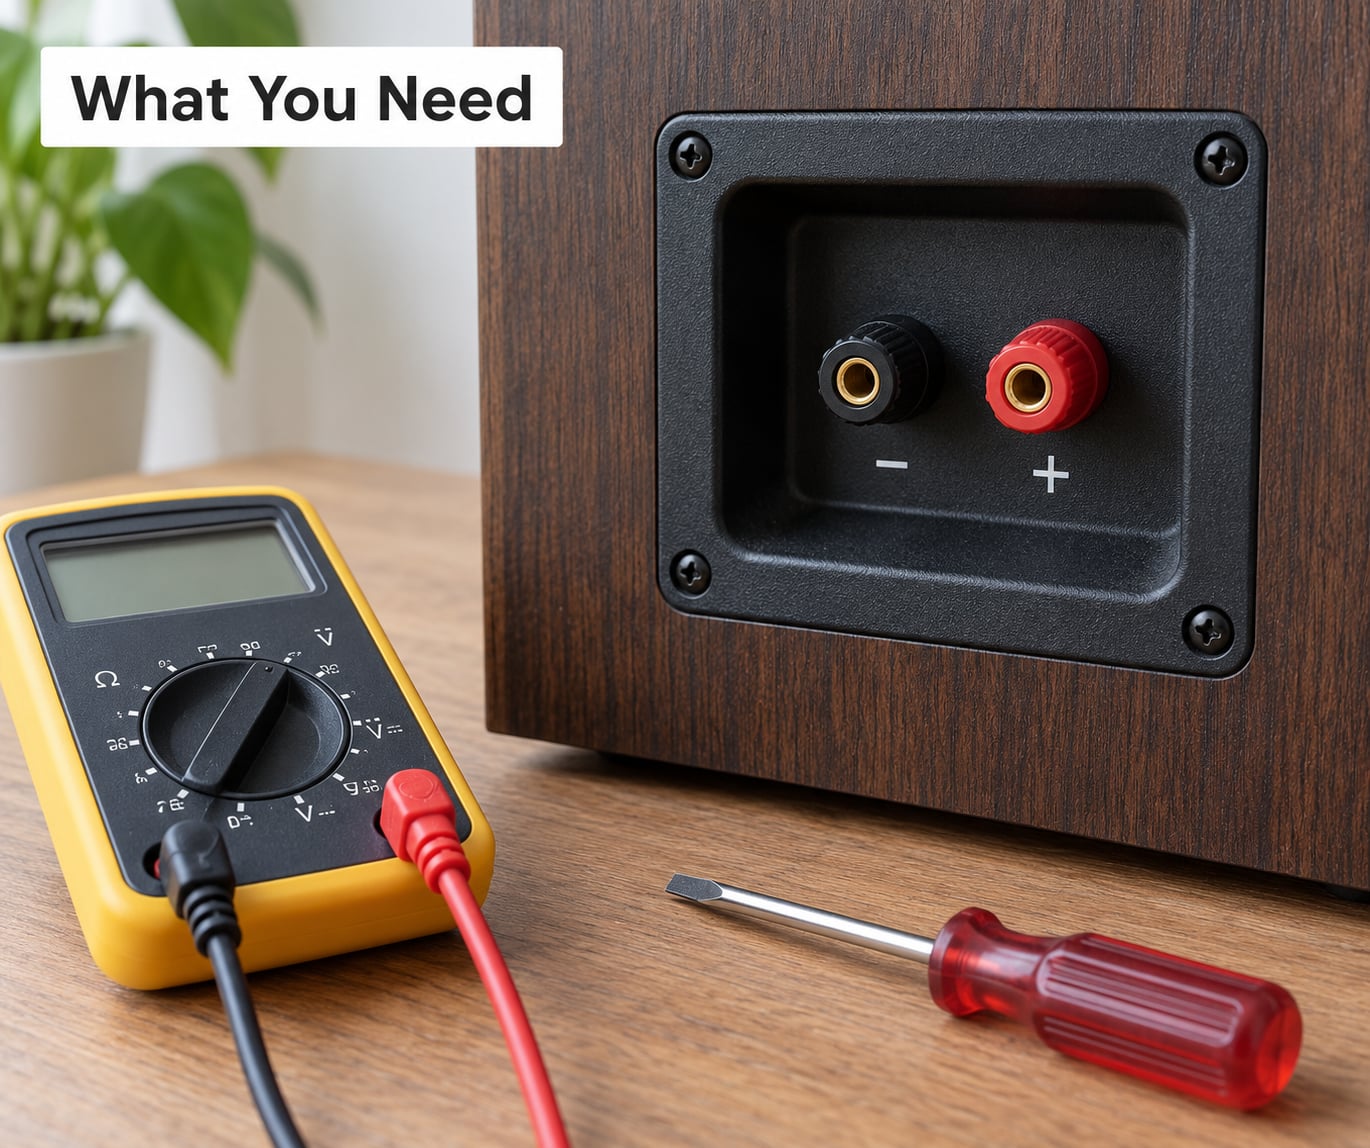
A basic digital multimeter with continuity and resistance modes, a fresh 9V battery, a small flat-blade screwdriver, and the manual for your amplifier or receiver. That is the whole kit. Continuity testers work too, but they rarely give you the ohm reading you need to tell a healthy driver from a bad one.
Before anything else, switch the amplifier off at the wall and unplug it. Not just the power button, the plug. Mains voltage on an amp that is still plugged in is the one genuinely dangerous part of this job.
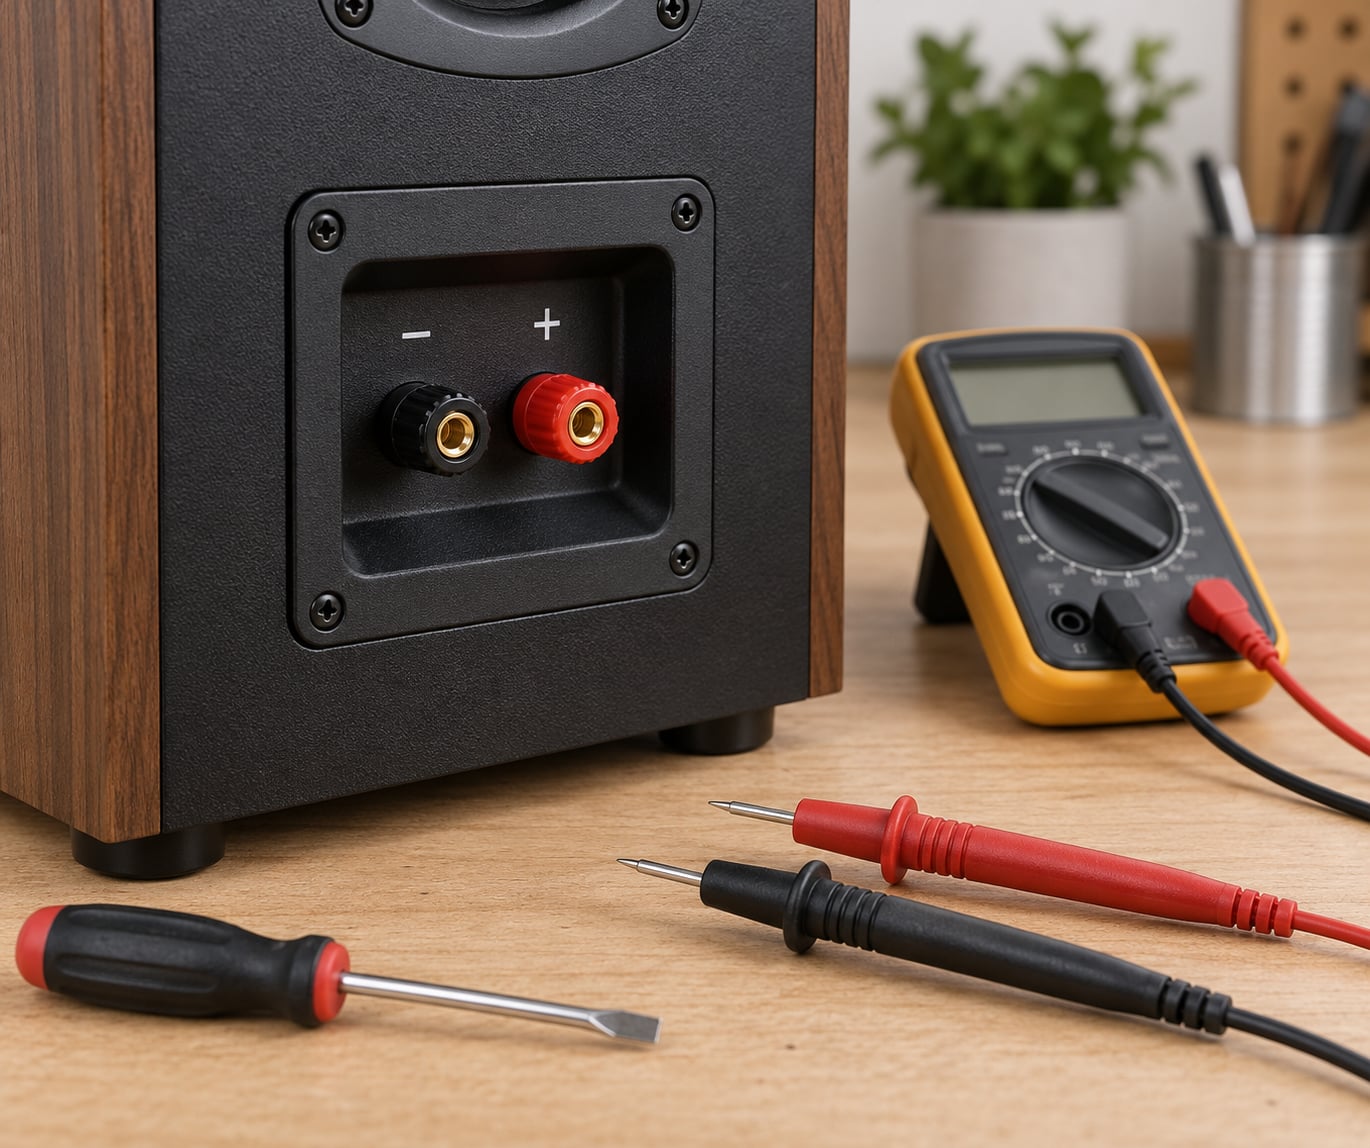
Learn your terminals first. Look for red and black binding posts, or polarity marks stamped into the cabinet near a recessed plate. Speakers wired through a crossover network still have two external terminals, and that is what you test. Take a photo of the existing wiring before you touch a single screw; it makes reassembly obvious.
One safety rule before we go further: the battery test belongs on a speaker that is completely disconnected from any amplifier or receiver. Never attach a battery to a driver that is still wired to electronics.
Step-by-Step: How to Test Speakers for Proper Wiring
Step 1: Inspect the Connections
Start with the amplifier unplugged and the speaker wire pulled free. Check that the conductor going into the positive terminal is the same conductor that came from the amplifier’s positive output, and that the negative matches negative. Colour codes are reliable on factory wire and unreliable on aftermarket boot-style cable, so verify rather than assume.
Look closely for loose strands bridging the two terminals, insulation stripped further back than it needs to be, and terminals that are dull, green or slightly loose in the hole. Any of those can produce a fault that sounds like a bad driver.
Also confirm the speaker’s nominal impedance is compatible with the amplifier. Two 8 ohm speakers in parallel present 4 ohm to the amp, and many receivers will protect themselves or overheat if asked to drive a load lower than they were designed for. If your pair has been re-wired since installation, check that first.
Step 2: Check Continuity and Resistance
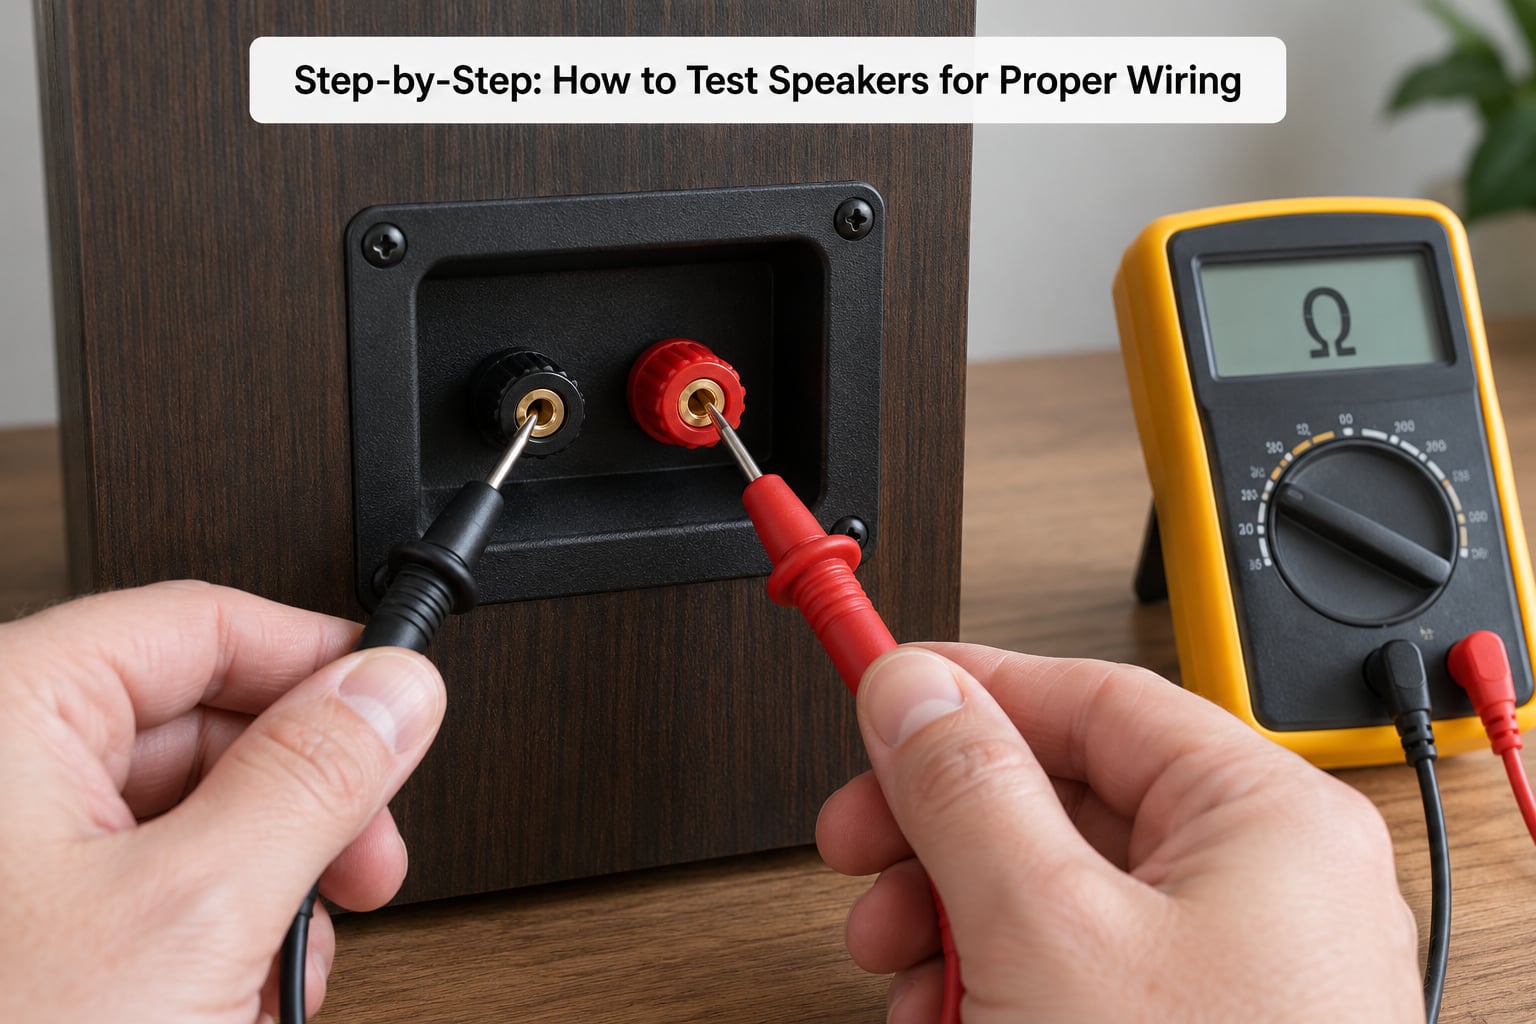
Set the multimeter to its lowest resistance range, typically the 200 ohm range. Touch the two probes together first; you should see near zero ohms, which proves the meter works. Then place one probe on each speaker terminal.
A healthy driver gives a low, stable reading that stays put. The community rule of thumb, widely used on audio forums, is roughly half the nominal impedance for a single driver, and that matches the measured values people quote: an 8 ohm speaker typically reads somewhere between 5.5 and 7.5 ohms DC, while a 4 ohm speaker reads about 3 to 3.5 ohms. DC resistance is always lower than nominal impedance because the voice coil’s inductance and the voice coil itself resist differently at zero hertz than at audio frequency.
Interpret what you see like this.
| Tool or method | Expected reading | What a correct result looks like | What a wrong result means |
|---|---|---|---|
| Multimeter, lowest ohm range | About half the nominal impedance | Stable low reading, roughly 5.5-7.5 ohms for an 8 ohm driver | Open or fluctuating, so the coil or the wiring is faulty |
| Continuity beep mode | Beep plus a reading | Continuous tone through an intact path | Silence means an open circuit somewhere in the run |
| Reading near 0.0 ohms | Should not happen | Never below about 1 ohm on a single driver | Shorted voice coil or a strand bridging the terminals |
| Reading roughly double nominal | Two drivers in series | About 16 ohms for two 8 ohm drivers | Not a fault, just series wiring |
| 9V battery on the terminals | Cone moves out or in | Outward movement marks the positive terminal | Inward movement means reverse your reference |
Testing each speaker separately is the fastest way to isolate a problem. If the front pair measures correctly but one channel reads open, that speaker or its cable is the fault, not the amplifier. Silence from a single channel almost always starts at a terminal, a cable run, or a crossover connection.
Step 3: Verify Polarity
With the speaker fully disconnected, touch the positive battery terminal to one binding post and the negative to the other. Keep the contact brief, just long enough for the cone to move, then break it. If the cone moves outward, the post you touched with the positive terminal is positive. If it moves inward, the two are the other way round.
Watch the cone, not the terminals. The 9V has the same idea as the amplifier output: current flowing through the voice coil in the intended direction pulls the cone forward. That is also why a reversed speaker has no trouble playing music, it simply plays it wrong.
Skip this test on tweeters and ribbon drivers. A short battery contact is unlikely to hurt a paper-cone woofer, but repeated taps are hard to control and forum advice is consistent on one point: the battery method is not for delicate high-frequency drivers. Test the woofer or the cabinet’s main terminal instead.
Step 4: Test the Speaker Through the Amplifier
Reconnect everything exactly as it was, matching your earlier photo. Turn the amplifier on, set it to a low volume, and play something you know well, ideally with strong low-frequency content.
Then confirm which speaker is which. Play pink noise or a mono test track from your receiver and stand in front of the pair. The channel you hear should match the speaker the sound came from. Swap the two channel assignments at the back of the amp if they are crossed.
For the phase check between two speakers, disconnect one speaker entirely and then swap the wiring on the other one only. Play music with plenty of bass and listen from the centre. When the two speakers are in phase, the sound sits between them and the low end is full. When one is reversed, the bass thins out and the sound seems to spread sideways.
Buzzing points to a poor connection or a ground loop. Weak bass with no obvious fault often means out-of-phase pairing. Distortion at low volume suggests a failing amplifier or a driver that measures badly. And if the wiring measures perfectly and the phase is right, the fault is inside the amp, the crossover or the driver itself, and no amount of re-seating terminals will fix it.
Common Mistakes
Reversed polarity. One channel wired backwards cancels against the other at low frequencies, thinning the bass and pulling the soundstage off centre. In car systems it can go further: users on car audio forums report amplifiers entering protection and blowing every fuse when a reverse-polarity connection puts DC offset across the output. It will not usually kill a driver outright, but fix it rather than live with it.
Loose or oxidised terminals. A binding post that is not tight enough to grip the conductor behaves like a partial break. Clean the post, retighten it, and repeat the continuity test. This accounts for a startling share of “intermittent” speakers.
Measuring a powered speaker. Never test continuity or resistance on a speaker that is still connected to an amplifier, and never put a battery on it. A live output stage can damage the meter and the battery connection can damage the amp. Unplug first, every time.
Confusing DC resistance with nominal impedance. A healthy 8 ohm speaker does not read 8 ohms on a multimeter. It reads lower, usually 5.5 to 7.5 ohms. The impedance figure is an AC specification measured at a specific frequency; the multimeter gives you DC resistance. If you see roughly twice the nominal figure, you are measuring two drivers in series, not a broken speaker.
Using an old or leaking battery. Test your 9V in a meter before trusting it, and keep the contact to a second or so. Never use the battery on connected equipment, and leave tweeters alone.
Treating silence as a dead voice coil. A blown driver reads open on the meter, but so does any broken wire, unplugged connector or failed crossover component. Measure the wire first and the speaker second, so you know which one you are dealing with.
Ignoring the manual. Bi-wire and bi-amp cabinets ship with metal jumper plates linking the two terminal pairs. Leave them in and you are measuring the crossover network, not the driver, and every reading will be wrong. Remove the jumpers before testing and refit them before reconnecting to the amplifier.
For pairs, the arithmetic is worth keeping in your head: 8 plus 8 in series gives 16 ohms, and 8 in parallel with 8 gives 4. For 4 ohm drivers, series gives 8 and parallel gives 2. Amplifiers deliver the same voltage either way, so the lower-impedance pair draws more current and plays louder before the amp runs out of headroom, provided the amp is happy with that load.
Frequently Asked Questions
Do I need a multimeter to test speaker wiring?
No, but it makes the job far more precise. A fresh 9V battery tells you which terminal is positive, and playing both channels in mono tells you whether the pair is in phase. Only a meter gives you the resistance figure that separates a healthy driver from a broken wire or a failed voice coil.
What resistance should a working speaker read?
Roughly half its nominal impedance. An 8 ohm driver usually measures between 5.5 and 7.5 ohms on the lowest resistance range, and a 4 ohm driver about 3 to 3.5 ohms. The reading sits below the nominal figure because your meter measures DC resistance, while the impedance label describes behaviour at audio frequencies.
Which side of a 9V battery is positive?
On a standard 9V battery the raised terminal cap is the positive pole and the flat end is negative. Touch the positive cap to one binding post and the flat end to the other, briefly. If the cone moves outward, the post under the cap is the positive terminal.
Is the 9V battery polarity test safe?
It is safe for paper-cone woofers if you keep the contact to a second or two and the speaker is fully disconnected from the amplifier. Avoid it on tweeters and ribbon drivers, where the shock is harder to control. Never attach a battery to a speaker that is still wired to electronics.
Why does one of my speakers have no sound?
Test that channel on its own with the amplifier unplugged. An open reading means a break somewhere in the run, so check every terminal and connector on that side. A healthy reading with no sound points upstream, at the amp, the crossover or the channel assignment.
Can I test speakers without an amplifier?
Yes, and you should. The battery test for polarity and the multimeter test for continuity and resistance both work on a bare speaker sitting on a bench. You only need the amplifier for the final listening check that confirms the channels are in phase.
Conclusion
Start by unplugging the amplifier at the wall, then inspect every terminal for loose strands, damaged insulation and burns. Measure each speaker on its own at the lowest resistance range and compare the reading against roughly half its nominal impedance. Verify polarity with a brief 9V battery contact on a disconnected speaker, reconnect everything to match, and play something familiar at low volume while you check channel assignment and mono phase.
If the wiring checks out and the problem persists, the fault is inside the equipment, not the cable. Read the manuals for your amplifier and speakers, remove any bi-wire jumper plates before measuring and refit them afterwards, and bring in a qualified technician if the wiring is unsafe, if the issue involves mains power, or if anything looks damaged structurally.