To practice voiceover at home, run the same short routine most days: warm up for 10 to 15 minutes, read varied material out loud for 30 minutes, record one take, then play it back and score it against a fixed checklist. That loop takes about an hour, needs no studio, and works whether you own a microphone or not.
The whole thing hinges on recording and playing back. You cannot hear your own pacing, pitch or swallowing while you read, and that gap between how you sound and how you think you sound is where most beginners lose confidence. Playback closes it.
Here is the routine in full. If you only have ten minutes, do steps 1, 2 and 6.
- Warm up for 10 to 15 minutes. Humming on a glide from your lowest comfortable note to your highest, then back down. Add lip trills, a few sirens and one or two yawning stretches at the end.
- Read aloud for 30 minutes. Mix sight-reading of unfamiliar copy with rereading material you know well. Newspaper articles, commercial scripts and narration give you different pacing demands.
- Record one take. Phone voice memos are enough at the start. Stand up, mark the script, and read it straight through without stopping.
- Play it back and score it. Use the checklist later in this guide. Score ten criteria at 0, 1 or 2, then pick the single weakest one.
- Fix that one thing in the next take. Not four things. One. Change pace, or emphasis, or breath placement, and record the same passage again.
- Save the script and the take. A folder of recordings and scripts from month one becomes your own material by month three, and rereading old scripts is the fastest progress check you will get.
Repeat that for four weeks and you will have a feel for your own delivery that a single afternoon of recording will never give you.
Table of Contents
What You Need
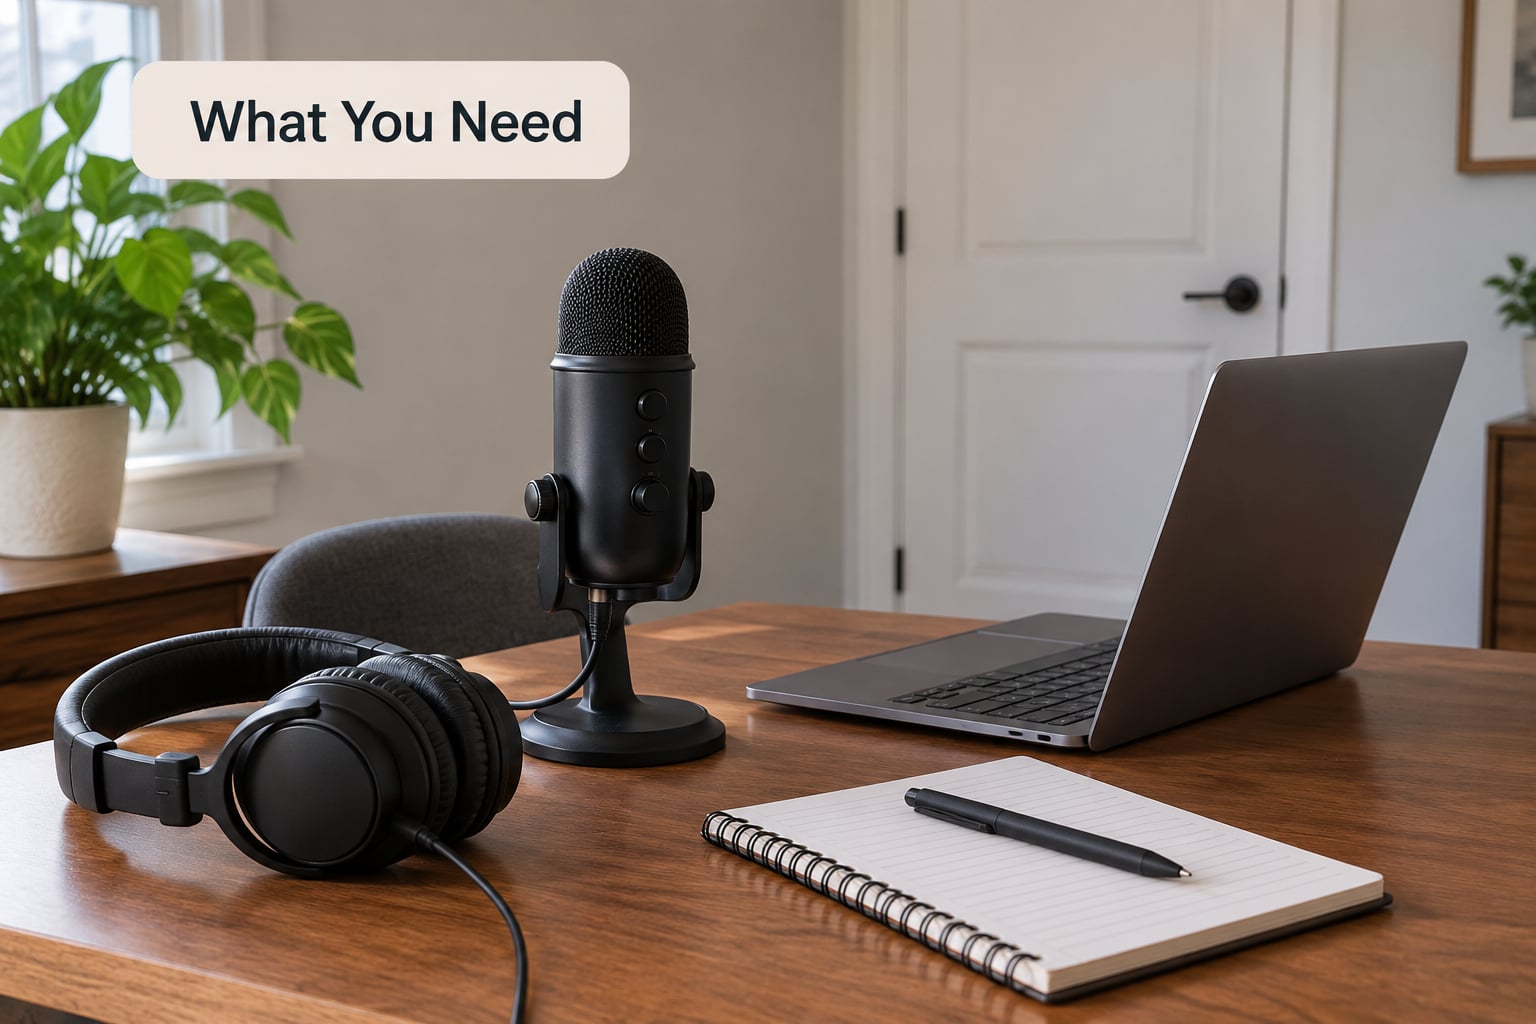
The essentials are cheap and few: somewhere quiet, a way to record, and a script. Everything else is a comfort upgrade that can wait months.
The essentials
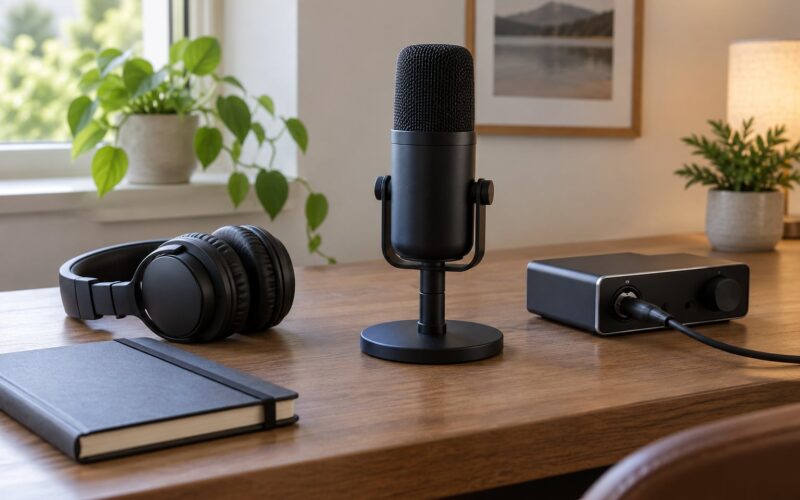
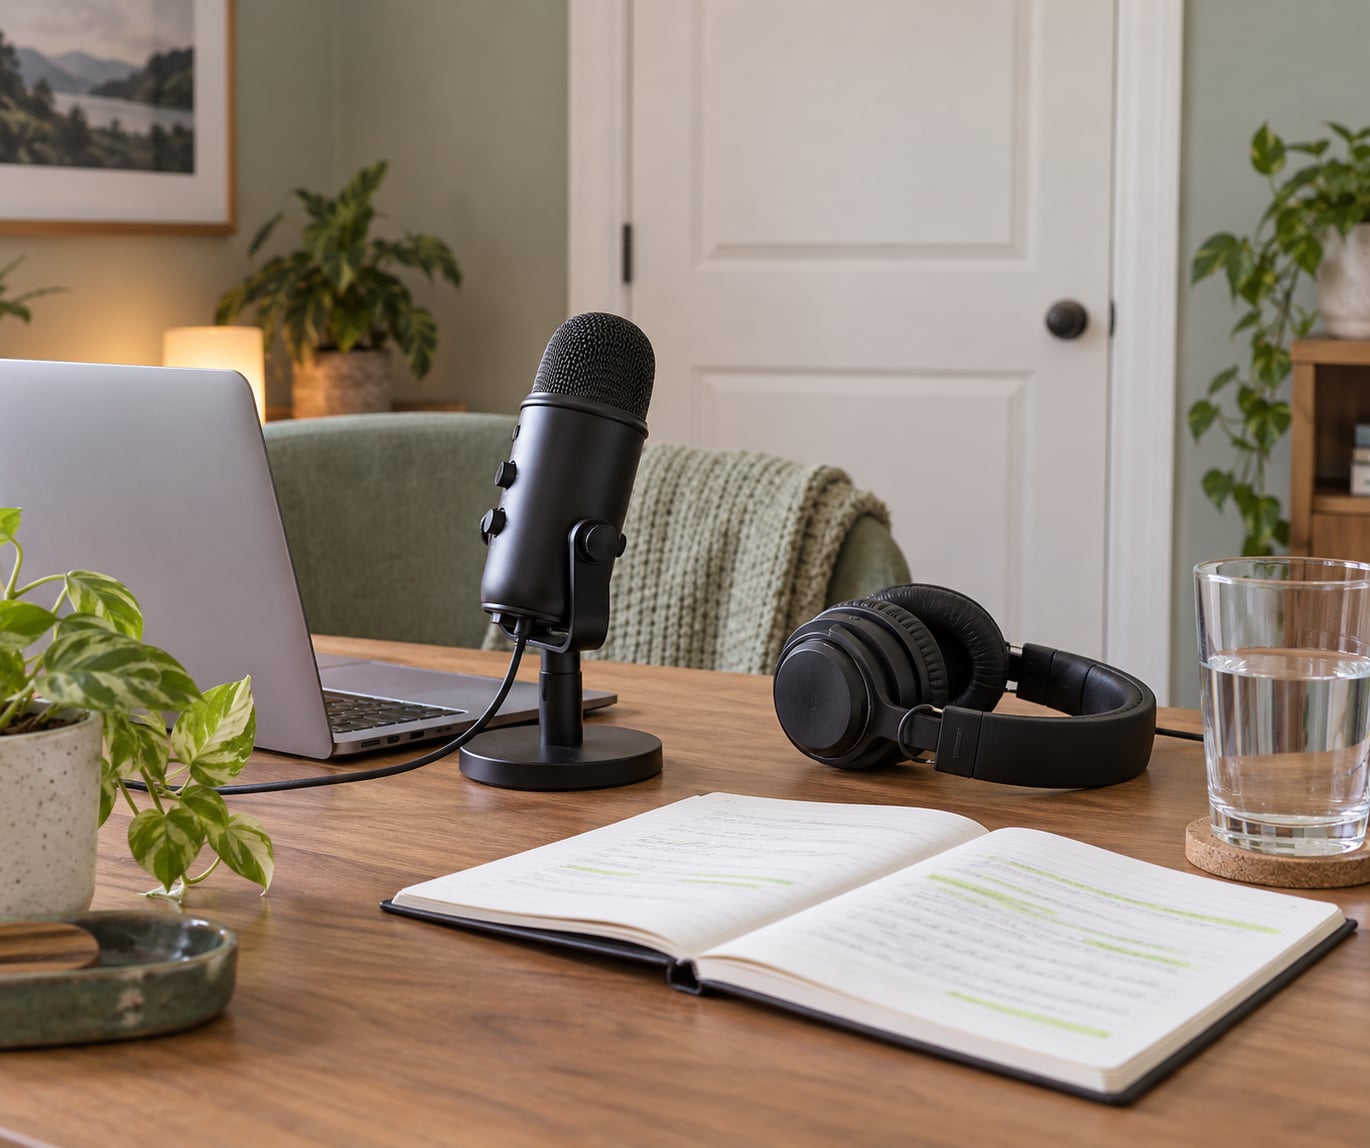
- A microphone. A USB condenser mic plugged into a laptop is enough for months of practice. If you have nothing, your phone or laptop microphone works for the first four weeks, though it will pick up room noise and every keyboard tap.
- Headphones. You need to hear what you actually recorded rather than what your voice sounds like in the room. Closed-back headphones are enough for practice.
- A quiet space and a closed door. This matters more than the microphone. Broadband vocal range and clarity change completely in a hard-walled room versus one with a window open onto traffic.
- Something to read. Printed or on screen. Reading from a phone held low in your face will make you read with your chin tucked and a flatter tone.
- Water within reach. Room-temperature water, sipped between takes.
Helpful, but not urgent
- A pop filter for the plosives that land on your microphone as a thump.
- A folded duvet or a heavy blanket over a mic stand to knock down reflections while you get consistent.
- A small recorder as a backup, in case the computer decides to update itself mid-session.
- Recording software that shows you a level meter so you can keep your volume consistent between takes. Any free editor that records and plays back will do.
Forum threads on home recording keep circling the same trap: people buying a microphone to fix a problem that is really the room. A mediocre microphone in a treated corner beats an excellent microphone in a bedroom with an open window.
How to Practice Voiceover at Home: Step by Step
How to Prepare a Voiceover Practice Script
Pick copy that matches the work you want, not the work you think you should be doing. A beginner reading legal disclaimers learns endurance, not warmth, and endurance is a later problem.
Use four kinds of material in rotation. Commercial scripts teach punch and brevity. E-learning or explainer narration teaches clarity and steady pacing. Narration or documentary copy teaches longer phrasing and breath planning. Character and animation copy teaches playing an intention rather than reading words.
Mark the script before you record. Slash for short pauses, a longer slash or a line break for a full breath, underline the one word that carries the meaning, and circle any pronunciation you are unsure of so you can check it rather than guess mid-sentence.
One warning from coaches worth repeating: copy in all capitals with no punctuation is a trap. It gives your eyes nothing to breathe on and flattens inflection, so you end up rushing or running out of air.
For material, public domain texts work, commercial spec scripts circulate freely among voiceover communities, and libraries of free practice scripts exist for training use. Keep your own folder by genre.
Set Up Your Recording Space
Deal with noise before you deal with tone. Close the door, kill obvious noise sources, and put your phone in another room if you can. The hum you hear between sentences is usually a fridge, a light fitting or an unbalanced cable.
Then control echo. Hang heavy fabric on the wall behind you, stand in front of a wardrobe or a bed rather than in the middle of the room, and put a folded duvet near the microphone if the reflections are still obvious.
Position the microphone a hand’s width from your mouth, slightly off to one side rather than dead centre so bursts of air do not hit it straight on. Keep that distance constant. Moving in and out during a take is the most common cause of a read that feels inconsistent even though every sentence sounded fine separately.
Finish by recording ten seconds of silence and playing it back. Whatever you hear in that gap is your noise floor, and you cannot fix a problem you have not measured.
Warm Up Your Voice and Reading
Ten to 15 minutes, most days, and again right before a session that matters. Warm up in this order, and stop if anything starts to hurt.
| Drill | What it trains | Time | How to tell it is working |
|---|---|---|---|
| Yawning stretch | Releases the soft palate and throat | 1 minute, 2 to 3 yawns | Your throat feels open rather than tight |
| Humming on a glide | Breath support and resonance | 3 minutes, low note to high and back | The hum stays even at the top instead of thinning out |
| Lip trills | Relaxes the lips and jaw | 2 minutes | The flutter keeps going without your pushing |
| Sirens on an /m/ | Range and pitch control | 2 minutes | You can change direction smoothly instead of stepping |
| Tongue trills or straw phonation | Semi-occluded vocal tract work, less strain | 2 to 3 minutes | Your voice sounds clearer straight after |
| Read-through | Articulation and pacing | 2 minutes | Tongue twisters land clean on the second pass |
Singing is not a substitute. Warm-ups train range, breath and resonance; voiceover needs intelligibility at a conversational level and the ability to change intent quickly. Doing both is fine, doing only singing tends to leave your reads sounding performed.
Record Several Different Takes
Most beginners record the same read five times and pick the take where they slipped least. Change something on purpose each time instead.
Take one is the honest read, no notes. Take two is faster, cut the pauses in half. Take three is the same text aimed at one specific listener, a five-year-old or a colleague who already knows the subject, which changes your pitch and your pace. Take four moves the emphasis to a different word. Take five is the opposite of what you have been doing: quieter and closer in, with no projection at all.
Energy comes from pitch and intent, not from volume. When a read feels lifeless, most of the time the fix is to raise the pitch slightly and commit harder to the meaning, not to push harder on the breath. Projection is what you use when the text calls for authority. Using it the whole time makes everything sound like an announcement.
Record at least one take with no processing at all. Raw recordings expose head movement and distance inconsistency that compression and EQ quietly smooth over, and those habits are hard to hear in real time.
Review the Recording for Useful Feedback
Score the take, do not just react to it. Listening for whether you like it tells you almost nothing. Ten criteria at 0, 1 or 2 gives you a number and a direction.
- Word emphasis. Are the important words actually stressed, or does every syllable land equally?
- Pace. Is there room to understand the sentence, or are you rushing to fill every gap?
- Inflection variety. Does the pitch move, or does the read sit on one note?
- Enunciation. Are the consonants clean, especially at word endings?
- Breath placement. Did you breathe where the punctuation invited it, or did you run out halfway through?
- Intent. Is there a clear reason for this person to be speaking to this listener?
- Vocal tension. Do your jaw, tongue and shoulders tighten in the second half?
- Noise and technical faults. Plosive thumps, clicks, hum, inconsistent volume or distance.
- Does it sound like reading? The most useful single question you can ask your own playback.
- Would you keep listening? If a client hit stop in the first ten seconds, where would they have stopped?
Aim for 14 or more out of 20 before you call a take usable. Then write down the single lowest score and carry it into the next session. One fix per session is slow and it works.
Repeat With a Focused Practice Plan
Unstructured practice produces flat improvement. Give the loop a shape and a time limit, and you can measure whether it is working.
| Week | Focus | Daily time | You are on track if |
|---|---|---|---|
| 1 | Warm-up and reading aloud, no recording | 30 to 40 minutes | You finish the warm-up without straining |
| 2 | Add one recorded take per day with the scorecard | 45 minutes | You hit 12 out of 20 at least twice |
| 3 | Genre variety: one commercial, one narration, one character read per day | 45 to 60 minutes | You can change intent between takes without rereading |
| 4 | Re-record your week-one script and compare | 60 minutes | The difference on the scorecard is obvious, not arguable |
Re-reading an old script is the most honest progress test there is. Weeks later you will hear problems you genuinely could not hear before, and hearing them is the skill.
On dosage, 30 to 60 minutes most days beats two hours twice a week. Vocal fold tissue does not respond to one long session the way muscles respond to regular use, and tired voices get tight and dull by the second hour.
If your home is loud, practise the vocal and reading work anyway. Sound through shared walls or street noise costs you recording quality, not voice technique. The one thing noise does cost you is an accurate noise floor, and you can still learn plenty by recording at the quietest moment you have.
Common Mistakes
Rerecording the same read until it is passable. You learn nothing because nothing changes. Fix one scored weakness per take.
Practising in an untreated room and blaming your voice. Every take gets less clear and you start blaming your delivery. Test the room: record silence, then record yourself clapping. If you can hear the clap’s tail, the room is doing more harm than your read.
Warming up by singing along to the radio. Fine for your voice, not for your delivery. It warms range without training intelligibility, and singers regularly report that warming up this way leaves their reads sounding performed rather than spoken.
Pushing volume to add energy. Loudness is the wrong lever. Raise pitch and sharpen the intent, and save projection for the words that need it.
Rushing to fill every pause. Silence is part of the read. A beat before an important line often carries more than the line itself.
Noticing the one flaw and rewinding to fix it. You will loop on a single syllable for an hour. Note it, finish the take, fix it in the next one.
Skipping playback because you dislike hearing yourself. That discomfort fades in about two weeks, and it is the fastest way to improve. Nobody ever got better at this by only reading.
Practising more but scoring nothing. Without a score you are guessing. Keep the ten-criterion sheet and the only measure that matters is whether the number moves.
One habit worth keeping: say the line out loud once before you press record, without judging it. Beginners who stumble on the first attempt often nail the second because the mouth already knows the shape.
Frequently Asked Questions
How can I practice voice acting at home?
Run one repeatable loop: warm up 10 to 15 minutes, read varied copy aloud for 30 minutes, record a single take, then play it back and score it on ten criteria from 0 to 2. The recording step is what most beginners skip, and it is the one that teaches the most, because you cannot hear your own pacing or inflection while you are reading. Aim for 30 to 60 minutes most days rather than one long weekly session.
What are some good voice over practice exercises?
Humming on a glide from low to high, lip trills, sirens on an /m/ phoneme and straw phonation warm up breath support and range without strain. Read aloud from unfamiliar copy to build sight-reading speed, and run tongue twisters for articulation. Then record the same passage several times with different intentions. Exercises transfer best when you follow each one with a recorded read, since warm-ups alone train range but not delivery.
How do I start voice over with no experience?
Start with the free part. Choose one script, warm up, read it aloud, record it on your phone and play it back. Score yourself on emphasis, pace, inflection, enunciation and whether it sounds like reading. Do that daily for four weeks before worrying about equipment or a demo reel. Most beginners who quit do so in the first fortnight because they try to build a career instead of building a habit.
Can voice acting be self-taught?
Yes, for the technical and script-reading side of the work: breath control, articulation, pacing, inflection, sight-reading and self-critique are all trainable alone with feedback. Acting technique, direction and reading with other people still need human contact. Most working voice actors combine daily self-practice with occasional coaching or an actor friend reading with them, because an outside ear catches what you have gone deaf to.
Can I do voice over work from home?
You can practise and self-tape at home from day one, and many professionals still record there. What a home space needs is a closed door, low background noise, some soft fabric to absorb reflections and a consistent microphone distance. Clients and agents increasingly ask for quiet for professional sessions, but for a demo reel and daily practice, a bedroom beats no practice at all.
How do I know if my voiceover is improving?
Measure it rather than guessing. Score ten criteria from 0 to 2 after each take: word emphasis, pace, inflection variety, enunciation, breath placement, intent, vocal tension, technical faults, whether it sounds like reading, and whether you would keep listening. Record the total, then re-record the same script four weeks later. If the number moved and the flaws you now hear are different ones, you are improving.
Conclusion
Pick one script tonight. Warm up for ten minutes, read it aloud once, record one take, play it back and score it out of twenty. Write the lowest number on the page, put the phone away and do the same thing tomorrow.
That single loop is how to practice voiceover at home, and how to keep doing it without burning out, buying the wrong microphone or talking yourself out of it.