How to reduce electrical noise on AM radio comes down to one habit: find the source before you spend anything. Most buzz, hum and crackle on the medium wave comes from a device in your home or car, and moving or unplugging that device beats any antenna you can buy.
The procedure takes about an evening. Run the radio on batteries first, move it around the room while listening, then use your consumer unit to switch off circuits one at a time until the noise drops. That single test names the culprit more often than anything else.
This guide is written for people in the UK who just want talk radio to sound like talk radio. It also covers the extra tricks that shortwave and DX listeners use, but those are marked so you can skip them.
Table of Contents
- What You Need to Reduce Electrical Noise on AM Radio
- Step-by-Step
- Step 1: How to Reduce Electrical Noise on AM Radio by Identifying the Noise
- Step 2: Move the Antenna and Test Away from Electronics
- Step 3: Improve the AM Radio Ground
- Step 4: Add Filtering and Ferrite Noise Suppression
- Step 5: Shield or Rewire Problematic Connections
- Step 6: Check for Faulty Power Supplies and Accessories
- Step 7: Verify the Improvement and Monitor the Noise Pattern
- Common Mistakes
- Frequently Asked Questions
- Conclusion
What You Need to Reduce Electrical Noise on AM Radio
You need almost nothing to start. A working AM radio, some time and a notebook are enough for the first three steps.
- A portable AM radio or the radio itself. Running it on batteries is the single most useful free test, because a mains-powered set picks up noise through its own power lead.
- A notebook. Write down when the noise appears and which stations it affects. Patterns are how you catch things that only misbehave at 6pm when the fridge starts.
- A small screwdriver. Only for the external antenna and ground terminals on the back of a set. Never open a mains-powered radio while it is plugged in.
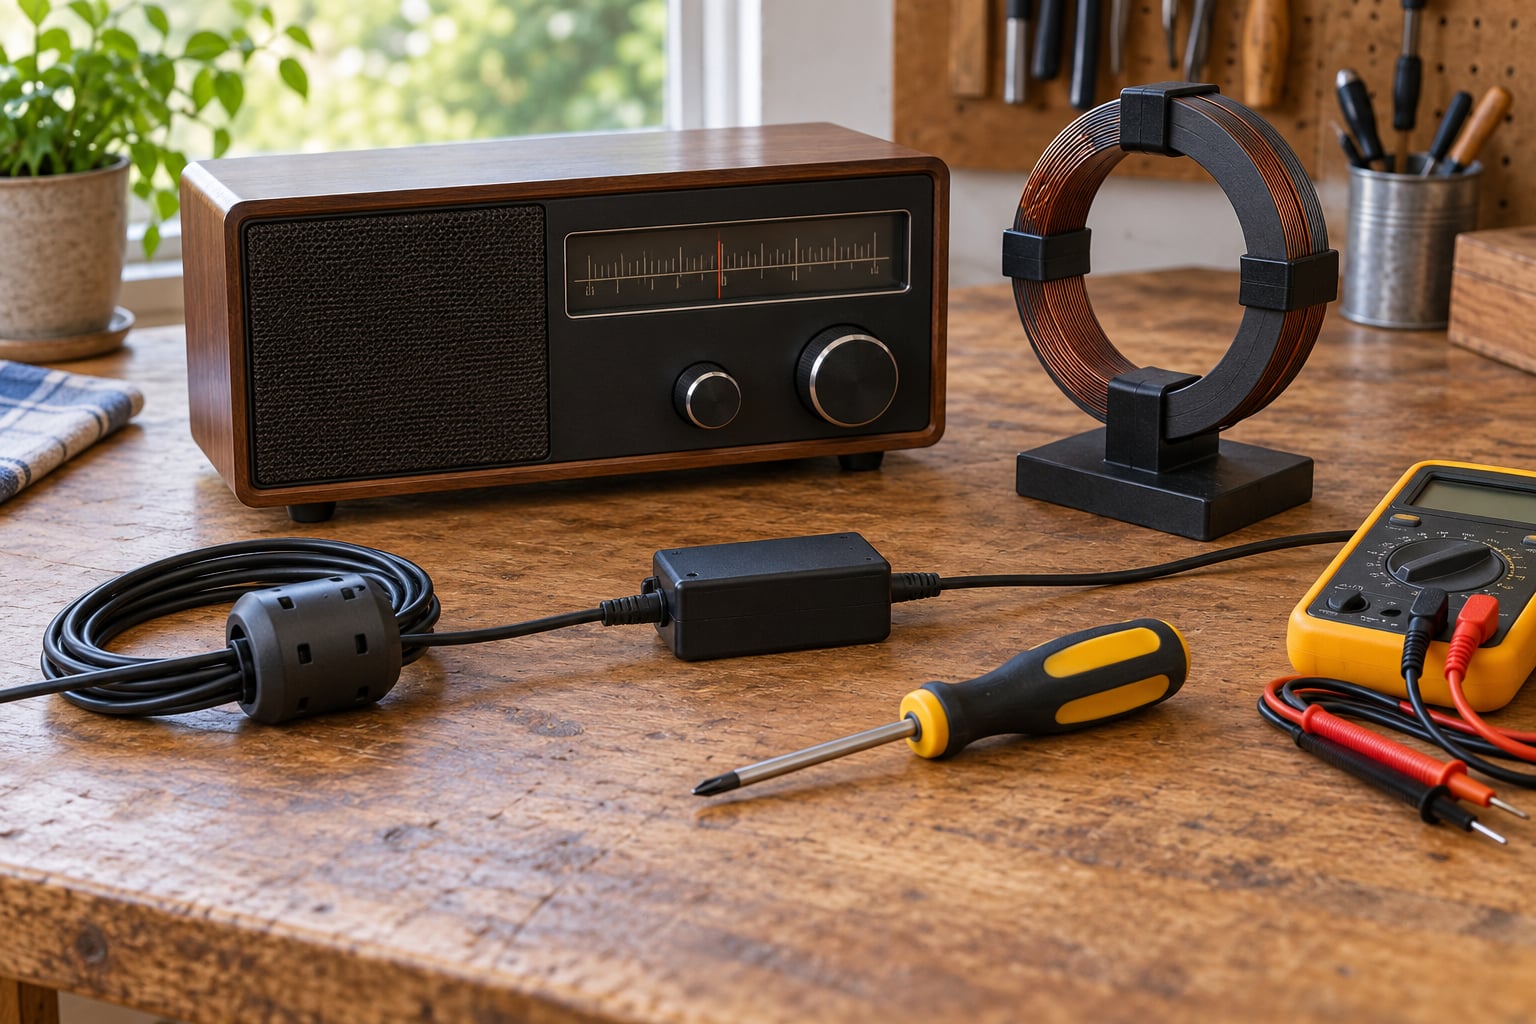
- A multimeter. Useful for checking whether an external antenna or ground lead is actually connected rather than hanging loose.
- Ferrite cores or clip-on ferrite beads. Cheap, and they work on cables rather than inside the radio.
- An inline AM filter or noise-reducing module. Worth buying only after the source hunt, and the guide explains why.
- Short shielded cable. For external antennas, ideally coaxial rather than a long run of twisted pair.
Safety first: unplug the radio and any accessory before you touch a screw terminal. Never connect a ground to household mains wiring or to plumbing, and never open a set that runs from the mains. Those jobs belong to a qualified technician.
Step-by-Step
Step 1: How to Reduce Electrical Noise on AM Radio by Identifying the Noise
Start by listening carefully, because different sounds come from different sources and you can already narrow the field by ear alone.
- Steady low hum usually means mains-related noise, often at 50 or 120 Hz.
- Hard buzz or rasp points to a dimmer, an LED driver or a switch-mode power supply.
- Raspy crackle that comes and goes often tracks a motor such as a fridge compressor or a fan.
- Even hiss across the whole band is broadband noise, common in homes full of Wi-Fi gear and cheap chargers.
- Pops and spikes at regular intervals often mean a switching device, a thermostat or an arcing connection.
Switch between AM and FM. Noise that persists on FM is coming from the set or the power supply, not the medium wave band. Then carry the radio slowly around the room, holding it at waist height, and note where the noise gets loud. Sharp spikes at a single spot usually mean something electrical sitting right there.
The most useful free test is the battery one. Unplug the set and run it on batteries for ten minutes. If the noise drops away, part of it was being carried in along the mains lead, and that tells you to look at ferrite chokes and the power supply later. If it carries on unchanged, the noise is arriving through the air or through the antenna, so the house wiring is not the main culprit.
If the walk-around is inconclusive, bisect your circuits at the consumer unit. Switch off one breaker at a time and listen with the radio returned to the same spot. When the noise drops, you have found the circuit, and you can then switch off the devices on that circuit one at a time to find the device. Never work on the board itself, and never leave a necessary circuit such as the fridge or heating off for long.
Log the timing too. A noise that appears every time the fridge motor kicks in is a different problem from one that only appears when someone runs the hairdryer.
Step 2: Move the Antenna and Test Away from Electronics
Move the radio before you change anything inside it. Put the set at least a metre away from computers, TVs, LED lamps, dimmer switches, chargers and power bricks, then listen again.
Change one thing at a time, because moving two variables at once tells you nothing. Keep the antenna cable away from mains leads rather than running them alongside, and try moving the radio to a different wall or a different side of the room.
What a real improvement sounds like: the station voice stays the same but the hiss between words drops. If the station gets louder and the noise gets louder with it, you have improved the signal but not the noise, which tells you the source hunt continues.
Direction matters too. The ferrite rod inside the radio is directional: it hears best end-on and rejects best side-on. Rotate the whole set slowly through a full turn on one station and note the loudest and quietest positions. Pointing the rod at a noisy wall is a common and easily fixed mistake.
If the set takes an external aerial, run it away from the house rather than around the room, and keep it clear of metal. A long wire inside a room picks up the noise as well as the signal, which is why an external antenna fixes weak stations but rarely fixes buzz.
Step 3: Improve the AM Radio Ground
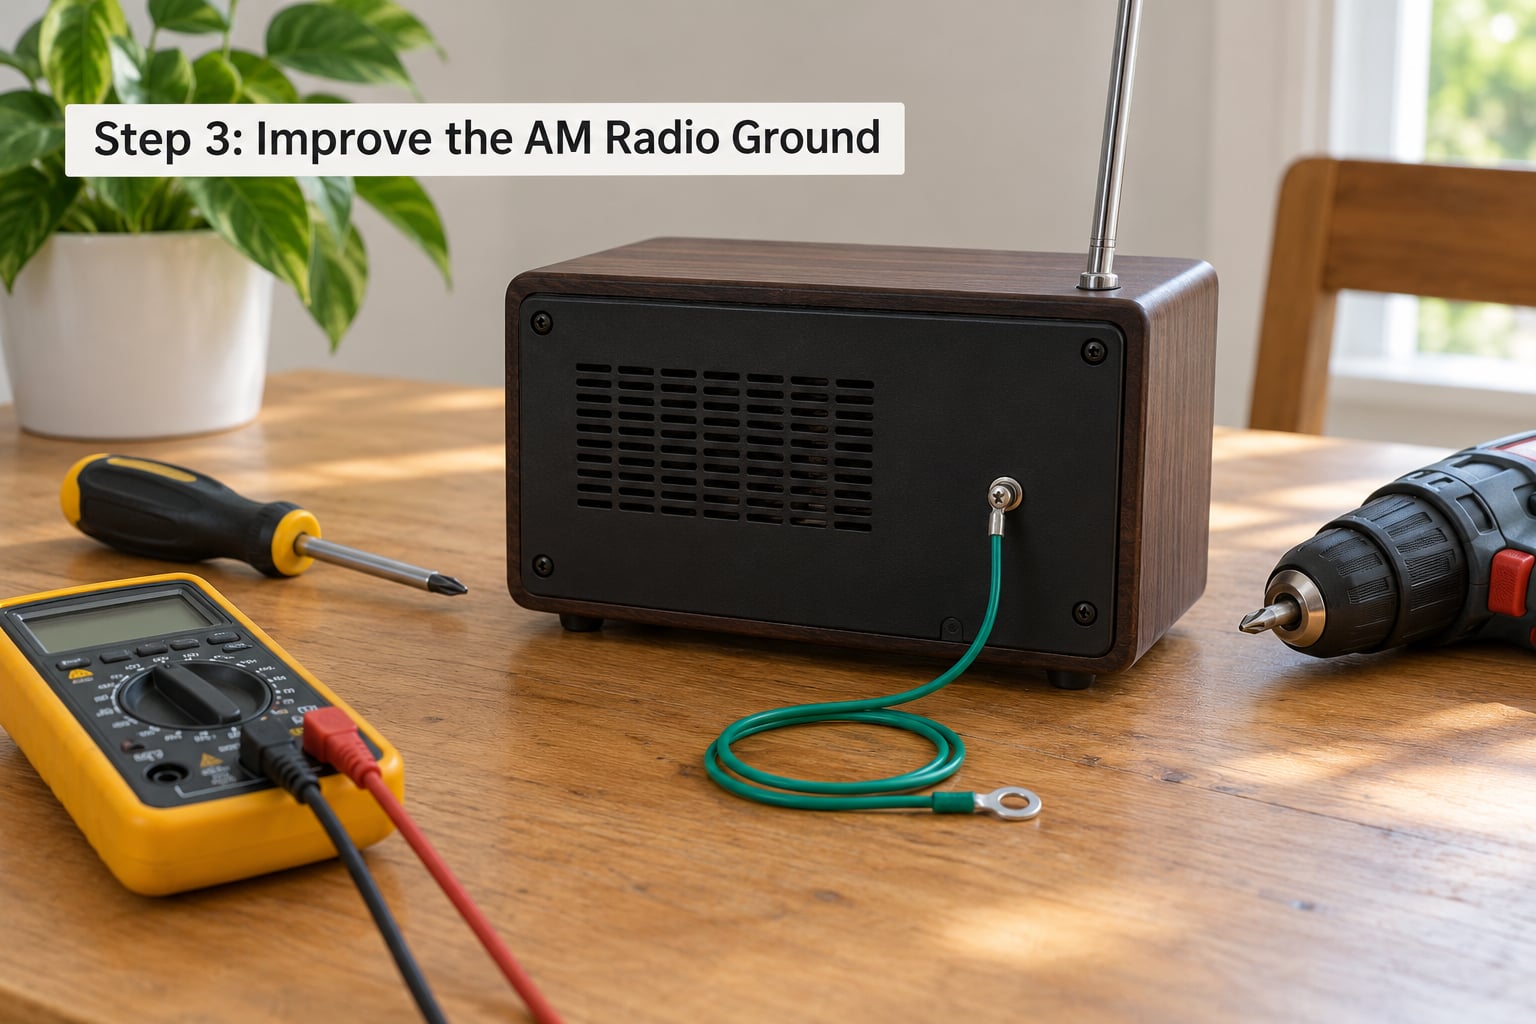
A proper ground gives the receiver a stable reference and bleeds off noise that arrives through the antenna or the case. Many portable sets have a ground terminal at the back and a lot of them ship with nothing connected.
Check the terminal for corrosion or a loose wire, and confirm any external antenna lead is actually seated rather than hanging free. Then follow whatever the manufacturer’s instructions say about grounding, because a portable set and a mains-powered receiver do not want the same treatment.
A short insulated lead to a proper earth point, such as an approved earth terminal or a mains earth pin on a socket used only for the radio, is the usual arrangement. Never attach a ground to a live or neutral conductor, and never bridge pipes yourself. If your set has no earth arrangement, skip this step rather than improvising one.
Grounding helps most with noise that arrives down the antenna lead, and it does almost nothing for noise that is already inside the receiver. That is why grounding alone so often disappoints people: it is one tool among the seven steps here, not the whole job.
Long antenna leads pick up noise as they run. A ferrite bead near the aerial terminal, or simply shortening the lead to the length you actually need, often does more than a new ground would. Keep the lead away from the mains lead and off the skirting board, where household wiring tends to run.
Step 4: Add Filtering and Ferrite Noise Suppression
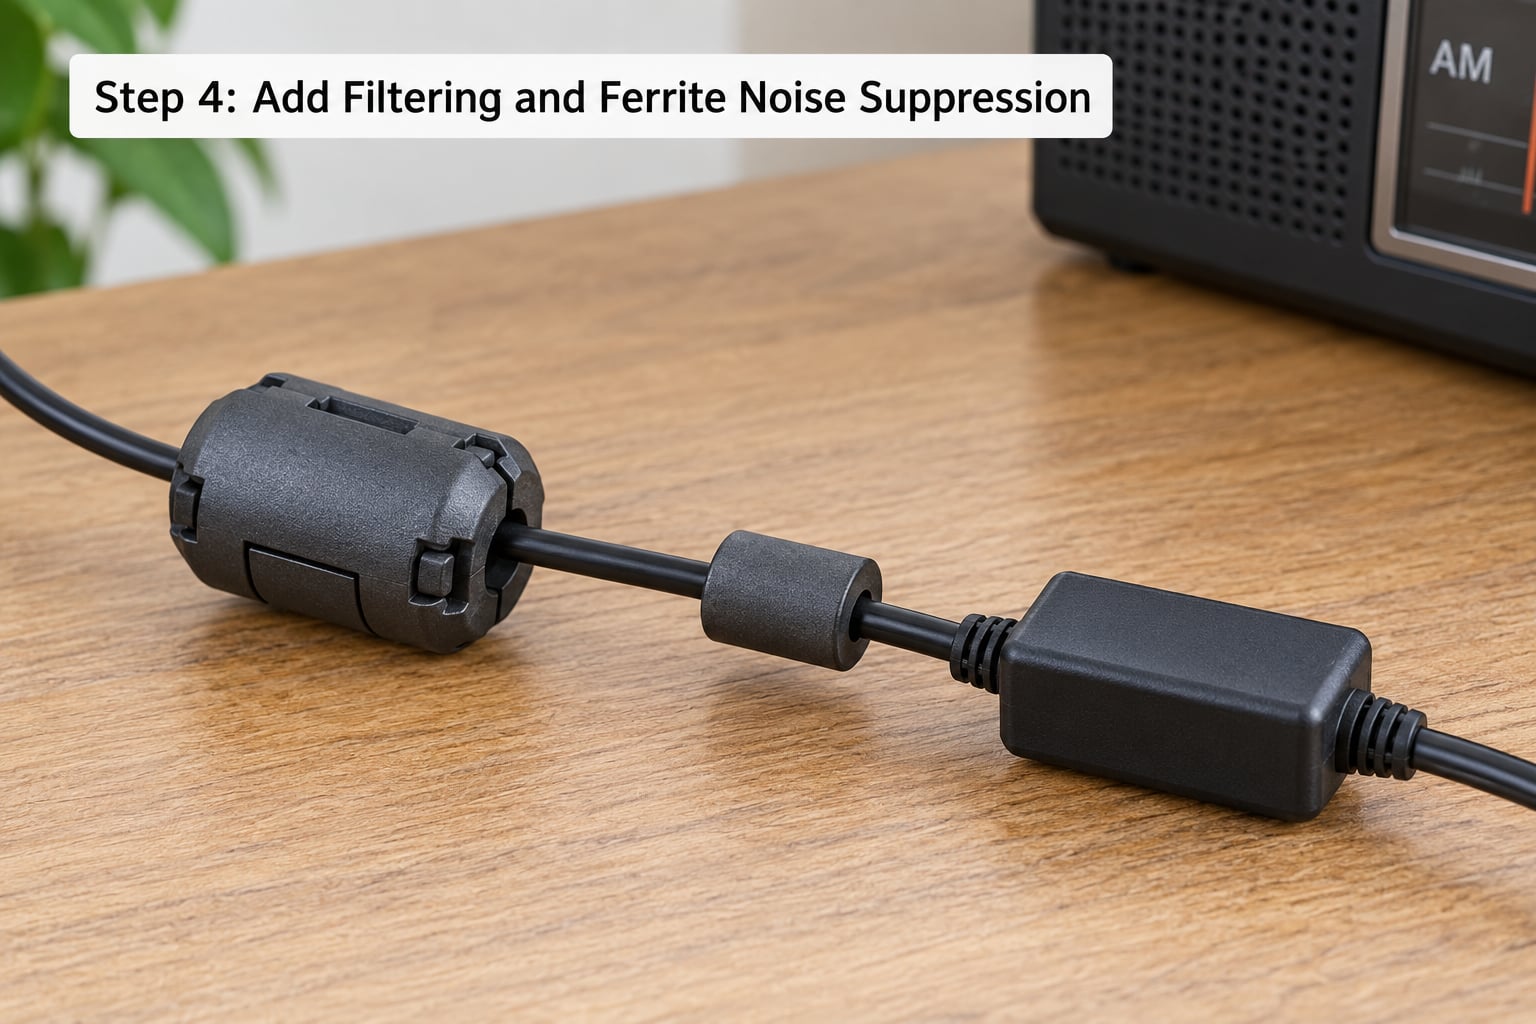
Ferrite chokes are the first piece of hardware worth buying. A clip-on ferrite bead placed over a cable stops radio-frequency current travelling along that cable and radiating into the antenna.
Fit one near the radio end of the antenna lead, with the cable passing through the centre and the cable doubled back through the same core a few times for a stronger effect. Add another at the radio end of the mains lead on a set that uses an external adapter. Do the same for a speaker lead if the buzz follows the audio rather than the aerial.
Inline AM filters sit between the antenna and the receiver and remove out-of-band noise before it reaches the front end. They help most when the interference comes from strong low-frequency signals and mains harmonics outside the medium wave band. Filters chosen for the wrong band are the classic wasted purchase, so check the frequency range on the box matches medium wave.
Replace or reposition a filter when the noise changes character after installation, which usually means the source is now elsewhere or the filter was never the right one.
Step 5: Shield or Rewire Problematic Connections
Sometimes the noise enters where a cable is nearly unplugged or where it runs past something hot. Reseat every connector, push plugs fully home, and separate power and antenna cables instead of letting them lie side by side.
Where you must run an external antenna, use shielded coaxial cable and keep it away from mains wiring. Do not create a second antenna by accident: long parallel runs of wire act as aerials, and a loop of cable picks up noise as efficiently as it picks up stations.
Internal receiver wiring, screen replacements and any work inside a mains-powered chassis are for a qualified technician. Ferrite clamps and external filters give most of the benefit without opening anything.
One more shielding trick costs nothing: move the radio off any surface shared with a noisy device. A set standing on top of a set-top box, a games console or a router is picking up radiated noise from underneath as well as from the walls. A wooden shelf or a book is a better place than the top of another piece of electronics.
Step 6: Check for Faulty Power Supplies and Accessories
Many buzzing AM sets are not faulty at all, they are being fed a poor power supply. Test with a known-good compatible supply or with batteries, and listen for any change.
Remove every accessory you do not need while you listen: a portable speaker dock, a phone charger left in the wall, a wireless headphone charger nearby. Then plug the radio back in one accessory at a time and note which one brings the noise back.
If you replace an adapter, match the manufacturer’s voltage, polarity and current rating exactly. A buzzing switch-mode adapter that is on its way out is a common culprit, and swapping it for a proper one is cheap. Never alter mains wiring to fit a supply, and never rewire a plug.
Once you know which circuit the noise comes from, the devices worth checking first are the ones that switch current rapidly. LED bulbs and their drivers, dimmer switches, switch-mode power supplies for TVs, laptops, phone chargers and wireless headphone pads, plus doorbell transformers, aquarium heaters, thermostats, dehumidifiers, vacuum cleaners and fridge compressors. Wireless mesh Wi-Fi kit is now a standard suspect too.
In a car, the same logic applies. Engine management systems, alternator whine, wiper and window motors, an LED headlight retrofit, heated screens and a failing voltage regulator all produce electrical noise that rides in on the supply wiring. Fit ferrite chokes on the radio’s supply and speaker leads, keep the antenna lead away from the loom, and have an auto electrician check the charging system if the noise tracks engine speed.
Step 7: Verify the Improvement and Monitor the Noise Pattern
Write down the noise level before each change, then again after, on the same station at the same time of day. Sounds similar, measurements are not.
Test several stations rather than one, because interference can hit one part of the band and leave another alone. Try different times: some noise tracks the heating, some the evening peak.
Then work out what the noise follows. If it stays with the radio wherever it goes, it is the radio or its supply. If it stays with the antenna cable, it is the feedline or the antenna. If it changes with a particular wall, appliance or outlet, you have your source.
That last test is the one people skip, and it is the fastest route to an answer. Carry the radio to a different room and plug it into a different socket. Noise that follows you is coming with the radio or the lead. Noise that stays behind tells you where to go back and look.
Record the before-and-after figures so you can tell the difference between a real fix and a quiet patch. Then leave it alone for a few days and listen at the same times before you move on to the next suspect.
Seek professional help, or move to another receiver, when the noise survives every source test, when it comes from a neighbouring property you cannot reach, or when the radio itself has drifted out of alignment.
Common Mistakes
Changing everything at once. You will never know what worked. Make one change, note the result, then move to the next.
Buying a bigger antenna first. A larger ferrite rod or a bigger external antenna lifts the station and the noise together. Work out which of the two got louder before spending.
Choosing the wrong filter. A low-pass filter will not touch interference from signals below the medium wave band, and a filter built for a different frequency range does nothing useful.
Wrapping cable into a tight loop. Coils of wire act as small loop antennas and pick up noise as readily as a station. Keep loops large, loose and away from the set.
Earthing to mains wiring or plumbing. This is a shock risk and can make the noise worse. Use an approved earth point or the manufacturer’s arrangement, or skip it.
Treating all static as a weak signal. Distance and dead zones cause fading, hollow sound and pillar distortion, which are a different problem and need a better signal rather than a noise fix.
Assuming a more sensitive radio is a better radio. A sensitive set hears more of the noise floor too, which is why an expensive receiver can sound worse in a noisy room than a cheap one.
Listening during the quiet patch. Fixes get judged on the worst evening, not the calm one. Test at the time the noise is worst, every time you make a change.
A few listening habits help day to day. Rotate the ferrite rod slowly rather than fast, since the null direction is where the noise drops most. Listen at night when distant stations are stronger but propagation is different. Keep the radio off the metal filing cabinet, which conducts noise straight into the case.
Two more things worth knowing. If the noise comes from a neighbour’s equipment or from a utility line, direction finding with a portable radio still helps: the null gets narrower and sharper the closer you get, even on medium wave, so walk towards it in stages. And if nothing works, listening online is a legitimate fallback rather than a defeat, since a local transmitter’s programme is usually streamed as well as broadcast.
Escalate to the electricity supplier when the noise appears at the same point on the line whatever you switch off at home, or when it affects other equipment too. Keep a dated log of times and what was audible before you report it. Utility engineers treat genuine power-line noise as a fault worth fixing, and a written record speeds that up.
Frequently Asked Questions
Does electrical noise on AM radio mean the station is weak?
Not usually. Electrical noise is added by equipment and wiring near you, so it stays at roughly the same loudness while a weak station fades in and out with the signal. Turn the volume down until the noise nearly disappears: if the station still holds steady, the station is strong and you have a noise problem. If the station fades with the noise, the signal is the issue.
Do I need a ferrite choke, or will an AM filter solve the problem?
A ferrite choke is usually the better first buy because it is cheap and easy to undo. Clamps go on the antenna lead and mains lead and stop noise being carried along a cable. An inline AM filter is worth adding when the interference arrives through the aerial itself, usually from strong signals outside the medium wave band.
Is it safe to ground an AM radio to a household outlet?
Only to a proper earth point, and only if the manufacturer’s instructions describe it. Connecting a ground to a live or neutral conductor, or bridging gas or water pipework yourself, risks shock and can worsen the noise. When in doubt, leave the ground off and use a qualified electrician or the manufacturer’s approved arrangement instead.
Why does the AM noise get worse at night?
Two separate things happen after dark. Ionospheric conditions change, which alters how medium wave signals travel, and household demand changes as heating, lighting and appliances run differently, so a noise source you never heard during the day starts up. Testing at the same hour over several days separates the two causes rather than guessing.
When should I replace the radio instead of continuing to troubleshoot it?
Replace it when the noise follows the radio itself, when a known-good power supply and a different antenna make no difference, or when the set is old enough that alignment and ceramic filters have drifted. Replace it earlier if you need a wider or narrower DSP filter for noisy conditions and the current set offers no bandwidth choice at all.
Conclusion
If you do one thing tonight, run the radio on batteries and walk it slowly around the room, then switch off circuits at the consumer unit one at a time until the noise drops. That test tells you whether the problem is inside your house, and it costs nothing.
Only after you know roughly where the noise comes from does it make sense to move the antenna, fit ferrite chokes or add a filter. Follow the equipment manual, leave mains wiring and earths alone unless the instructions and a qualified professional cover them, and accept that a perfectly silent medium wave band is not always available these days.