There are three ways to work out how to scan for local stations in a new place: look up what is licensed to broadcast at your postcode or town before you arrive, run the auto-scan on whatever radio you have to hand, and step through the AM and FM bands by hand when the scan comes back thin. Add a streaming app as a backup for signals your aerial cannot reach.
I moved to a new city and assumed the dial would simply fill up the same way it had before. It did not. Two stations my old radio found instantly were gone, four new ones appeared, and one station I had listened to for years turned out to be a regional service that never broadcast that far north. A ten-minute exercise on the first evening saved me weeks of pressing buttons and wondering whether the fault was my radio.
The whole job takes about ten minutes once you know the order of operations. Here is the order that works, followed by the mistakes that waste people’s time.
Table of Contents
- What You Need
- Step-by-Step: How to Scan for Local Stations From Scratch
- Step 1: Check the Radio Bands and Features on Your Device
- Step 2: Tune the FM Band and Save Strong Stations
- Step 3: Check the AM Band for News, Talk and Sports
- Step 4: Try DAB+ or HD Radio Where Available
- Step 5: Use a Radio Scanner or Online Station Directory
- Step 6: Verify the Station and Add a Streaming Backup
- Step 7: Record and Organise the Stations You Can Hear
- Common Mistakes
- Frequently Asked Questions
- Conclusion
What You Need
You need a receiver, a way to identify what you find, and ideally a second method as a backup. Most people already own the first two.
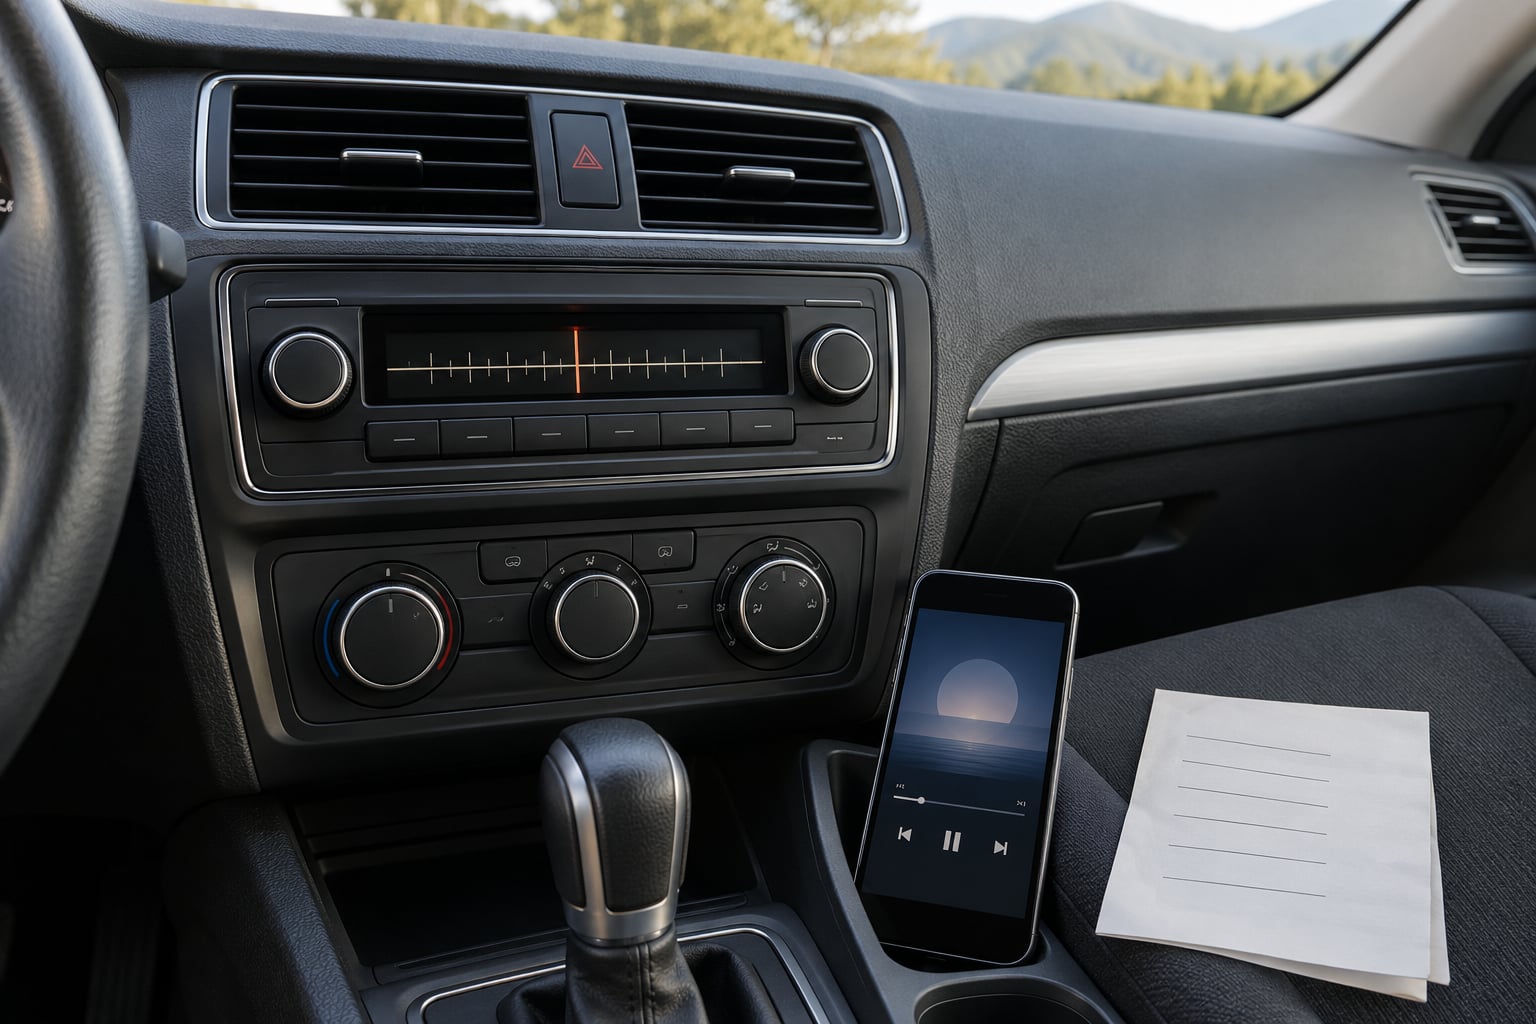
A car radio is the easiest starting point because it has both FM and AM plus an auto-scan button. If you have just taken delivery of a rental car or bought a used one, run the scan while parked, before you drive.
A phone with a built-in FM or AM tuner works too, though results vary a lot between models. Some newer handsets receive FM, some receive both FM and AM, and some include a radio app with no tuner behind it at all. The receiving side matters more than the app icon: a phone can pick up a broadcast signal but cannot transmit one.
iPhones generally need a supported external receiver, since the handset itself has no FM or AM chip. That means a small USB or Lightning tuner that pairs with a free radio app. If you are buying one, check that it supports the band you actually need — some are FM-only, and AM is where a lot of local news, talk and sport lives.
A DAB+ receiver is worth having if you are outside the United States, where DAB+ is the standard digital broadcast system in many countries. In North America the equivalent is HD Radio, and the two are not interchangeable: a DAB+ tuner will not decode HD Radio, and an HD Radio receiver will not decode DAB+.
Finally, Wi-Fi or mobile data is not needed for scanning, but it is what makes a streaming backup possible. Note that wired earbuds often double as the antenna for a phone tuner, so keep a wired pair handy rather than relying on Bluetooth ones.
Step-by-Step: How to Scan for Local Stations From Scratch
Step 1: Check the Radio Bands and Features on Your Device
Open the radio app on your phone, or sit in front of the car head unit and look at the band buttons. You are checking three things: whether it tunes FM, whether it tunes AM, and whether it has any digital radio support.
On a car radio, the buttons are usually labelled FM/AM, RADIO or AUDIO, with an AS or SCAN button alongside. On a phone, look for the tuner app in the preinstalled set — it is often buried under a folder called FM Radio, Radio, or Utilities rather than sitting on the home screen.
Menu paths differ by manufacturer and model, so read the manual page for the seek or scan function before assuming a button does what you expect. The step worked if you can name your device, its bands, and whether a digital option exists.
Step 2: Tune the FM Band and Save Strong Stations
Press the auto-scan and let the receiver sweep the FM band from the bottom of the range to the top. It will pause briefly on each station it can decode, then keep moving.
Stop on each clear signal and write down two things: the station name or call sign, and the frequency. RDS is the feature that displays the station name on most FM receivers, and it is what turns a row of numbers into a usable list.
If a station comes in unexpectedly strong, that is a clue rather than a bonus. Compare the displayed name against a broadcast map for your area — you are probably picking up a station whose transmitter is much further away than the local one, and it may fade out as you drive.
Save anything you want to keep into the preset memory as you go. Rebuilding a preset list every time you move is tedious, and doing it during the first scan takes two minutes.
Step 3: Check the AM Band for News, Talk and Sports
Switch the band to AM and scan again. This is where local news, talk radio, religious programming and sports coverage often sit, because the transmitters are big and the range is wide.
If the auto-scan skips over stations, rotate the tuning dial slowly and watch the signal strength meter. Some receivers step past a station between adjacent channel increments, and manual tuning finds what auto-scan stepped over.
Know the trade-off before you judge the results. AM signals travel much further after dark, so you may pick up distant stations at night that are simply not there during the day. In daylight, reception is limited by interference and distance, and buildings, metal and electrical noise all hurt it more than they hurt FM.
The step worked when you can say which AM station you would actually want for local information, and roughly what signal strength you are getting.
Step 4: Try DAB+ or HD Radio Where Available
If your receiver supports the regional digital standard, scan the digital bands too. You get more stations in the same slice of spectrum, the signal drops out cleanly rather than fading into hiss, and the receiver usually shows station names and sometimes traffic or weather text alongside the audio.
In much of Europe, the UK included, that standard is DAB+. In the United States and Canada, broadcast digital radio uses HD Radio on a different set of channels. Check which one your car or receiver supports before you start scanning — pressing scan on the wrong standard simply finds nothing, which sends a lot of people looking for a fault that does not exist.
The digital receiver will normally label channels with a name and a number rather than a frequency in MHz. Note both, because the channel number is what you will be selecting later.
Step 5: Use a Radio Scanner or Online Station Directory
An automatic scan can only find what the receiver hears cleanly. When it misses stations you can almost hear, go to a directory and work out the frequencies for your area, then tune them by hand.
Search by postcode or town name in a national broadcast directory and you get a list of transmitters near you, their frequencies, their power and, in many listings, the call sign. Knowing the transmitter power and mast height tells you a great deal about whether you are in line of sight or behind a hill, which is often the difference between a station that appears and one that does not.
A handheld scanner does the same job permanently, with a memory bank you can load by location. It also picks up two-way traffic such as local emergency and air traffic on unencrypted analogue systems. Before you invest, check whether the services in your area are encrypted — if they are, a scanner will produce a squelch of silence, and no amount of antenna work will change that. Note also that scanner apps on a phone are not the same thing: they play existing feeds from a network connection, so they need data and they tell you nothing about what is actually receivable over the air where you stand.
Step 6: Verify the Station and Add a Streaming Backup
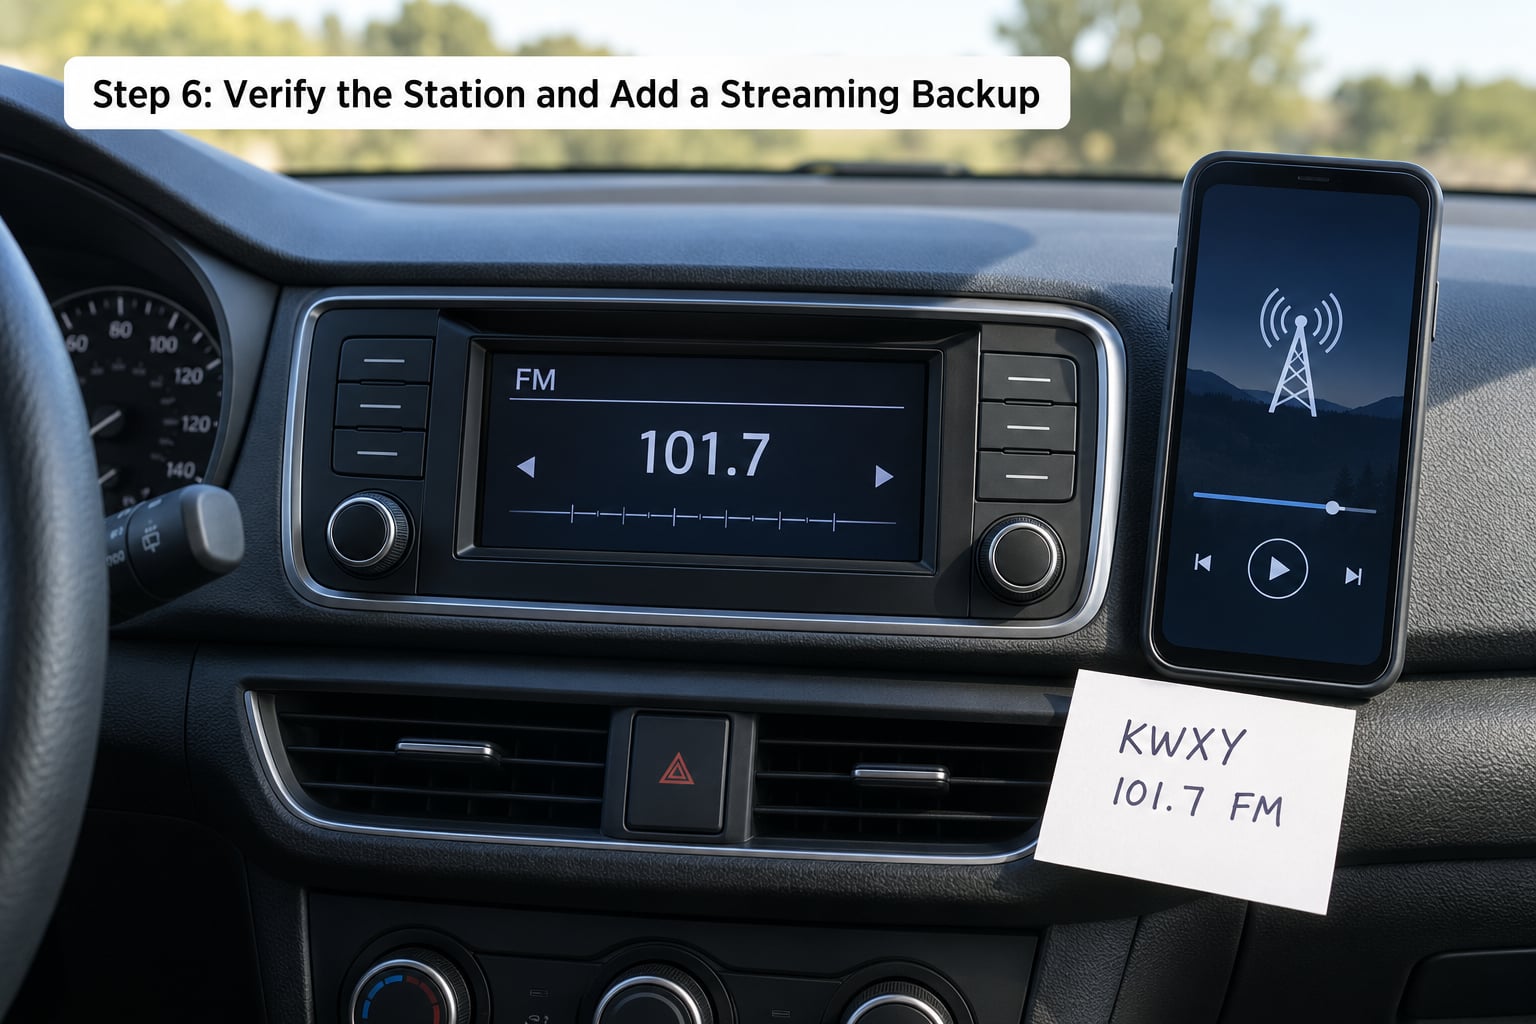
Before you commit to a station, confirm what it is. The station’s own website will give you its call sign, its format, its official coverage area and its authorised stream link. A reputable broadcast directory will give you the same information without you having to trust a single source.
If the broadcast signal is weak at the property or simply absent, save the official stream in a radio app. That is the piece most people miss: a station that does not reach you over the air will often still stream, and a streaming app makes reception strength irrelevant.
A useful side check while you are verifying is whether a station you listened to at your old address is genuinely available in the new one. Regional services are distributed across a defined set of transmitters, so a feed that worked at home can simply not exist where you now live. The station website will say which areas it covers.
Step 7: Record and Organise the Stations You Can Hear
Write your list somewhere you will actually use — a phone note, a bookmark, a line on paper by the radio. For each station, record the name, the frequency or digital channel, and the band.
Keep the strongest two or three alternatives for news or talk. Signal strength fluctuates with weather and season, and the station that comes in cleanly today can be the one that drops out first.
Expect the same station to appear on different frequencies in different areas, and expect some stations to vanish entirely. That is normal and it is not a fault with your equipment. Once your list is written down, redraw it whenever you move again — a fresh scan at the new address takes ten minutes and replaces the whole thing.
Common Mistakes
Assuming every strong FM signal is local. A distant transmitter on high ground can override the local station on the same frequency, and it will fade as the terrain changes. Check the call sign against a broadcast map before you decide a station is your local one.
Forgetting the aerial. On a car this is usually built in, which is why reception at the same spot varies so much between vehicles. Indoors, position and height matter far more than the receiver. If you can improve anything, improve the aerial rather than the radio.
Confusing DAB+ with HD Radio. They use different standards, different channels and different regions. Scanning the standard your receiver does not support always returns an empty list.
Relying on a phone that has the app but not the tuner. The icon is not proof. If the app cannot show a frequency, it is playing streams rather than receiving broadcasts, and it will need data.
Judging reception once and never again. A single scan tells you what was receivable at that moment, in that weather. Repeat it in the evening and at the weekend if you rely on one station.
A few short habits cover most of this. Give the receiver thirty seconds per frequency instead of tapping through. Re-run the scan rather than hand-tuning, unless you already know the frequency. And write the list down as you go, because reconstructing it later is the part everyone avoids.
Frequently Asked Questions
How do I know whether a radio station is local?
Look for the station’s call sign or official name on the receiver display, then compare it with the stations licensed to broadcast in your city or region. If a station appears on a clear frequency but its name is unfamiliar, check a broadcast map before you assume it serves your area. Distant transmitters can sound strong, especially on high ground.
Why does my phone have an FM radio app but no stations?
The app may be present without a tuner behind it, so it can only play streams and needs data. Some phones also need wired earbuds plugged in, because the cable acts as the antenna. Region settings matter too, and a station you want may simply be beyond range where you are. Check the device specification for tuner support before anything else.
Can I listen to local radio stations without a broadcast signal?
Yes, when the station offers an authorised online stream. Open the station’s official site, use the stream link, or find the station in a radio directory and play it in an app. You need Wi-Fi or mobile data. This is the most reliable fallback when reception is weak, blocked by terrain, or absent in a rental with poor aerial provision.
Should I scan AM stations in the daytime?
Worth doing, but judge daytime results carefully. Distance and electrical interference limit daytime AM reception, and buildings and metal reduce it further. After dark the same receiver can pull in stations from much further away. Scan in the day to find your genuinely local services, then scan again at night if you want to see what else is out there.
What is the difference between DAB+ and HD Radio?
DAB+ is the digital broadcast standard used across much of Europe, including the UK, while HD Radio is the North American system. They operate on different channels and use different encodings, so a DAB+ receiver will not decode HD Radio and the reverse is also true. Check which standard your car or portable receiver supports before scanning, or the scan will return nothing.
Conclusion
Start with the FM auto-scan and save what comes in clearly, then switch to AM and do the same. Note whether your receiver supports DAB+ or HD Radio and scan the right standard, not the wrong one. Write the station names and frequencies down as you go.
When a station is missing, look it up by postcode in a broadcast directory and tune the frequency by hand before you decide anything is broken. And confirm each station’s call sign, coverage area and stream link on its own site — that is how to scan for local stations in a new place properly, rather than one scan and a guess.