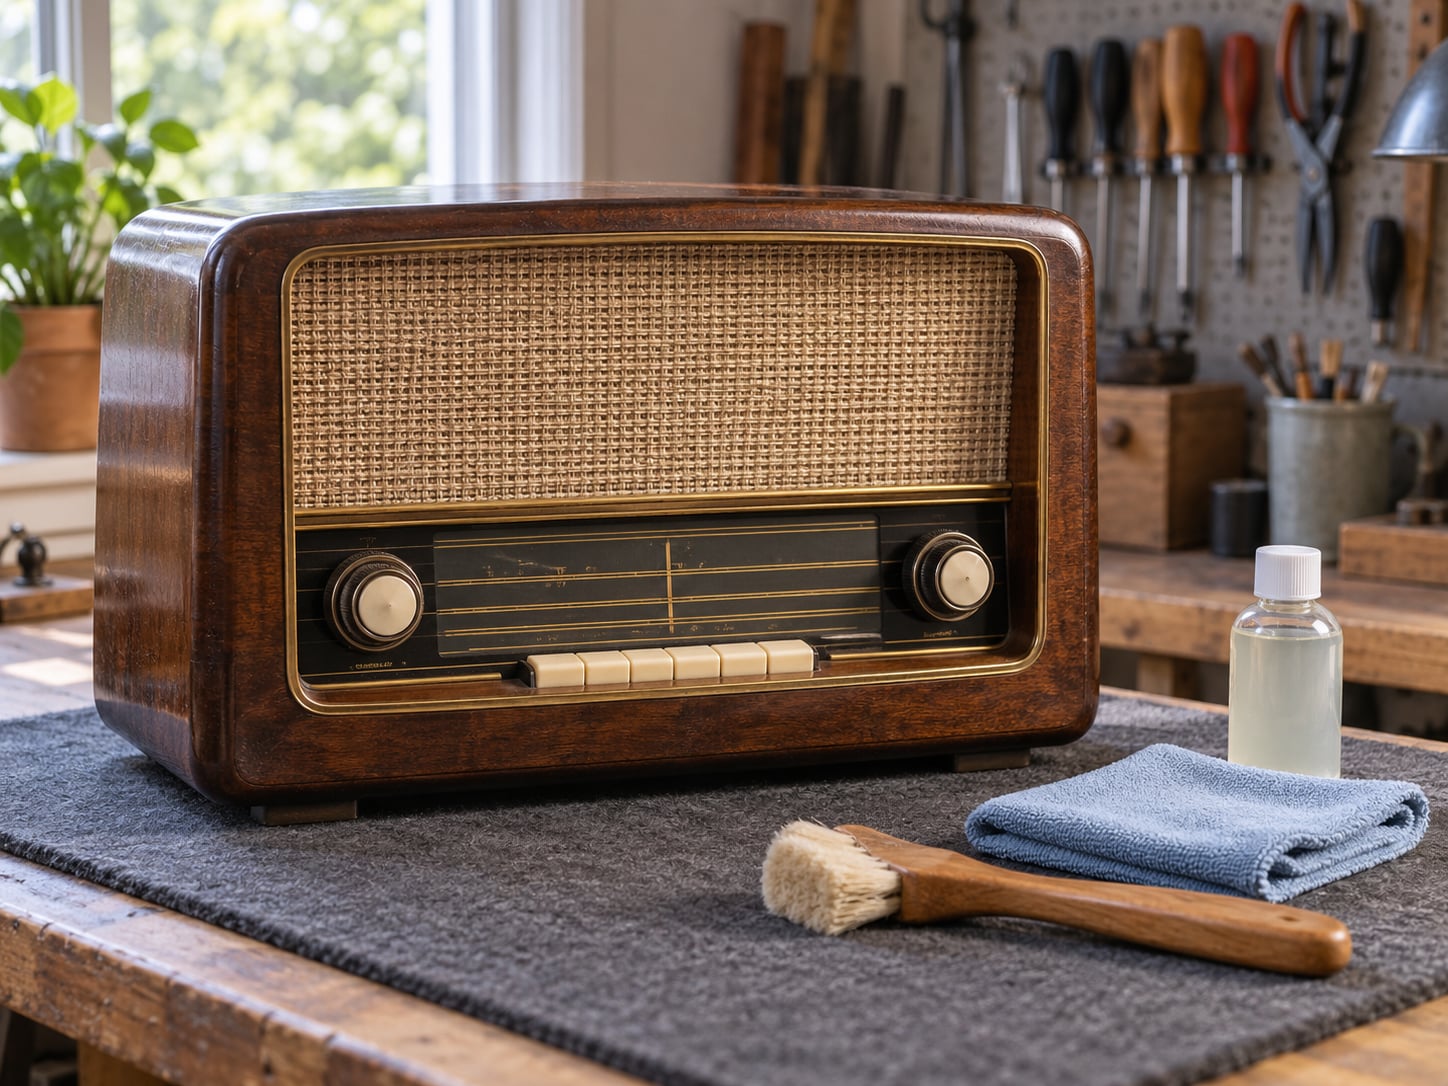
To clean a vintage radio safely, take it out of power, discharge the capacitors inside, and work dry first with a soft brush and low-pressure air. Only after the dust is gone should you touch controls with a small amount of plastic-safe contact cleaner. Most cleaning jobs take an hour to a weekend, depending on condition.
The reason to go slowly is simple: the things that make a stored radio look filthy are usually the same things that would damage it if you cleaned them hard. Dust in the chassis shorts wiring. Hardened grease seizes the tuning capacitor. And a bottle of the wrong solvent strips the gloss off a Bakelite cabinet in thirty seconds — a change you cannot undo.
Tube sets need more caution than transistor portables. A filter capacitor can hold a dangerous charge for months after the radio is unplugged, and collectors have reported shocks from sets that had sat in barns for decades. If your radio uses valves, treat everything past the outer cleaning stage as technician work.
Table of Contents
- What You Need
- Step-by-Step: How to Clean a Vintage Radio Safely
- Common Mistakes
- Frequently Asked Questions
- Can I use 91% isopropyl alcohol to clean a vintage radio?
- Do I need to discharge capacitors before cleaning a radio?
- Is it safe to plug in a vintage radio that has not been used in years?
- How do I clean a Bakelite cabinet without scratching it?
- How should I clean a cloth speaker grille?
- When should I stop cleaning and call a restoration professional?
- Conclusion
What You Need
Almost everything useful is cheap, non-abrasive and used dry. Gather it before you start so you are not halfway through a step hunting for cotton buds.
- Soft-bristled brush. A clean paintbrush around half an inch wide works; stiff bristles scratch lacquer.
- Low-pressure compressed air. The kind sold for camera and keyboard cleaning. High-pressure shop air bends tuning capacitor plates and drives dust deeper into windings.
- Cotton buds and small swabs. For knobs, band selector contacts and the dust inside ventilation slots.
- Plastic-safe contact cleaner. Look for wording that says no residue and plastic safe on the label. This is the only liquid you should put near a chassis.
- Microfiber cloths. One dry, one barely damp, kept for the cabinet.
- Nitrile gloves. Not for the radio — for your hands, if the set was stored in a damp place or shows rodent damage.
- Flashlight or inspection lamp. Cracks in Bakelite and hairline cord damage hide in plain sight on a bench.
- A soft brush with a plastic scraper edge, for lifting knobs off shafts without gouging the faceplate.
Keep a camera or phone nearby too. Photographing everything before you touch it costs nothing and saves an argument when a part goes missing mid-job.
Here is what not to bring to the bench. These cause more damage than they remove:
- WD-40 or any oil-based product. It dissolves the plastic knobs, wets the lubricant inside potentiometers and band selectors, and makes dust stick.
- Steel wool, wire wool or scouring pads. They scratch polished chrome trim and leave loose metal that rusts into the finish.
- Household ammonia and window cleaners. They haze glossy plastic and Bakelite, and ammonia is hard on plated trim.
- High-pressure air. It forces dust into places it cannot be reached afterwards.
- Spray anything directly into the radio. Overspray runs down to the chassis whether you aimed it or not.
- Abrasive household cleaners on the dial glass. Dial glass scratches permanently, and a scratched dial is a permanent loss of value.
Step-by-Step: How to Clean a Vintage Radio Safely
Step 1: Identify the Radio and Check Its Condition
Photograph the set from four sides before anything else, then write down the maker, model and chassis number from the back plate. That text is how you find the service data later, and the photos are how you confirm every knob and grille cloth went back where it started.
Look for cracks in the cabinet, especially around Bakelite corners where impact splits the material. Check that knobs, grille cloth and the tuning dial are present but not glued in place with old adhesive. Run the power cord between your fingers: a set that has sat in an attic or garage for forty years often has brittle, cracked insulation, and that alone is a reason not to plug it in.
Check for signs of storage damage too. Grey powder means mouse nesting, white bloom means mould, and a faint acrid smell with a crusty leak around the battery compartment means battery acid has been eating the cabinet from inside.
Step 2: Disconnect Power and Prepare the Workspace
Unplug the radio and pull it from the wall socket rather than switching it off. If the cord is detachable, unplug it at the set as well, then coil and tape it out of the way so nobody can plug it back in by accident while you work.
If the back is off and you can see the capacitors, discharge them with a properly rated discharge tool held by its insulated end. Wear eye protection and keep one hand on bare metal of the chassis rather than reaching across components. If you do not know how to do this, stop here and book a technician — this is the point of no return for a first-time owner.
Work on a stable, covered surface with good light and ventilation. Contact cleaner fumes are unpleasant and flammable, and a radio that rolls off a bench onto a hard floor cracks exactly the parts you came to protect. Keep drinks, cleaning sprays and pets somewhere else entirely.
Step 3: Remove Loose Dust with Soft Tools
Start dry, always. Dust that is disturbed before any liquid is applied comes away easily and cannot smear into the finish.
Work from the outside in. Vacuum the bench first so settled dust does not land straight back onto the set, then hold a slow nozzle near the vents without touching the radio. Fit a piece of fine mesh over the nozzle if you can — collectors use this to reach dust in tiny grille and dial openings without sucking a knob into the hose.
Blow the chassis with short bursts of low-pressure air, aiming outward so dust exits rather than deeper in. Follow every burst with the soft brush to move what the air lifted. Never blast the variable or tuning capacitor hard enough to move its plates; they sit millimetres apart and will bend.
Work the knobs back and forth as you brush. A knob that turns smoothly now probably would not have after another decade, and that freedom costs you nothing.
Step 4: Clean the Cabinet and Exterior Surfaces
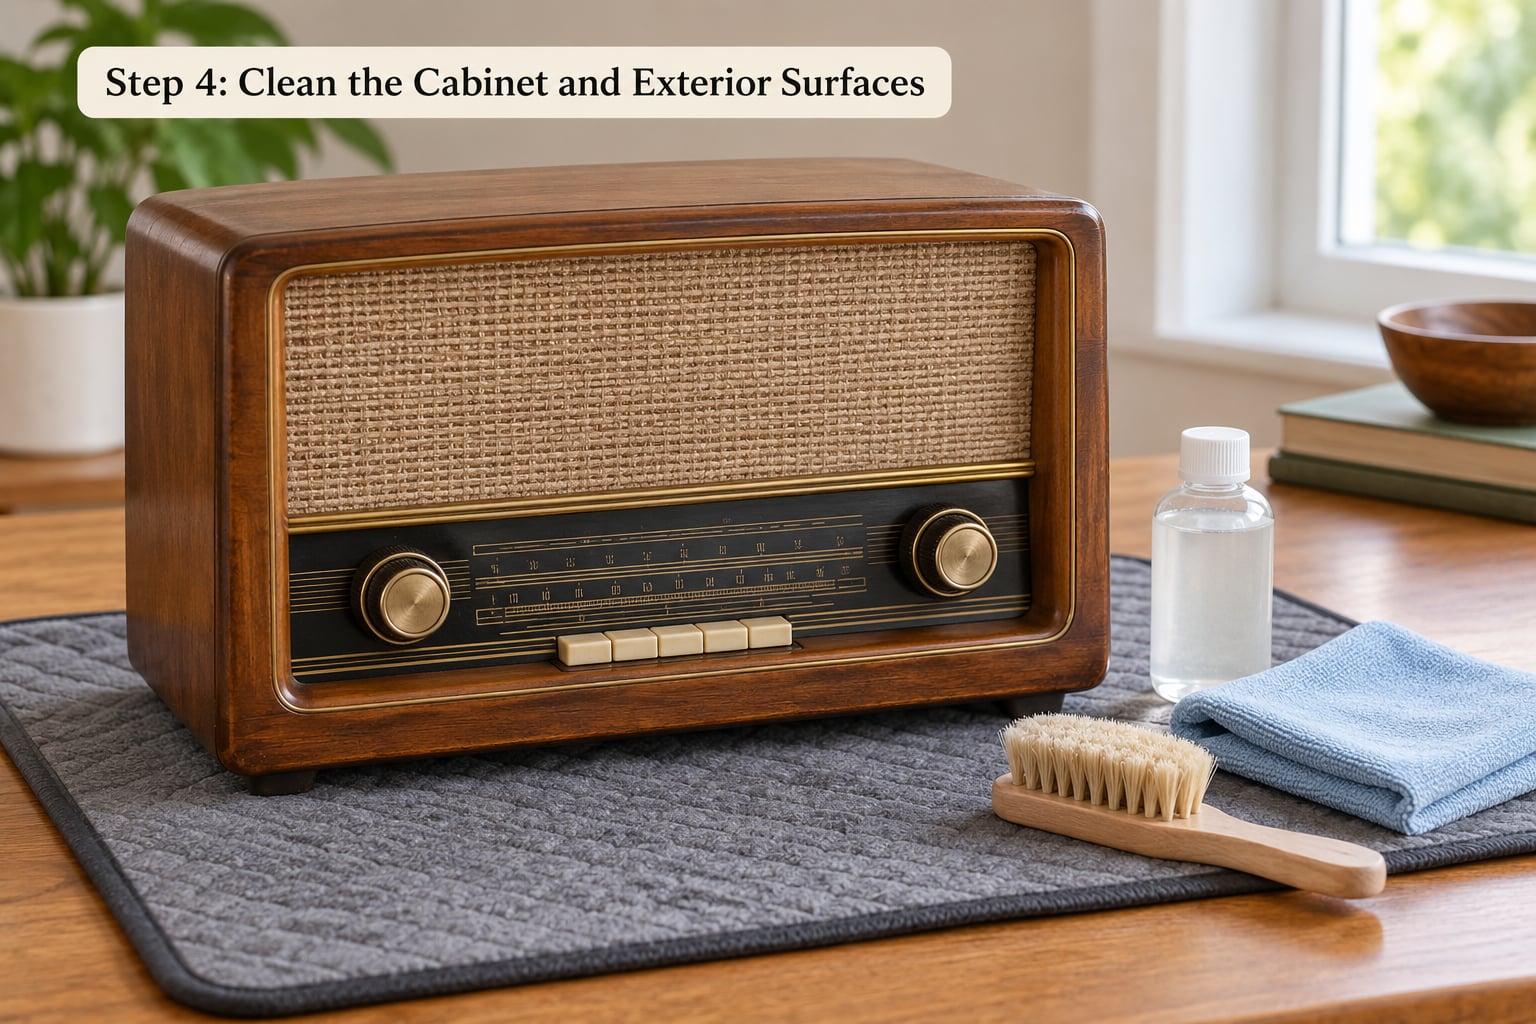
Test any cleaner on an underside edge or a hidden spot first, and give it time to fully dry before judging the result. Always apply the cleaner to the cloth rather than the radio.
| Material | What it is | Safe method |
|---|---|---|
| Bakelite or Catalin | Moulded phenolic knobs and front panels | Damp cloth with a drop of mild dish soap, dry immediately. No alcohol, no ammonia, no metal polish. It cannot be polished back once dulled. |
| Wood or veneer | Cabinet sides, tops and speaker grilles | Dry microfiber first, then barely damp. Re-oil only if the original finish is already gone. |
| Painted metal | Chassis and painted cabinets | Soft brush and dry cloth. Keep moisture off chipped paint edges. |
| Chrome or nickel trim | Escutcheons, bezels, tuner surround | Dry cloth only. Never wire wool — scratches then rust. |
| Dial glass or lens | Clear window over the dial | Barely damp cloth, dried straight away. Treat as final step, since dust gets trapped during other work. |
| Cloth speaker grille | Stretched fabric over the speaker | Soft brush, or a barely damp cloth on the frame edges only. Never wet the cloth itself; the speaker behind it may be original. |
| Plastic knobs | Volume, tuning, band selector | Damp cloth with mild soap. Never spray, and never pull them off with pliers. |
Protect every label, decal and dial pointer. If the back plate has paper glued to it, leave it alone. Collectors pay for original markings that have faded, not for clean ones.
Step 5: Clean the Dial, Knobs, and Grille Carefully
Removing a knob that grips a splined shaft properly takes steady, even pulling. Never lever with a screwdriver or grip it with pliers; the shaft will come out of the faceplate and leave a hole you cannot fill. If a knob is genuinely seized, warm it very slightly with a hair dryer and pull straight back along the shaft axis.
Once off, a cloth with a trace of plastic-safe contact cleaner removes the grease film that collects where fingers land. Let it dry fully before refitting. Knob grit is one of the main reasons tuning feels notchy after a set has sat unused.
Clean ventilation slots and grille openings with a cotton swab rather than a cloth, which just pushes dust sideways. Treat the cloth grille as described in the table above, and keep moisture out of the openings entirely — water behind a grille cloth wets the speaker surround and can never fully dry.
If you have gone further and the back is off, spray the potentiometers, band selector and switch contacts sparingly through the opening, then work each control back and forth for about a minute so the cleaner reaches between the leaves. Contact cleaner dissolves corrosion on metal only; that is why it is safe here and WD-40 is not. Stop before it looks wet.
Step 6: Inspect Before and During a Careful Power Test
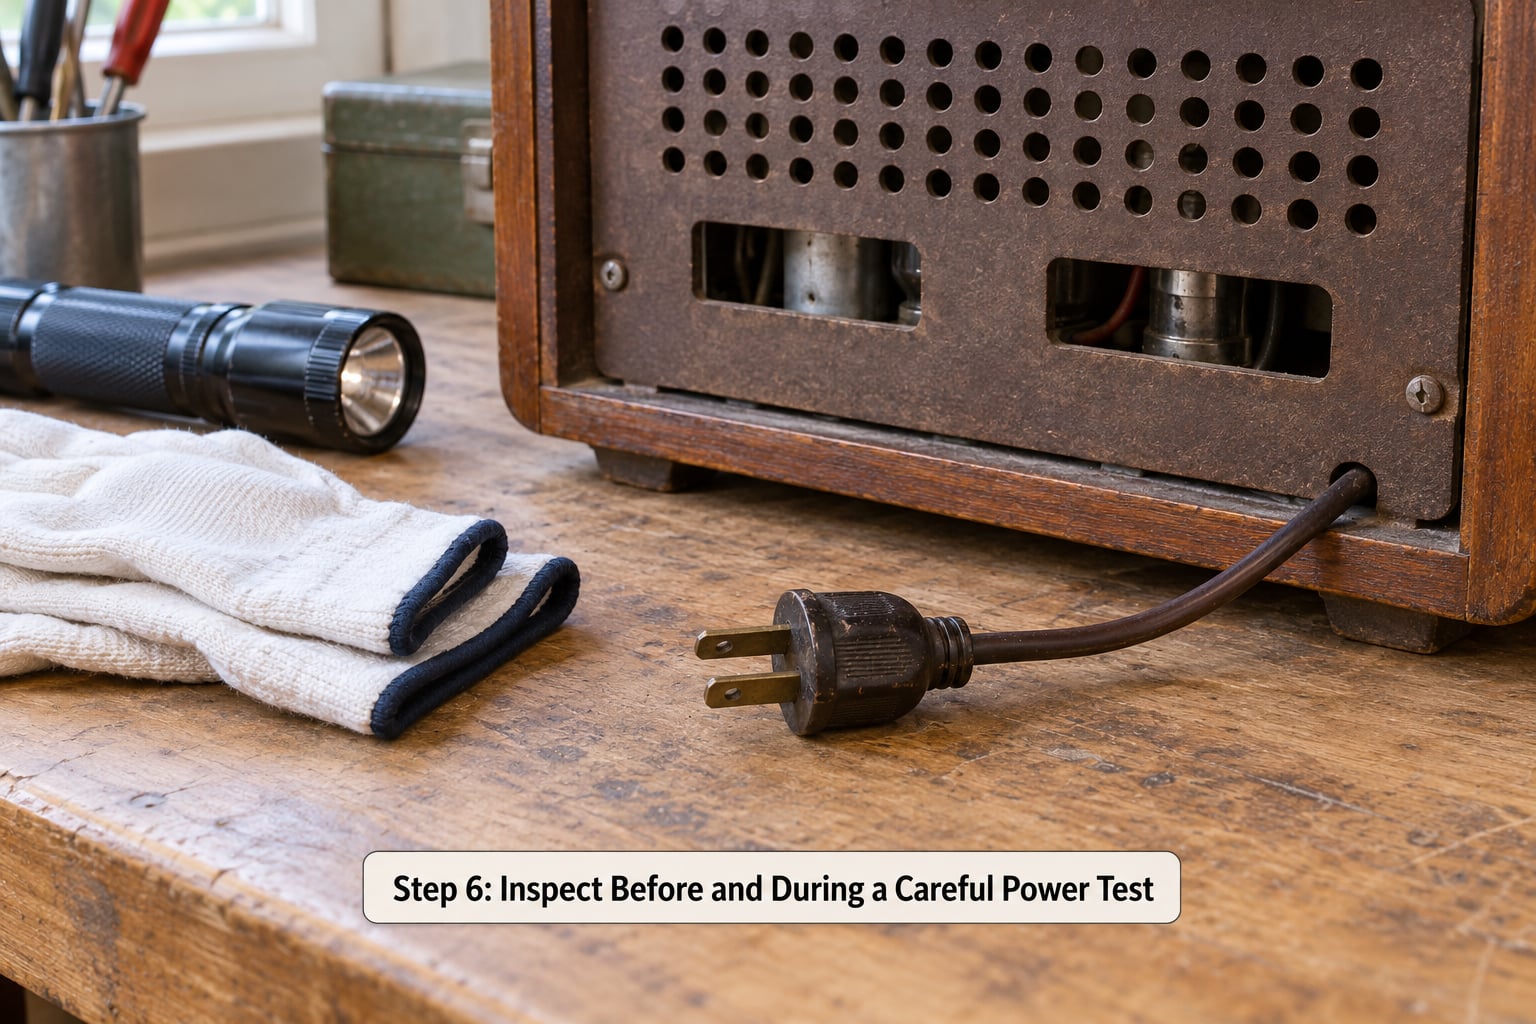
Before any power goes near the set, run through this checklist. Cord insulation intact and not stiff or cracked. Fuse or cartridge holder intact if the set uses one. No leftover cleaning fluid on any surface. Chassis earth connection secure. Tubes present and not obviously cracked or cloudy with leakage down the inside.
If the set has been unused for decades, the honest answer is that a variac is the safe way to bring it up. A variac lets you raise the line voltage slowly and watch the current draw, so a shorted electrolytic or a leaking transformer shows itself as a rising load rather than a burnt component. A dim-bulb tester does the same job more cheaply for a beginner.
Set the radio on a hard surface with nothing draped over the chassis, where heat has somewhere to go. Turn the volume down and the band switch to its first position before powering up, because a valve set will still run without a speaker fitted and that is a common way to destroy an output transformer.
Watch it. Smell of burning, an acrid ozone tang, repeated crackling that turns into a hiss, or a chime that keeps chirping because a capacitor cannot hold charge are all stop signals. Unplug at the wall and wait for a technician. Do not try a second time hoping it was a fluke.
Give the set several hours of open-air time after any liquid has been used, and longer if you cleaned the chassis, before powering up. Residual moisture inside a cabinet is invisible and causes corrosion you will find months later.
Common Mistakes
Most of the damage I hear about comes from cleaning too enthusiastically rather than from cleaning at all. Getting to grips with how to clean a vintage radio safely is mostly about restraint, so here are the errors worth avoiding and the correction for each.
Spraying liquid straight into the radio
Overspray runs to the chassis no matter how carefully you aimed. Apply contact cleaner to a cotton swab instead, in small amounts, and let it dry before reassembly.
Using alcohol or ammonia on glossy plastic and Bakelite
Both dull and craze moulded phenolic surfaces, and there is no way back from it. Warm water with a drop of mild dish soap is enough for ninety percent of what collects on a cabinet.
Scrubbing decals and dial glass
Decal lettering lifts under any solvent, and dial glass scratches permanently. Leave the glass to the final step and clean it dry or barely damp only.
Forcing knobs or levers
A forced knob bends its shaft or splits the faceplate around it. Pull straight back along the shaft, evenly, with the correct tool and no pliers.
Opening a tube chassis without discharging capacitors
This is the mistake that hurts people rather than radios. If you cannot discharge safely, do not open the back at all — clean the exterior only and hand the chassis to someone qualified.
Powering a set that shows visible damage
Cracked cord insulation, a burnt smell or corrosion across the chassis means inspection first, not a hopeful plug-in. Cleaning does not make damaged equipment safe.
Over-restoring a collectible
A tired cabinet with honest wear is worth more than a shiny one stripped of its original finish. Preserve character and stop before the set looks new — you cannot put a decal or a veneer back.
Frequently Asked Questions
Can I use 91% isopropyl alcohol to clean a vintage radio?
Only inside the chassis, on metal parts, and only sparingly. Isopropyl alcohol is fine for cleaning potentiometer shafts, switch contacts and old lubricant around a tuning capacitor, applied on a cotton swab rather than sprayed. It is not safe on Bakelite, Catalin, glossy plastic knobs, painted panels, dial glass or decals, because it dulls and crazes them. Anything you use on a cabinet should be mild dish soap in warm water, tested on a hidden spot first.
Do I need to discharge capacitors before cleaning a radio?
You do if you plan to open the chassis. A mains filter capacitor in a valve radio can hold a charge capable of a serious shock long after the set is unplugged, and collectors have reported shocks from sets stored for decades. Discharging requires the correct tool, eye protection and a steady hand on bare chassis metal. If you are not confident doing that safely, clean the outside only and leave the chassis to a qualified technician.
Is it safe to plug in a vintage radio that has not been used in years?
Not straight into a wall socket. Sets that have been unused for years commonly have degraded electrolytic capacitors, hardened lubricant and cracked cord insulation, and a direct first power-up can destroy parts that were still serviceable. Inspect the cord and chassis first, then bring the voltage up slowly with a variac or a dim-bulb tester while you watch the current draw. If the set shows burnt smells, corrosion or visible cord damage, have it checked before it goes near power.
How do I clean a Bakelite cabinet without scratching it?
Use a soft microfiber cloth barely dampened with warm water and a drop of mild dish soap, then dry it immediately with a second clean cloth. Avoid alcohol, ammonia, window cleaners and metal polish, all of which permanently dull the gloss that Bakelite is valued for. Never use steel wool or scouring pads. If the surface has already gone dull, no cleaner will bring it back, and heavily stained knobs are sometimes left exactly as they are because the risk of losing them is worse than the stain.
How should I clean a cloth speaker grille?
Treat the fabric as fragile and the speaker behind it as potentially original. Use a soft brush to lift loose dust, working from the outer edge inward, and keep moisture off the cloth itself. For grime, dab very gently with a barely damp cloth around the frame edges rather than soaking the centre. Never spray anything into the grille opening, and do not stretch the cloth to clean underneath, because the tension is what holds the speaker in place.
When should I stop cleaning and call a restoration professional?
Stop when the set contains vacuum tubes and you would need to open the chassis, when the power cord is cracked or brittle, when there is battery acid leakage, rodent nesting or heavy mould, or when any power-up attempt produces a burning smell, arcing or a rising overload. Cleaning is a dust-and-grease job; anything involving stored electrical charge, damaged insulation or chemical contamination is repair work. A technician can also supply the schematic or service data you need to judge what you have.
Conclusion
Start with the unglamorous part: unplug the set, photograph it, note the model number, and inspect for cracked cords, rust, pests and acid damage. Work dry before wet — soft brush and low-pressure air first, then a barely damp cloth with mild soap on the cabinet, then plastic-safe contact cleaner on the controls and nothing else.
Leave the chassis closed unless you know how to discharge capacitors safely, and bring a valve set up slowly rather than straight from cold. If anything smells of burning, sparks or runs hot, unplug at the wall and call a technician. That last rule covers more ruined radios than any cleaning mistake ever will.